How Tiny & Powerful Vue.js Helps to Keep the Front-End Code Clean

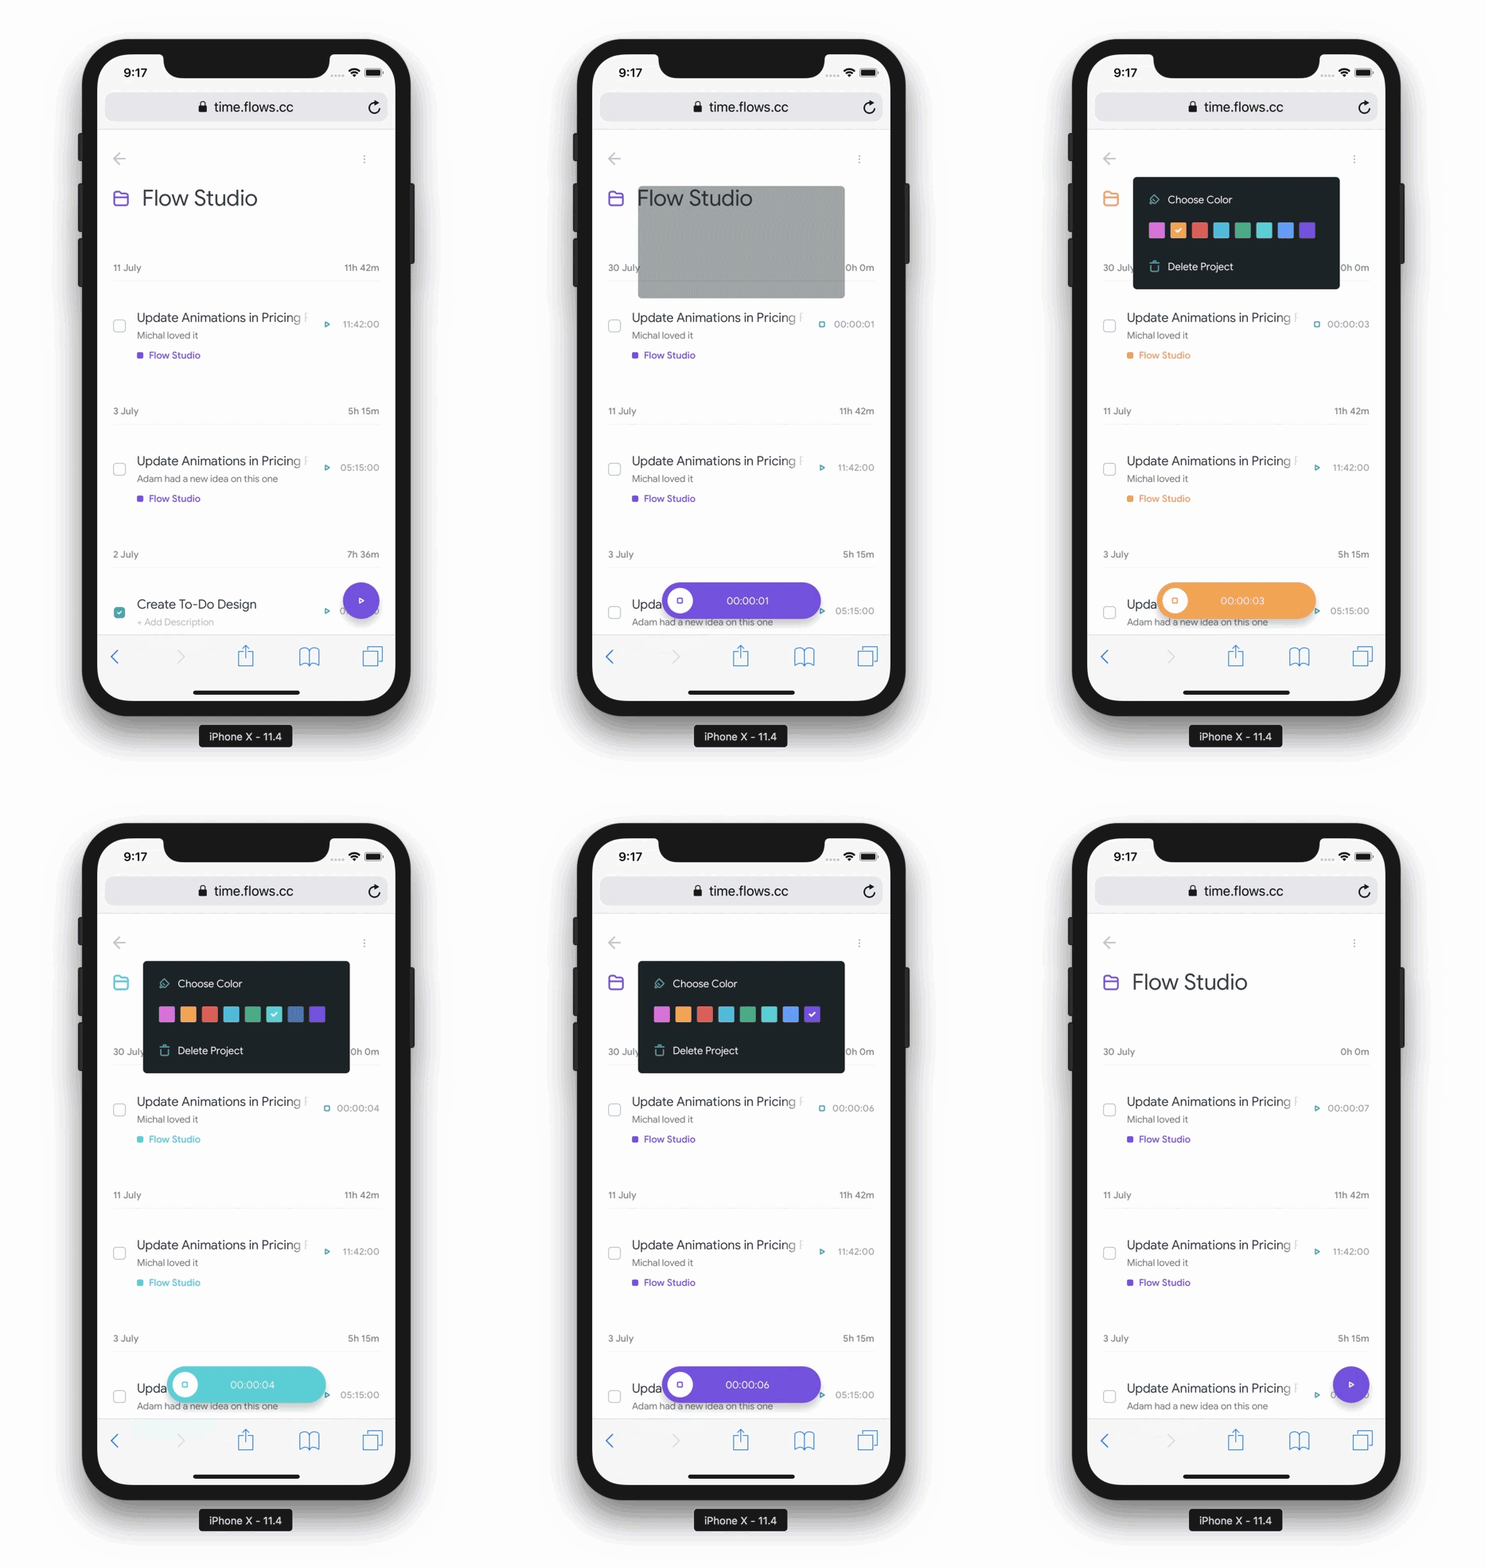
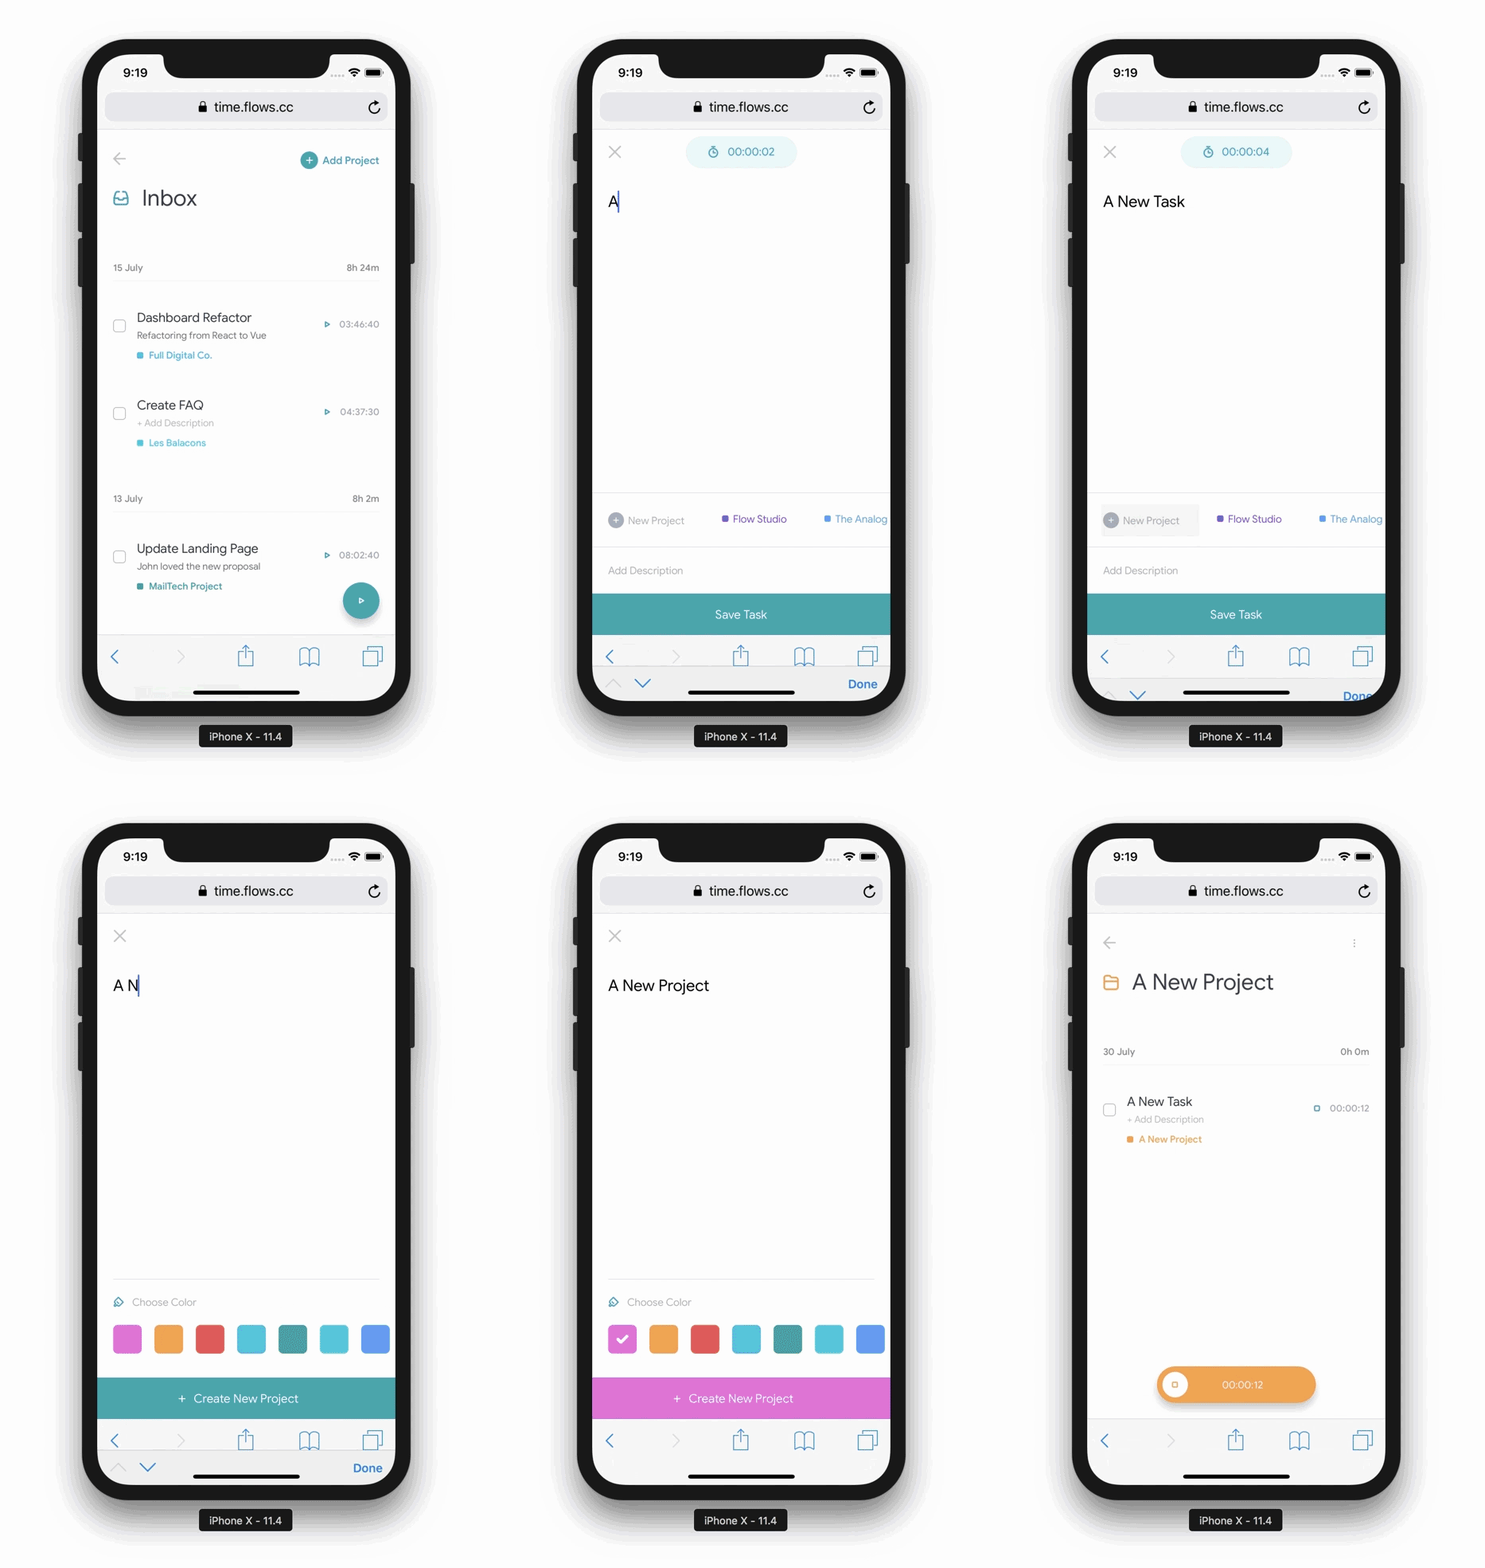
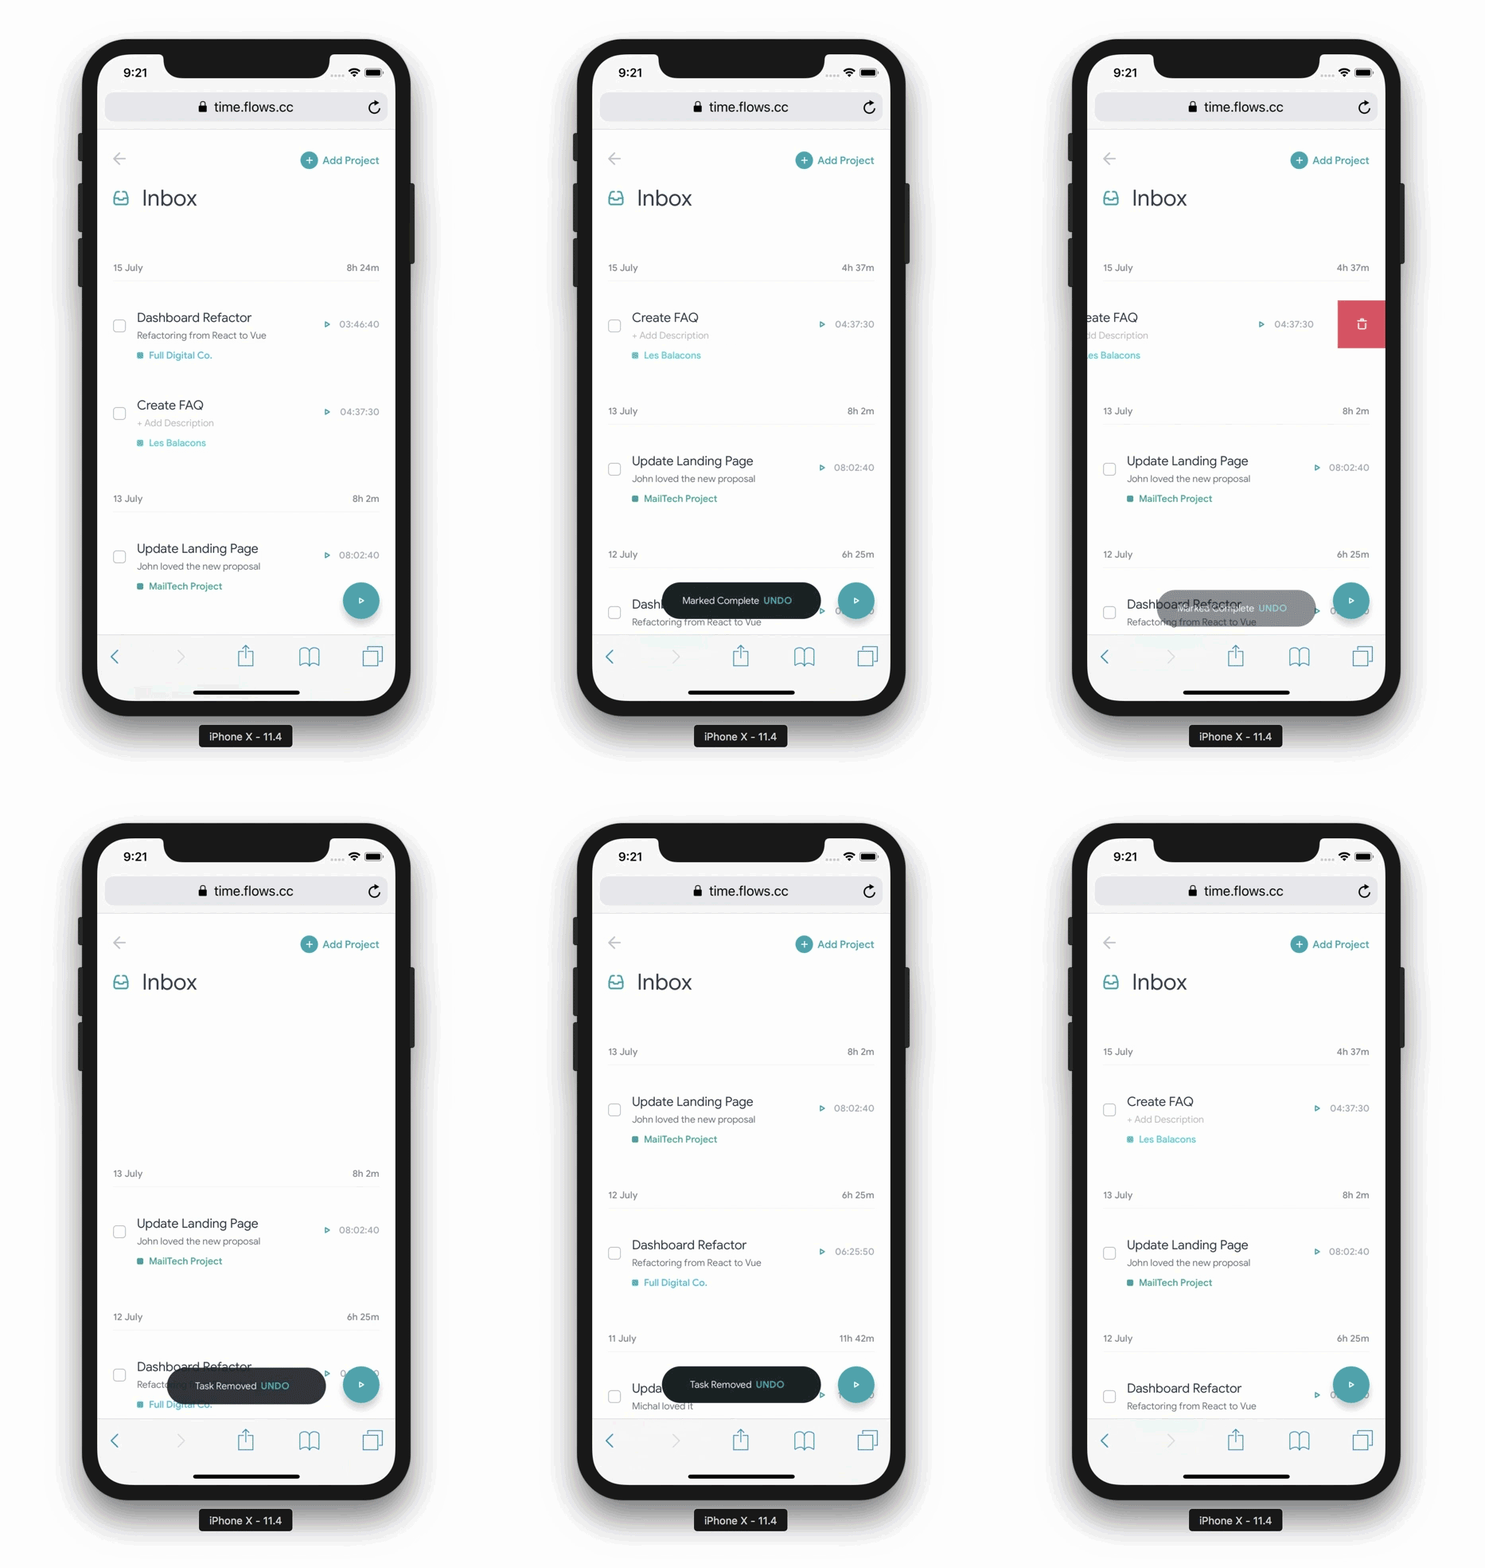
Having experience with several front-end technologies I realized that Vue.js is so good and easy to work with that I should help spreading the word. I illustrate how it allowed me to write less and cleaner code on a task tracking web app prototype.

If you would like to see the comparison of Vue.js and other popular JavaScript technologies you can read an article on pros & cons of ReactJS, Angular5 and Vue.js, or this article that takes on the specifics of the mentioned technologies and makes a performance & learning curve comparisons, or visit the comparisons page that Vue.js prepared on its site (this one could be a bit biased ¯_(ツ)_/¯).
For those of you, who have not heard of Vue.js yet, it is a an extremely lightweight and high performant JavaScript technology. As the ‘BSD+Patents’ controversy taught us, there might be a problem with a project being developed by one of the tech giants. Fortunately, contrariwise to ReactJS and Angular, Vue.js is a completely independent MIT-licensed open source project.
Vue.js is, similarly to its above-mentioned competitors, based on reactivity & reusable components, it features a virtual DOM and supports Server Side Rendering. If you would like to learn how to setup your first Vue.js project you should follow the official documentation. My personal experience is that I have always found all the necessary stuff there. No Stack Overflow anymore.
With that being said, let’s move on to the examples that will make you want to use Vue.js for your next project.
Conditional Rendering, Event Handlers and Class & Style Bindings
<template>
    ...
    <button
        v-if="!isDesktop"
        type="button"
        class="button button-main"
        :class="{ tracking: !!timerInterval }"
        @click.prevent="add"
    >
        <i :style="{ background: currentColor }"></i>
        <div
            v-if="mobile.isDetail || !!timerInterval"
            :style="{ background: currentColor }"
        >
            <PlayIcon></PlayIcon>
            <StopIcon :color="currentColor"></StopIcon>
        </div>
        <div v-else :style="{ background: currentColor }">
            <AddIcon></AddIcon>
        </div>
        <span v-if="timerInterval">
            {{ timer }}
        </span>
    </button>
    ...
</template>
<script>
export default {
      ...
}
</script>

Have you noticed from the code excerpt above that you can actually understand what is written there even if you have never used Vue.js (in case you have a basic knowledge of JavaScript)? The creators of Vue.js made it almost impossible to use the phrase ‘learning curve’ in one sentence with the framework’s name.
Another thing to notice is the perfect code readability and cleanliness in terms of syntax. For instance, in most frameworks, you just can’t escape the need for wrapping whole code blocks into if...elseif...else statement brackets. In Vue.js, however, you can handle the whole thing with directives (v-if, v-else-if, v-else), which conditionally render DOM elements similarly to ng-switch of Angular.js.
Adding/removing/toggling classes is nothing hard, but still can get pretty messy in case you are manipulating several elements. Now you can forget selecting elements, getting .classList property and calling methods on that, or, if you still refuse to let go of jQuery, using .addClass(), .removeClass() and .toggleClass(). In Vue.js you can directly use the :class directive on an element to handle its classes. There may be toggled as many classes as you add to the :class object and their presence will be determined by the truthiness of the respective data variable or computed property. (You will learn more about computed properties further in the article.)
I still vividly remember times when I had to write ever repeating lines of code like return false, event.preventDefault() or event.stopPropagation(). However, in Vue.js event handlers like @clickcan be used together with modifiers such as .prevent and .stop. One line of code gets substituted by a one-word-long modifier. It’s a fair deal, isn’t it? There also are lots of other modifiers that can serve you pretty well, for example .passive, .capture, key modifiers such as .enter, .esc and .tab, and so on.
I think that we can come to an agreement that things can get pretty nasty when we manipulate element styles with JavaScript. Fortunately Vue.js creators implemented a :styledirective that binds the style object to an element and, on top of that, automatically detects and adds vendor prefixes.
Computed Property
<template>
    ...
</template>
<script>
export default {
    ...,
    computed: {
        currentColor() {
            if (!this.timerInterval) {
                return this.defaultColor;
            }
            const project = this.tasks.find(item => {
                return item.id === this.trackedId;
            }).project;
            return this.getColor(project);
        },
    },
    ...
}
</script>
A computedproperty is by default a getter function that runs whenever any of its dependencies change. The good thing, performance-wise, is that it is cached based on its dependencies and thus they do not run again if re-render occurs and the dependencies have not changed.
<template>
    ...
</template>
<script>
export default {
    ...
    computed: {
        fullName: {
            // getter
            get() {
                return this.firstName + ' ' + this.lastName;
            },
            // setter
            set(newValue) {
                var names = newValue.split(' ');
                this.firstName = names[0];
                this.lastName = names[names.length - 1];
            }
        }
    },
    ...
}
Computed properties can act like setters, as well, if you make them to. The code above defines a setter that updates data variables firstName and lastName whenever fullName gets updated.
List Rendering, Two-Way Data Binding & Watchers
<template>
    ...
    <li
        v-for="project in projects"
        :key="project.name"
    >
        <input
            v-model="task.project"
            type="radio"
            :value="project.name"
            :id="'project-' + project.name"
        />
        <label :for="'project-' + project.name">
            <i :style="{ background: project.color }"></i>
            <div :style="{ background: project.color }"></div>
            <span :style="{ color: project.color }">
                {{ project.label }}
            </span>
        </label>
    </li>
    ...
</template>
<script>
export default {
    ...
    data() {
        return {
            task: {
                name: '',
                description: '',
                project: '',
            }
        }
    },
    watch: {
        projects() {
            this.task.project = this.projects[0].name;
        }
    },
    ...
}
</script>

To render a list of items based on an object or an array in template, you can use a v-fordirective that uses a special syntax. In case of an array it is item in items or (item, index) in items and in case of an object the syntax can look like this (value, key, index) in object. If you have experience with Blade, JSX, Handlebars or similar, I think you’ll appreciate how Vue.js let’s you loop through arrays & objects without putting whole blocks of code into brackets.
Another great concept adopted by Vue.js is the two-way data binding, which you might have already heard of in case you are familiar with Angular.js. The v-model directive, similarly to ng-model of Angular.js, serves for data binding between the view and app state. If you have no idea of what that is, it essentially means that if an input with such binding changes value the app state variable changes to the same value and vice versa.
Vue.js often lets you accomplish your UX targets in the blink of an eye. In my prototype, the user has the option to create a new project while editing a task detail. My goal was, naturally, to have the new project selected right after it is added. I accomplished that with a single line of code thanks to adding a watcher. Adding projects function to the watch object allows me to run a function whenever the projects array changes. I used that watcher to set our v-model variable to the new project’s name and thanks to the two-way binding v-model takes care of the rest.
Transitioning the DOM Elements Manipulation
<template>
    ...
    <transition-group
        name="tasks-transition"
        enter-active-class="animate-in"
        leave-active-class="animate-out"
        tag="ul"
    >
        <li
            v-for="task in day.tasks"
            :key="task.id"
        >
            ...
        </li>
    </transition-group>
    ...
</template>
<script>
export default {
    ...
}
</script>

Vue.js let’s you apply transition effects on DOM elements in many ways. One of them is inserting a paired <transition> or <transition-group> tag to the view. There are many classes that may be applied in leave/enter transitions. In my prototype, however, I could get by with only two of them. The class animate-out is immediately added to the element that is to be removed from the DOM and animate-in is, contrariwise, added to the element that is to be added to the DOM. The transition classes allow you to control the whole DOM manipulation process for example with CSS keyframes animations, which means better performance/efficiency for your app, especially on mobile.
A Few Last Words
Even though, this article only covers a tiny bit of what you can achieve with Vue.js, I hope it gave you a good insight into its fresh straightforward concepts that make a front-end programmer’s life much much easier.
At the time of publishing this article, Vue.js has taken the lead in the battle with Facebook’s React with almost 110k stars on GitHub while the latter has 108k and Angular.js is far behind with 39k. Not only does this provide a clue to the size of community behind the framework it also showcases growth rate of its popularity as it is the youngest of the trio.
30s ad
☞ Learn by Doing: Vue JS 2.0 the Right Way
☞ Vue.js 2 Essentials: Build Your First Vue App
☞ Getting started with Vuejs for development
☞ Horizontal Feed Component with Sass and VueJs 2
☞ Learn Vue 1 JS introduction to simple reactive JavaScript
Suggest:
☞ Web Development Tutorial - JavaScript, HTML, CSS
☞ Javascript Project Tutorial: Budget App
☞ JavaScript Programming Tutorial Full Course for Beginners
☞ E-Commerce JavaScript Tutorial - Shopping Cart from Scratch