How To Publish Your Vue.js Component On NPM

In this article I’ll show you how to prepare your component so that it can be packaged and published on NPM. I’ll use an example project and demonstrate the following:
- Ensuring dependencies are not included in the package
- Using Webpack to create separate builds for the browser and Node
- Creating a plugin for the browser
- Important configuration of package.json
- Publishing on NPM
Case study project: Vue Clock
I’ve created this simple clock component which I’m going to publish on NPM. Maybe it’s not the coolest component you’ve ever seen, but it’s good enough for demonstration.
Here’s the component file. There’s nothing too special here, but note that I’m importing the moment library in order to format the time. It’s important to exclude dependencies from your package, which we’ll look at shortly.
<template>
  <div></div>
</template>
<script>
  import moment from 'moment';
  export default {
    data() {
      return {
        time: Date.now()
      }
    },
    computed: {
      display() {
        return moment(this.time).format("HH:mm:ss");
      }
    },
    created() {
      setInterval(() => {
        this.time = Date.now();
      }, 1000);
    }
  }
</script>
clock.vue
Key tool: Webpack
Most of what I need to do to prepare this component for NPM is done with Webpack. Here’s the basic Webpack setup that I’ll be adding to in this article. It shouldn’t include many surprises if you’ve used Vue and Webpack before:
const webpack = require('webpack');
const path = require('path');

module.exports = {
  entry: path.resolve(__dirname + '/src/Clock.vue'),
  output: {
    path: path.resolve(__dirname + '/dist/'),
    filename: 'vue-clock.js'
  },
  module: {
    loaders: [
      {
        test: /\.js$/,
        loader: 'babel',
        include: __dirname,
        exclude: /node_modules/
      },
      {
        test: /\.vue$/,
        loader: 'vue'
      },
      {
        test: /\.css$/,
        loader: 'style!less!css'
      }
    ]
  },
  plugins: [
    new webpack.optimize.UglifyJsPlugin( {
      minimize : true,
      sourceMap : false,
      mangle: true,
      compress: {
        warnings: false
      }
    })
  ]
};
webpack.config.js
Externals
The externals configuration option provides a way of excluding dependencies from the Webpack output bundle. I don’t want my package to include dependencies because they will bloat its size and potentially cause version conflicts in the user’s environment. The user will have to install dependencies themselves.
In the case study project, I’m using the moment library as a dependency. To ensure it doesn’t get bundled into my package, I’ll specify it as an external in my Webpack configuration:
module.exports = {
  ...
  externals: {
    moment: 'moment'
  },
  ...
}
webpack.config.js
Environment builds
In Vue.js, there are two different environments where a user might want to install a component. Firstly, the browser e.g.
<script type="text/javascript" src="vue-clock.js"></script>
script.js
Secondly, Node.js-based development environments e.g.
import VueClock from 'vue-clock';
script.js
Ideally I want users to be able to use Vue Clock in either environment. Unfortunately these environments require the code to be bundled differently, which means I’ll have to set up two different builds.
To do this, I’ll create two separate Webpack configurations. This is easier than it sounds because the configurations will be almost identical. First I’ll create a common configuration object, then use webpack-merge to include it in both environment configurations:
const webpack = require('webpack');
const merge = require('webpack-merge');
const path = require('path');

var commonConfig = {
  output: {
    path: path.resolve(__dirname + '/dist/'),
  },
  module: {
    loaders: [ ... ]
  },
  externals: { ... },
  plugins: [ ... ]
};

module.exports = [

  // Config 1: For browser environment
  merge(commonConfig, {

  }),

  // Config 2: For Node-based development environments
  merge(commonConfig, {

  })
];
webpack.config.js
The common configuration is exactly as it was before (I’ve abbreviated most of it to save space), except I’ve removed the entry and output.filename options. I’ll specify these individually in the separate build configurations.
Browser bundle
Browsers can’t import JavaScript modules from another file the same way a Node can. They can use a script loader like AMD, but for maximum ease I want to allow my component script to be added more simply as a global variable.
Also, I don’t want the user to have to think too hard to figure out how to use the component. I’ll make it so the component can easily be registered as a global component when the user includes the script. Vue’s plugin system will help here.
The result I’m aiming for is this simple setup:
<body>
<div id="app">
  <vue-clock></vue-clock>
</div>
<script type="text/javascript" src="vue-clock.js"></script>
<script type="text/javascript">
  Vue.use(VueClock);
</script>
</body>
index.html
Plugin
First, I’ll create a plugin wrapper to allow for easy installation of the component:
import Clock from './Clock.vue';

module.exports = {
  install: function (Vue, options) {
    Vue.component('vue-clock', Clock);
  }
};
plugin.js
This plugin registers the component globally, so the user can call the clock component anywhere in their application.
Webpack configuration
I’ll now use the plugin file as the entry point for the browser build. I’ll output to a file called vue-clock.min.js as that’ll be most obvious to the user.
module.exports = [
  merge(config, {
    entry: path.resolve(__dirname + '/src/plugin.js'),
    output: {
      filename: 'vue-clock.min.js',
    }
  }),
  ...
];
script.js
Exporting as a library
Webpack can expose your bundled script in a variety of different ways, e.g. as an AMD or CommonJS module, as an object, as a global variable etc. You can specify this with the libraryTarget option.
For the browser bundle, I’ll use the window target. I could also use UMD for more flexibility, but since I’m creating two bundles already, I’ll just confine this bundle for use in the browser.
I’ll also specify the library name as ‘VueClock’. This means that when a browser includes the bundle, it will be available as the global window.VueClock.
output: {
  filename: 'vue-clock.min.js',
  libraryTarget: 'window',
  library: 'VueClock'
}
script.js
Node bundle
To allow users to use the component in a Node-based development environment, I’ll use the UMD library target for the Node bundle. UMD is a flexible module type that allows code to be used in a variety of different script loaders and environments.
module.exports = [
  ...
  merge(config, {
    entry: path.resolve(__dirname + '/src/Clock.vue'),
    output: {
      filename: 'vue-clock.js',
      libraryTarget: 'umd',

      // These options are useful if the user wants to load the module with AMD
      library: 'vue-clock',
      umdNamedDefine: true
    }
  })
];
**script.js **
Note that the Node bundle uses the single-file component as its entry point and does not use plugin wrapper, as it is not needed. This allows a more flexible installation:
import VueClock from 'vue-clock';

new Vue({
  components: {
    VueClock
  }
});
script.js
package.json
Before publishing to NPM I’ll setup my package.json file. A detailed description of each option is available on npmjs.com.
{
  "name": "vue-clock-simple",
  "version": "1.0.0",
  "description": "A Vue.js component that displays a clock.",
  "main": "dist/vue-clock.js",
  "scripts": {
    "build": "rimraf ./dist && webpack --config ./webpack.config.js"
  },
  "author": "Anthony Gore",
  "license": "MIT",
  "dependencies": {
    "moment": "^2.18.1"
  },
  "repository": { ... },
  "devDependencies": { ... }
}
view raw
package.json
I’ve abbreviated most of this file, but the important things to note are:
- The main script file i.e.
"main": "dist/vue-clock.js". This points the Node bundle file, ensuring that modules loaders know which file to read i.e.
import VueClock from 'vue-clock' // this resolves to dist/vue-clock.js
script.js
2. Dependencies. Since I’ve excluded any dependencies from the package, users must install the dependencies to use the package.
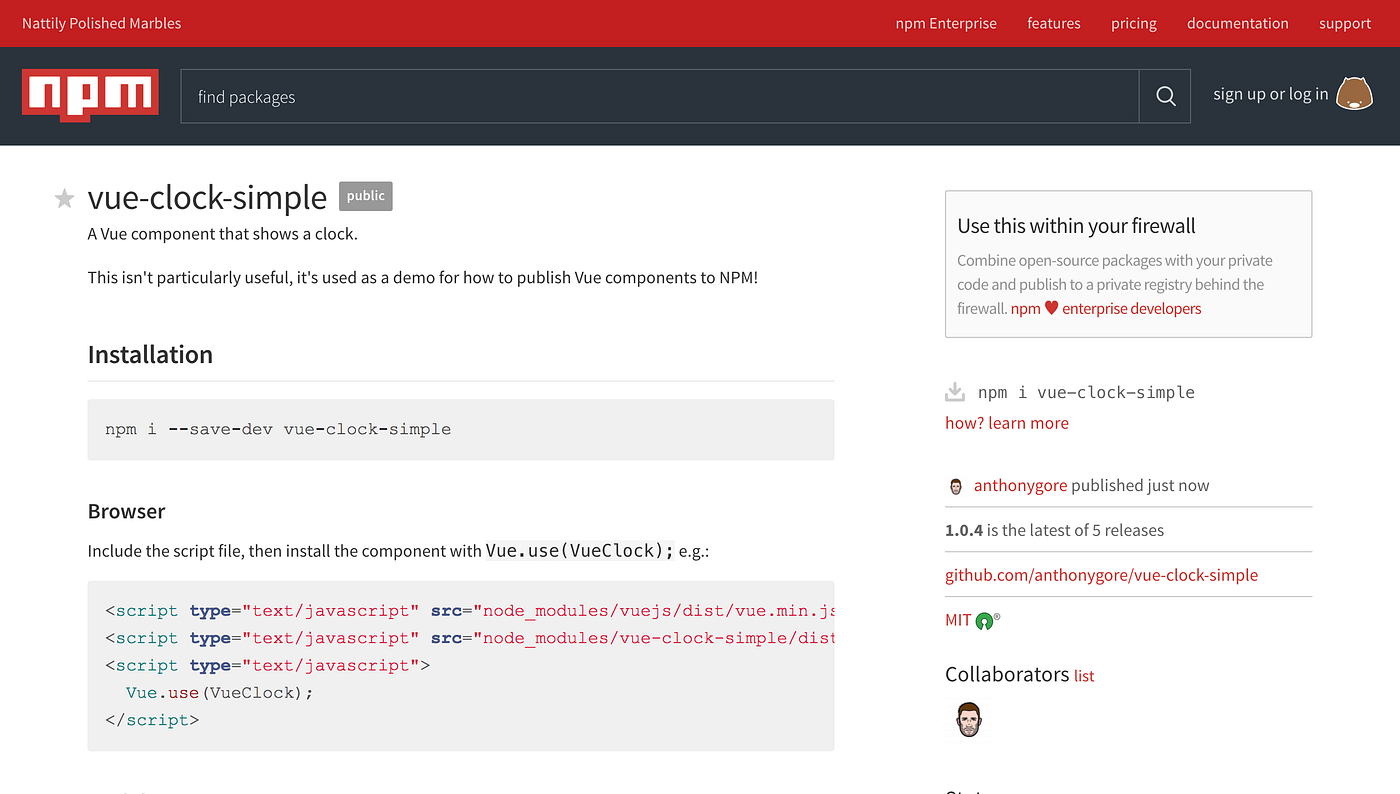
Publishing to NPM
Now that my component is set up correctly, it’s ready to be published on NPM. I won’t repeat the instructions here since they’re covered nicely on npmjs.com.
Here’s the result:
Further reading:
An Introduction to Data Visualization with Vue and D3.js
☞ https://morioh.com/p/a8937bcac3a4
React vs Angular vs Vue.js — What to choose in 2019?
☞ https://morioh.com/p/25359dcf7edf
Download Files with Axios and Vue
☞ https://morioh.com/p/f4d331b62cda/
The Ultimate VueJs and Django CRUD Tutorial
☞ https://morioh.com/p/b8679ac09d52/
How to Use Vuex in Vue.js
☞ https://morioh.com/p/4334f1b88b5c/
Suggest:
☞ Vue js Tutorial Zero to Hero || Brief Overview about Vue.js || Learn VueJS 2023 || JS Framework
☞ Is Vue.js 3.0 Breaking Vue? Vue 3.0 Preview!
☞ Learn Vue.js from scratch 2018
☞ Create Shopping basket page With Vuejs and Nodejs