Building A ToDo App in React with Firebase and Redux

Learn how to use Redux and Firebase Database in React by building a simple Todo App
These four things are collectively known as CRUD (Create, Read, Update, and Delete). A ToDo App is based on this concept.
You will find many resources on the internet that will show you how to build different types of to-do apps in different applications.
In this post, I will show you how to build a ToDo app in one of JavaScript’s most popular libraries — React!

Along with using React, we will also use the Redux library to manage the state of this app. Though Redux is not necessary for an app as simple as a ToDo app, it will help you understand the steps needed in order to add Redux to any other React App!
Google’s Firebase is another amazing tech that we will be using in this application. Firebase can provide us with many different features and services such as Authentication, Storage, Testing, and Database. In this post, however, we will only be using Firebase to store the app’s data inside the Firebase’s Real-time Database.
Tip: Use Bit to organize and manage the components in your app. Your team can share, reuse and sync components across projects and apps to build faster. Give it a try, it’s open source and very useful with React.
Getting Started
Before you starting building this app, make sure that your system is well prepared for the journey ahead. This includes checking that your system has the latest versions of Node, NPM, and the Create-React-App CLI installed.
If you don’t have these, or if you are not sure if you are on the latest version, then:
- Uninstall the Node.js software from your system, and go to nodejs.org and install the latest version.
- Update NPM by running the following command in the terminal:
$ npm install -g npm
- The Create-React-App CLI is now on version 2.1.3. You can update it by installing it using npm, or you can simply use the
npxcommand that will use the CLI without installing it on your system. - Also make sure that you have a good Code Editor. I personally like to use VS Code.
Next, create a new React App Project Directory using the create-react-app CLI as shown below:
$ create-react-app firedux-todo
$ cd firedux-todo
You will then get a new folder on your system named firedux-todo that will contain some basic code to get you started working on the app. You can run the start script using npm or yarn to launch the app on the browser at localhost:3000
Next, go to the src folder and delete everything from inside it, except the registerServiceWorker.js file. Nothing bad will happen if you do delete it, but I have big plans for it later on 😈.
Once you are done purging all the files from the src folder, we will work on integrating Redux into our App!
Adding Redux
If you are not familiar with this term, then Redux is a state management library built for maintaining the data of JavaScript applications.
The main thing to know about Redux is that it will keep all the data of our application in a single place named Store. When any component of our app requires some data, Redux will simply take it from the store and give it to the component.
To begin, we need to install the redux library into our app. Along with this, we will install the react-redux library to help connect React with Redux, and the redux-thunk library to act as a middleware and handle asynchronous actions in Redux. This is important since we are using Firebase as the database, so chances are that we will need to perform some asynchronous request to fetch the data from there.
yarn add redux react-redux redux-thunk
Once installed, we can start working on Redux side of our app by creating the Reducers. Reducers are what Redux uses to actually change the state of our app.
Insider the src folder, create a new folder named reducers with a file named data.js inside it.
The reducer is actually a function that has two arguments — the initial state and action. An action is triggered by an app component, which is then goes through all the reducers. The reducers check what kind of action was triggered by the component and it suits the reducer, data gets changed.
Inside the data.js file, write the following function:
import {FETCH_TODOS} from '../actions/types';
export default (state = {}, action) => {
  switch(action.type) {
    case FETCH_TODOS:
      return action.payload;
    default:
      return state;
  }
};
The reducer function above checks if the action triggered by the component is of type FETCH_TODOS. If it is, then it will update the state of our app with the list of todos that will be fetched by the action.
Rather than importing multiple reducer functions, we can simply combine them into one reducer by creating a new file named index.js in the same folder and writing the following code:
import {combineReducers} from 'redux';
import data from './data';
export default combineReducers({
  data
});
The redux library contains a function named combineReducers that cantake multiple reducers and combine them into one reducer.
Next, we will create the Redux store where all the app data will be kept. Inside the src folder, create a file named index.js.
The state of any React app is said to flow in only one direction, from the top most file to bottom. The index.js file is the top most file of our app because this is where the App component will be rendered. The App component can further have other components inside it. So we need to create the store in the index.js file as shown below:
import React from 'react';
import ReactDOM from 'react-dom';
import {Provider} from 'react-redux';
import {createStore, applyMiddleware} from 'redux';
import reduxThunk from 'redux-thunk';
import reducers from './reducers';
import App from './App';
import * as serviceWorker from './serviceWorker';
const store = createStore(reducers, {}, applyMiddleware(reduxThunk));
ReactDOM.render(
  <Provider store={store}>
    <App />
  </Provider>,
  document.getElementById("root")
);
serviceWorker.register();
Apart from creating our store with reducers and reduxThunk as the middleware, we are also rendering the App component using the ReactDOM. The App component is wrapped in the Provider component of react-redux library. The Provider also takes the store prop and declares it as the entire application’s store.
At first, Redux may seem to confuse you, but it works in a very well defined manner. First, a user needs to interact with a React component. This component will call an action creator, which as its name suggests will produce action. This action is given to the reducers, which will then update the application state.
Setting Up Firebase
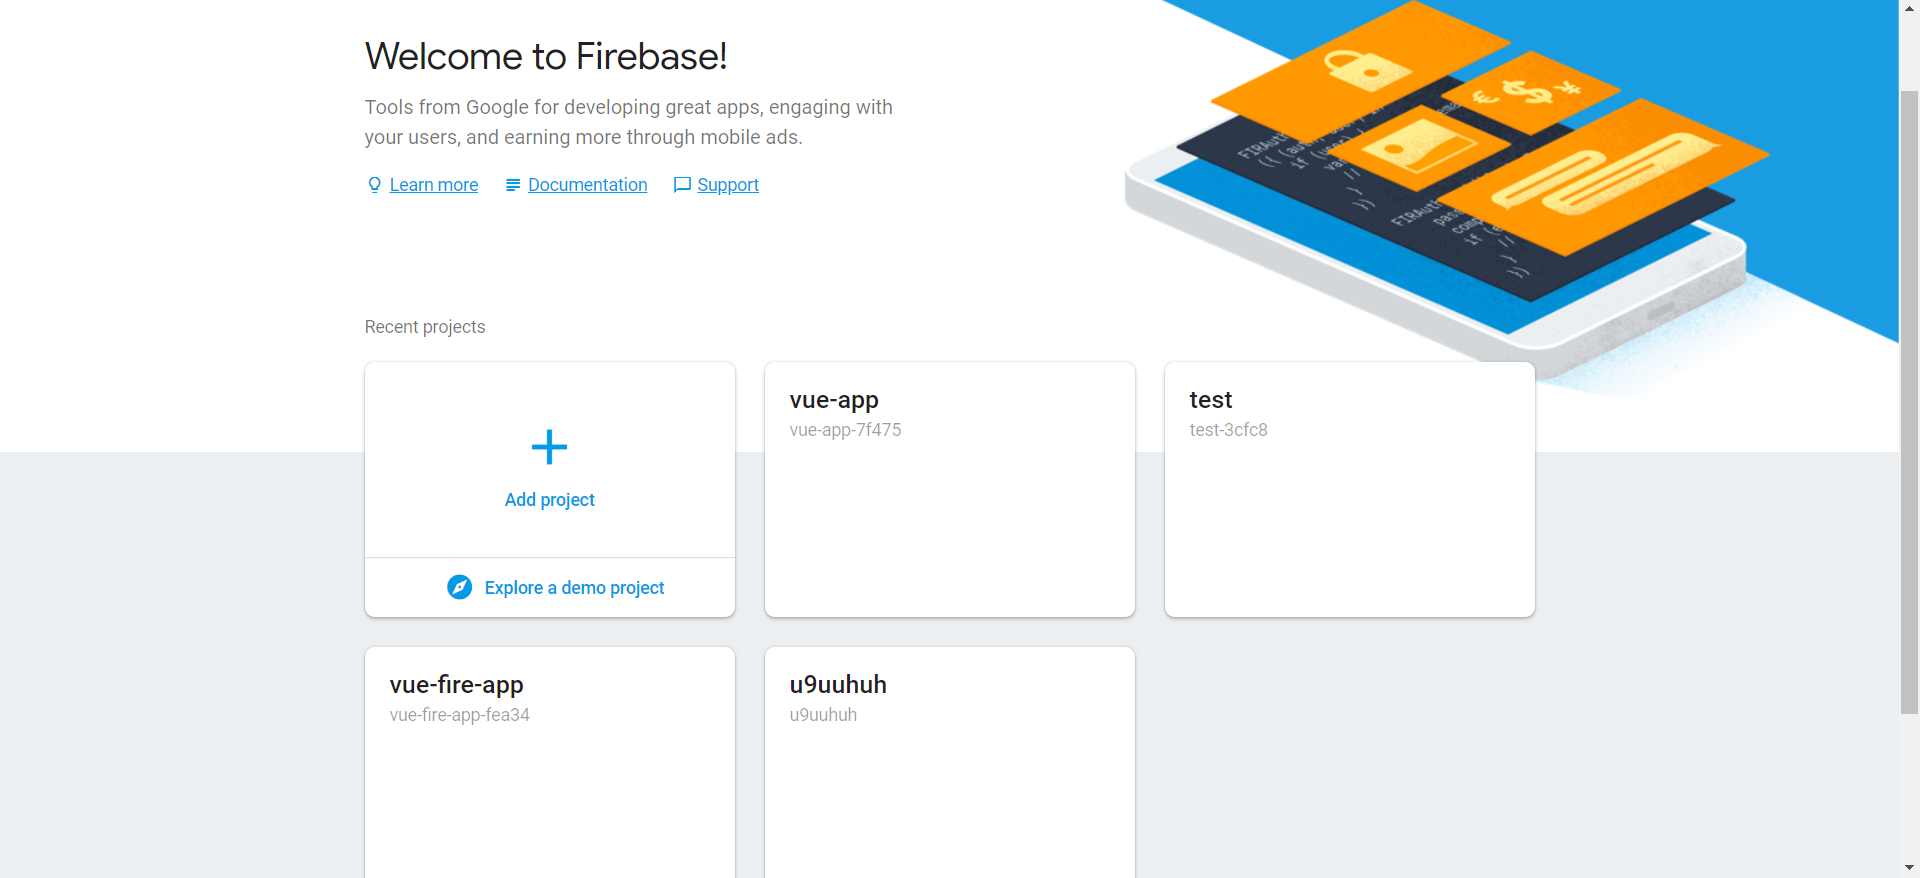
To start, go to the homepage of Firebase and click on the Create New Project or the App Project Button. Also, make sure that you have logged into your google account.
You will then be required give a name to your project. You can give it the same as your React App, as it will help you keep things simple. But it is not mandatory to have the same name at both places. Once Firebase is done configuring the project, you will be directed to a page similar to this:
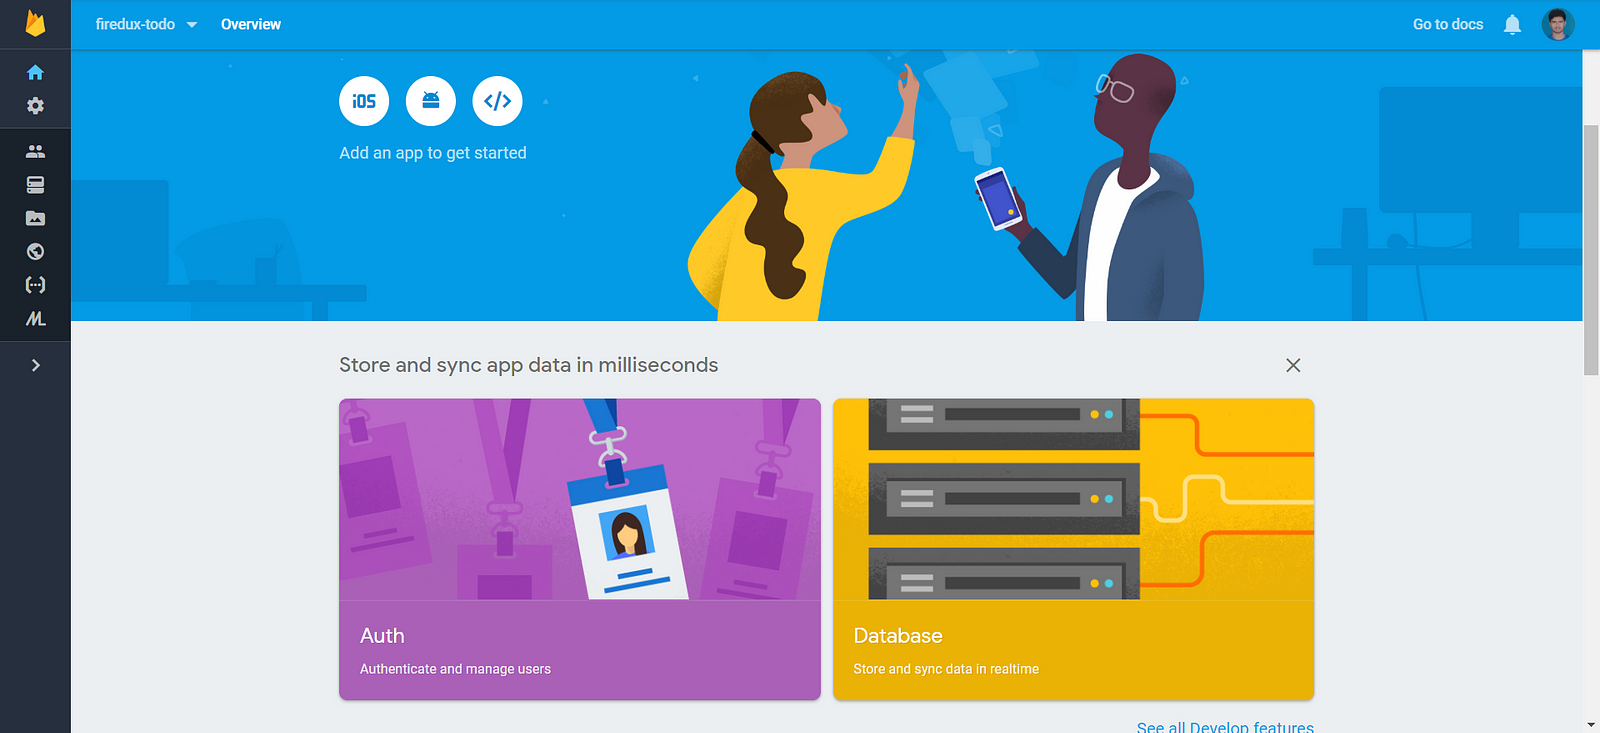
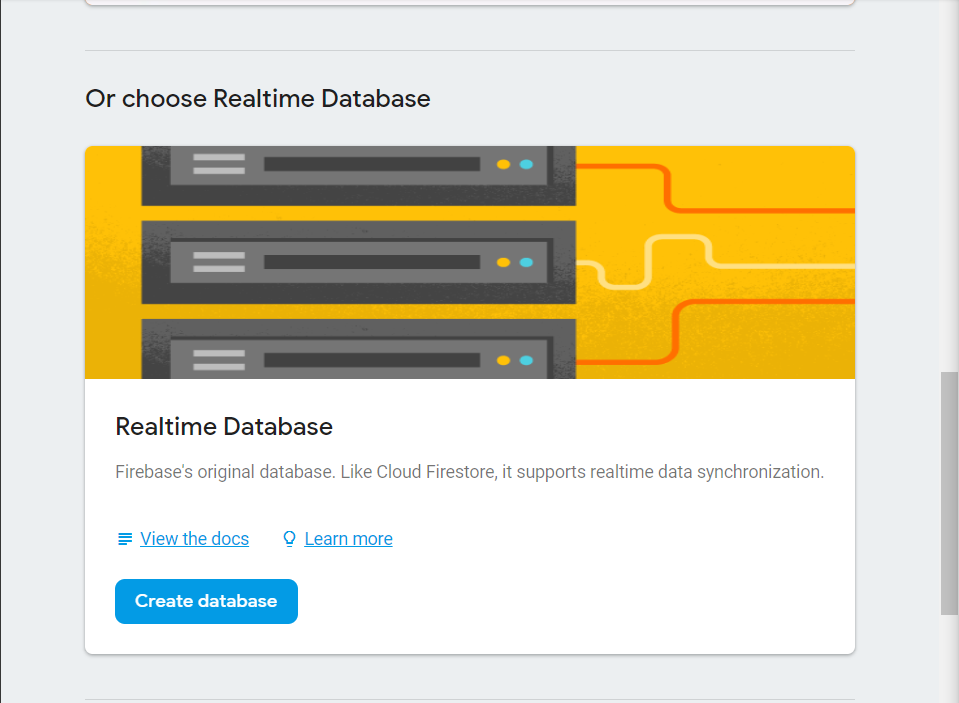
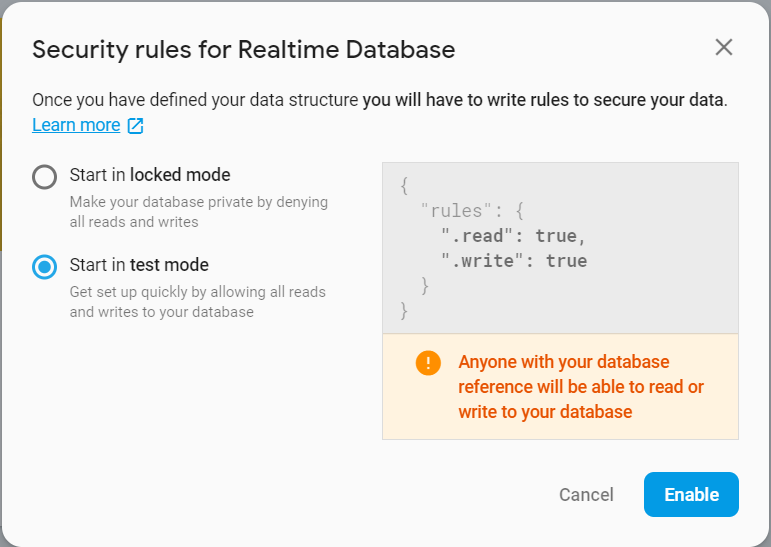
Let’s start configuring the Firebase Realtime Database for our React App. Click on the Database tab (you can also find it on the left hand side of the screen) Make sure that you are selecting the “Realtime Database” and not the “Cloud Firestore Database”, and then click on the Create database button shown below:
Select the “Start in test mode” option and click on the enable button.
With this, we have to set up the Firebase project and created a Realtime Database for our app. But we still need to connect the Firebase project with our React Project.
To do so, we need to install the Firebase library inside our React app using npm or yarn as shown below:
$ npm install --save firebase
// or
$ yarn add firebase
In the Firebase project’s homepage, you will notice three circular icons. The first two will contain code that will help you connect the firebase project to an iOS and Android app respectively, while the third one will have code that will help you connect the project to a web app (which is what we want). Click on it and copy the apiKey, authDomain, databaseURL, projectId, storageBucket, and messagingSenderId values. These values are unique for each user’s each project and hence I am sharing the screenshot for this part.
Inside the React project directory, go to the src folder and create a new file named firebase.js. Inside this folder, write the values that we copied from the Firebase here as shown below:
import * as firebase from 'firebase';
const config = {
  apiKey: "ENTER YOURS HERE",
  authDomain: "ENTER YOURS HERE",
  databaseURL: "ENTER YOURS HERE",
  projectId: "ENTER YOURS HERE",
  storageBucket: "ENTER YOURS HERE",
  messagingSenderId: "ENTER YOURS HERE"
}
firebase.initializeApp(config);
const databaseRef = firebase.database().ref();
export const todosRef = databaseRef.child("todos")
In contrast to Redux, the Firebase database has something called the Firebase Ref. This is a reference to the data that we want to access from the Firebase database.
The Firebase Ref emits a series of value events, which are Firebase’s way of telling us that it has received some new data from the application.
Ok! So we have connected our React app with the Firebase Project! We are going to use the Firebase’s Realtime database to store the list of todos. We will add a listener to the list of todos so that whenever the list changes, the app will know about the change and fetch the new data from Firebase and display it.
To do this, we have one last thing to take care of on the Redux side of things, and that is called Actions!
Setting Up Actions
Even though our React and Firebase are connected, we still need Firebase to work with Redux, because Redux is handling the local data of our App.
For that we are going to take the Firebase Ref that we have named as todosRef and stick it into an action creator. So whenever the Firebase Ref emits a value event, the Firebase Ref will be turned into an action and sent to the reducers.
Inside the src folder, create a new folder called actions. Inside this folder create a new file named index.js. This file will contain 3 actions — one to add a todo to the list, another to remove it from the list, and the third one to listen for any changes in the list and according fetch the changes to the app.
import {todosRef} from '../firebase'
const FETCH_TODOS = 'FETCH_TODOS';
export const addToDo = newToDo => async dispatch => {
  todosRef.push().set(newToDo);
};
export const completeToDo = completeToDo => async dispatch => {
  todosRef.child(completeToDo).remove();
};
export const fetchToDos = () => async dispatch => {
  todosRef.on("value", snapshot => {
    dispatch({
      type: FETCH_TODOS,
      payload: snapshot.val()
    });
  });
};
Final Stretch
We are almost done with this app. All that is left to do is build the UI side of things. For that, we will create a new folder named components inside the src folder.
Inside the components folder, create a file named ListItem.js. This file will render each individual ToDo item. Each item will contain a button which when clicked will deem the ToDo as completed and remove it from the list. This is achieved with the help of the completeToDo action that we had created in the actions section of this post. The actions are connected to the component with the help of the connect method of react-redux library.
import React, {Component} from 'react';
import {connect} from 'react-redux';
import {completeTodo} from '../actions';
class ListItem extends Component {
  handleComplete = completeTodo => {
    const {completeTodo} = this.props;
    completeTodo(completeTodo);
  };
  render() {
    const{todoId, todo} = this.props;
    return (
      <div key="toDoName">
        <h4>
          {todo.title}
          <span onClick={() => this.handleComplete(todoId
            <i>Done</i>
          </span>
        </h4>
      </div>
    );
  }
}
export default connect(null, {completeTodo})(ListItem);
Next, we need to create another file named List.js. This file will contain a form that we will use to create a new Todo. It will appear on the screen when we click on the Add button. This component will trigger the addTodo action when submitting form. And it will listen for changes in database using fetchTodos action. The connect method in this component will take in the mapStateToProp function, which we will use to access the data from the store.
Click here to get the code for the List.js file. (It’s a big one, so I am not showing it here)
Finally, We need to render these components into the src folder’s App.js file as shown below:
import React, {Component} from 'react';
import List from './components/List';
class App extends Component {
  render() {
    return (
      <div>
        <List/>
      </div>
    );
  }
}
export default App;
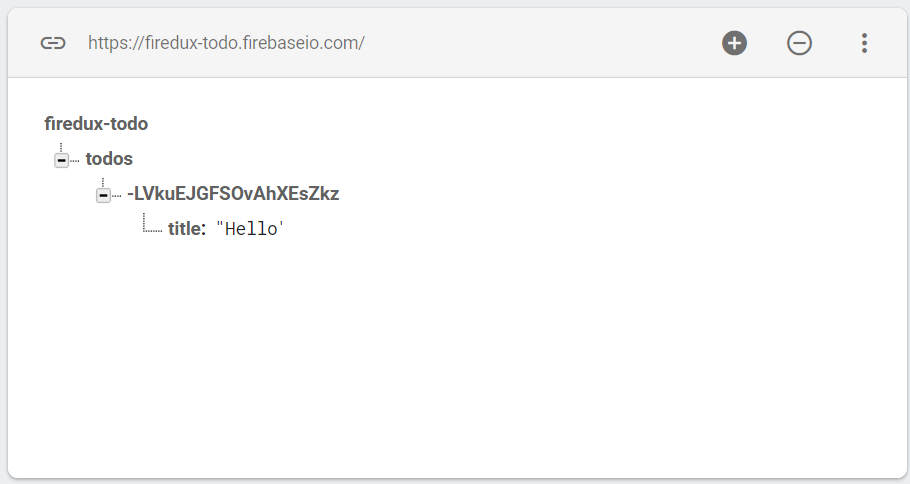
And our app is complete! After adding some styling, it will look like this:
If you take a look at the Firebase database, you will see that something has changed over there:
Conclusion
In this post, we saw how to create a Redux store with Reducers and attached it to our React App. We also created actions and saw how to trigger them from our React Applications.
Thanks for reading this post. I hope it helped you understand how to use React with Redux and Firebase!
If you had any problems following the code in this post, then check out the entire source code of the app here:
Thanks for reading this long post! I hope it helped you understand JavaScript Algorithms a little better. If you liked this post, then please do give me a few 👏 or a shoutout on Twitter. You are welcome to comment and ask anything!
Learn more
☞ Learn ReactJS: Code Like A Facebook Developer
☞ ReactJS Course: Learn JavaScript Library Used by Facebook&IG
☞ React: Learn ReactJS Fundamentals for Front-End Developers
☞ Build Realtime Apps | React Js, Golang & RethinkDB
Suggest:
☞ JavaScript for React Developers | Mosh
☞ React Firebase Tutorial | AUTH - CRUD - Image Upload
☞ Getting Closure on React Hooks
☞ Web Development Tutorial - JavaScript, HTML, CSS