Set up Masternode GeekCash for 10 minutes

First the basic requirements:
- 10,000 GEEK (Get GeekCash)
- A main computer (Your everyday computer) — This will run the control wallet, hold your collateral 10,000 GEEK and can be turned on and off without affecting the masternode.
- Masternode Server (VPS — The computer that will be on 24/7)
- A unique IP address for your VPS / Remote wallet
(For security reasons, you’re are going to need a different IP for each masternode you plan to host)
The basic reasoning for these requirements is that, you get to keep your GEEK in your local wallet and host your masternode remotely, securely.
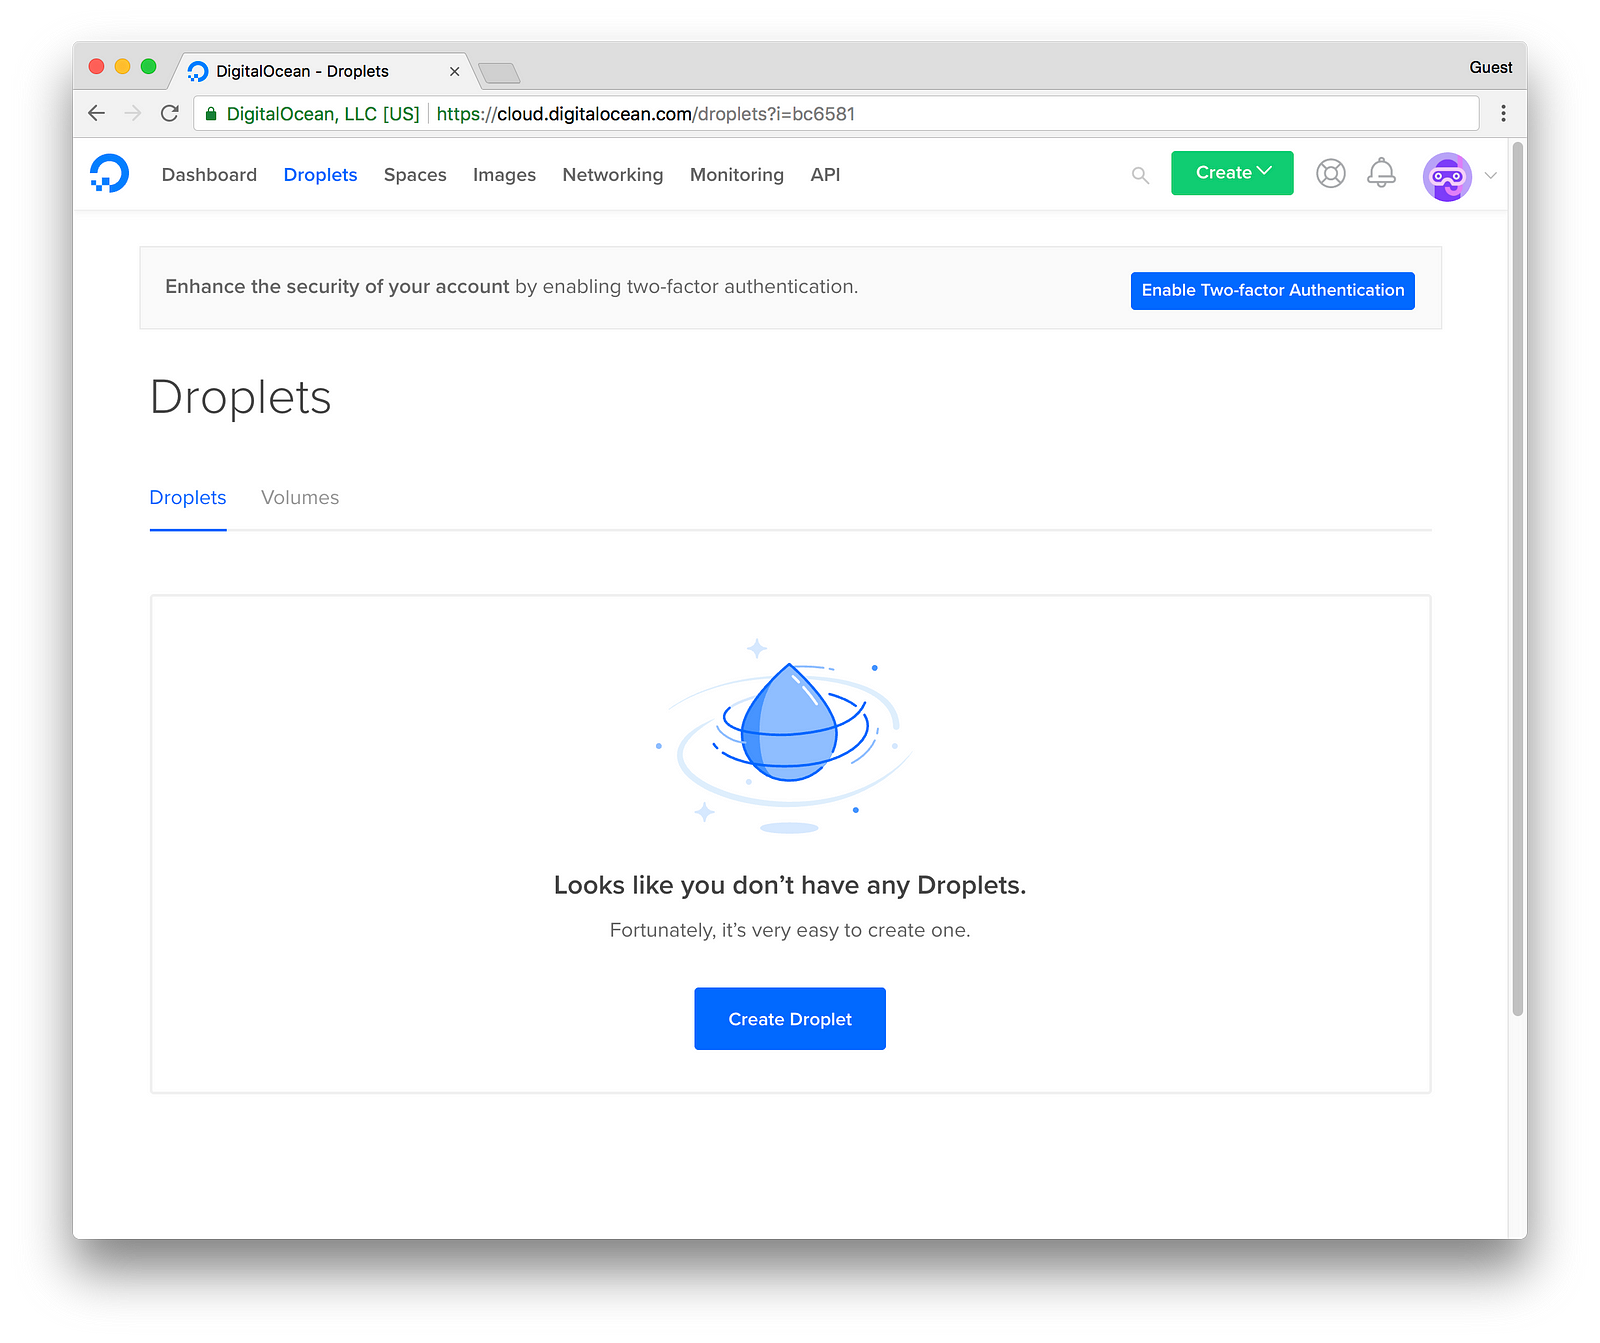
- Firstly go to DigitalOcean and get an account, you may use my link reference as a token of appreciation to take the time to write this guide, and you get $10 to try the service of DigitalOcean.
Take your $10: https://m.do.co/c/427fd48a9ec5 - Click to Create Droplet to create new Droplet
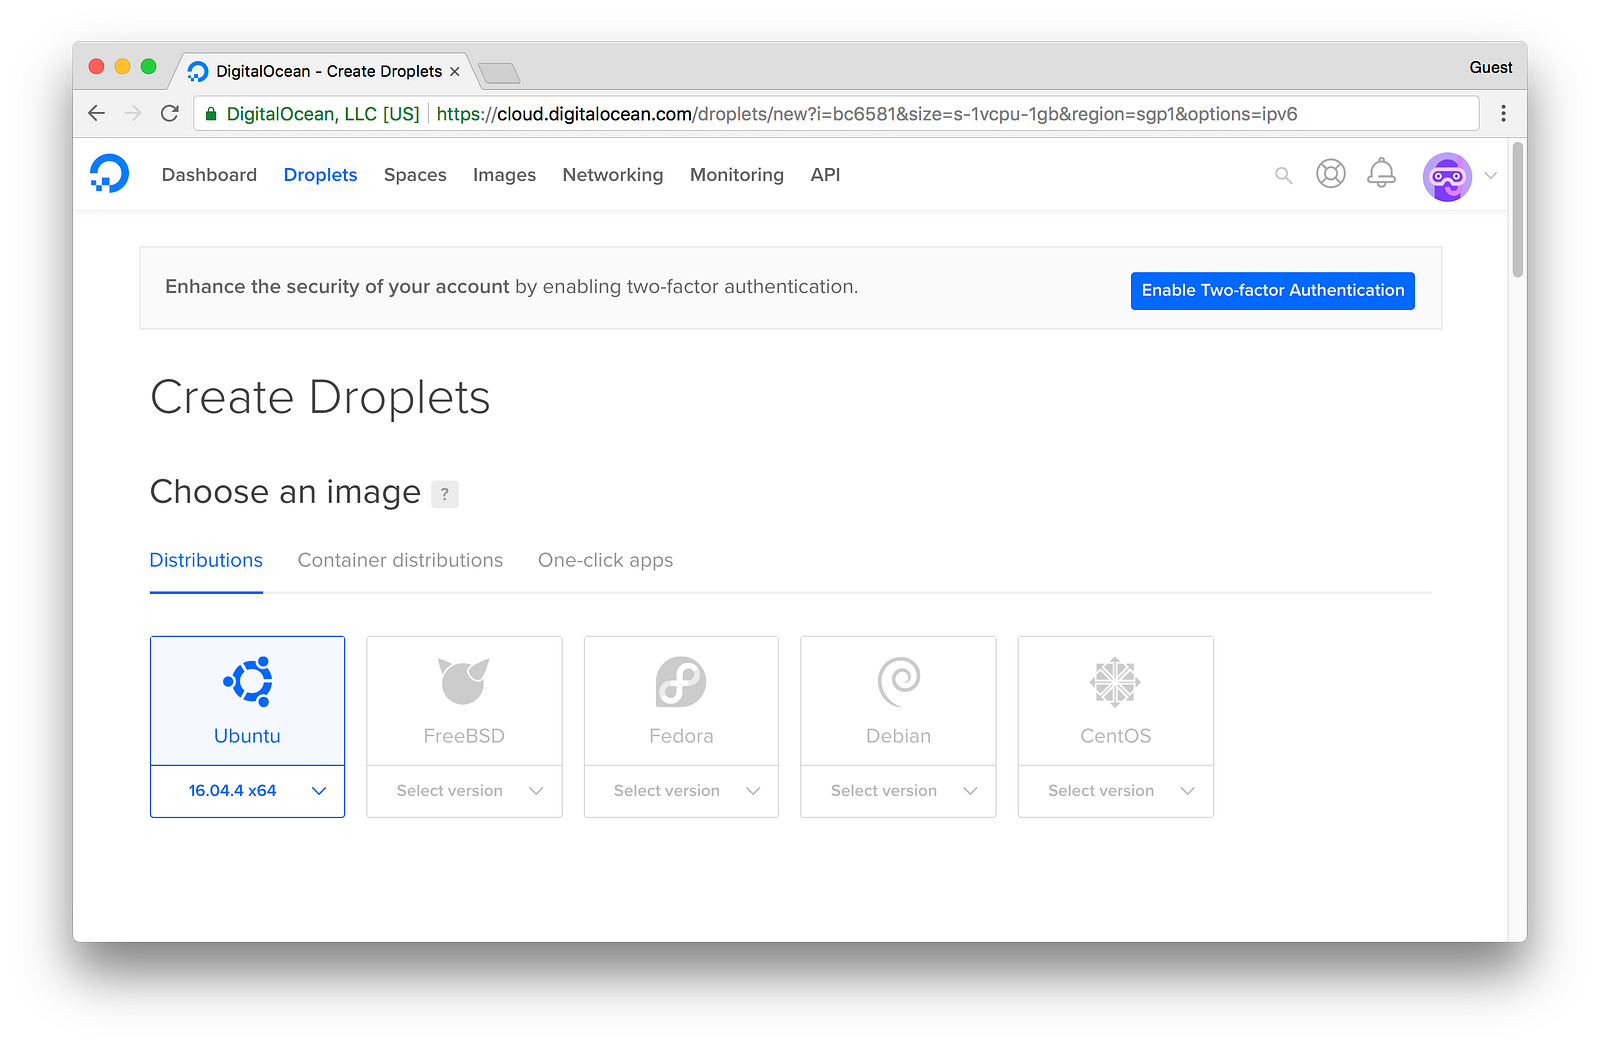
3. Choose an image, choose Ubuntu 16.04.4 x64
4. Choose a size, usually the most basic size will do, choose “25 GB SSD/1 CPU/1GB Memory/1TB Transfer”

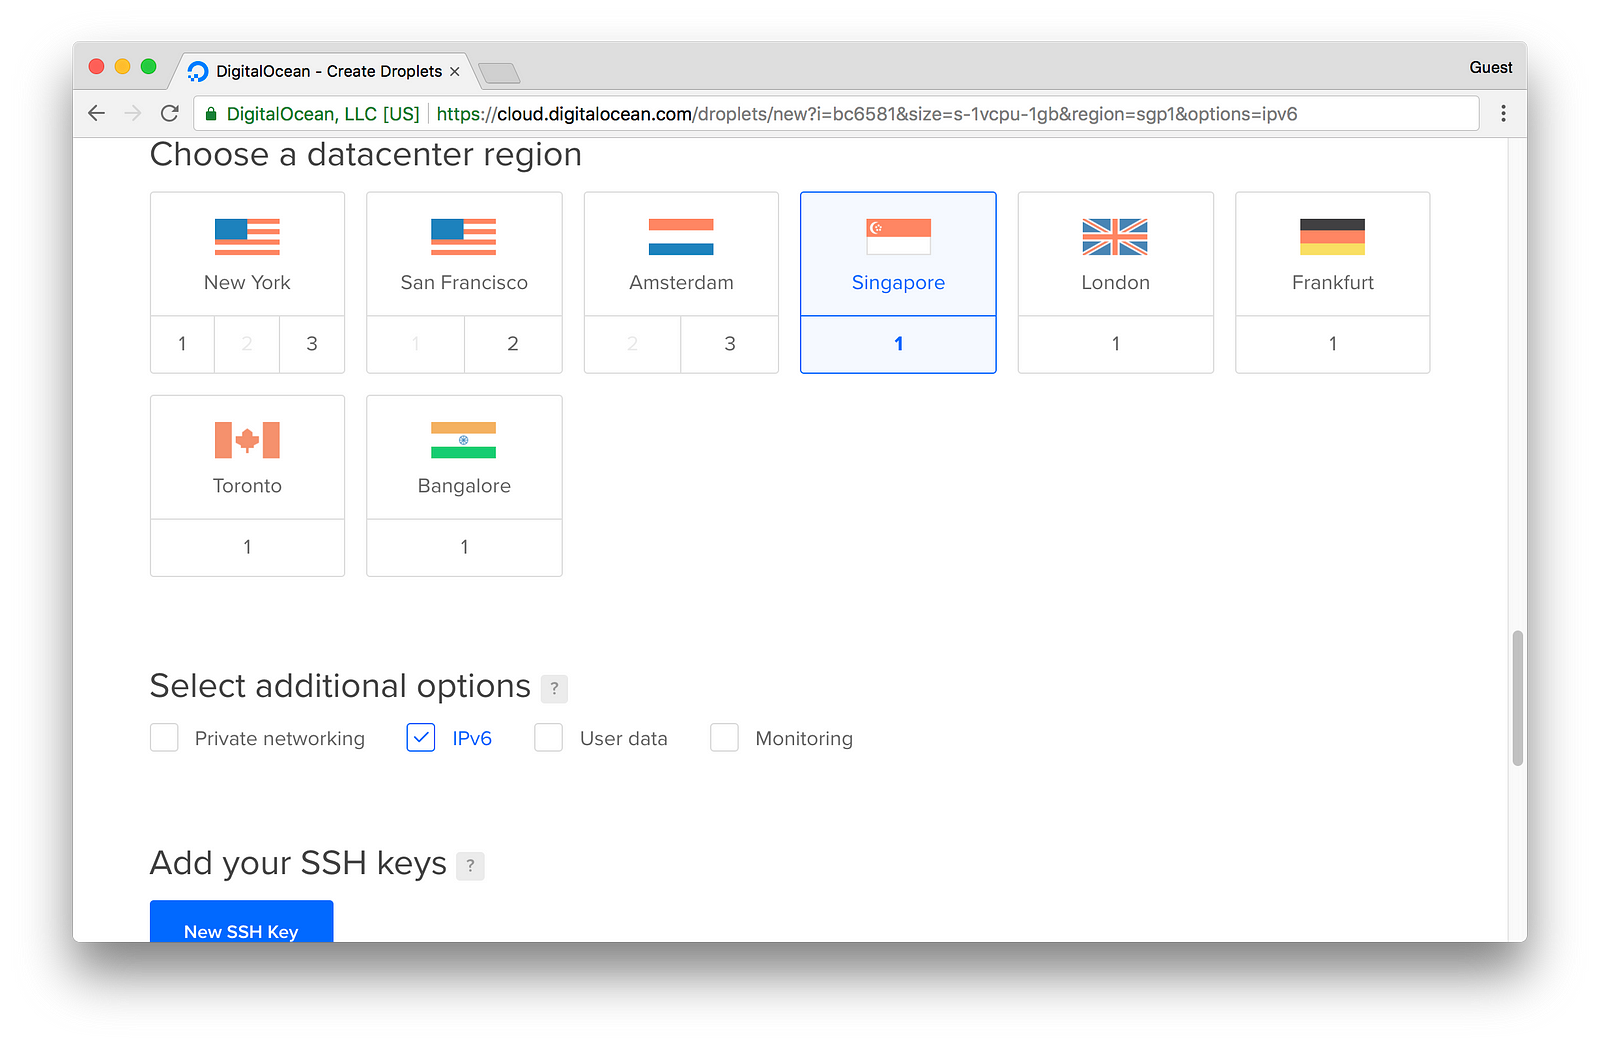
5. Choose your datacenter location, choosing the closest place to you, this should minimize ping times
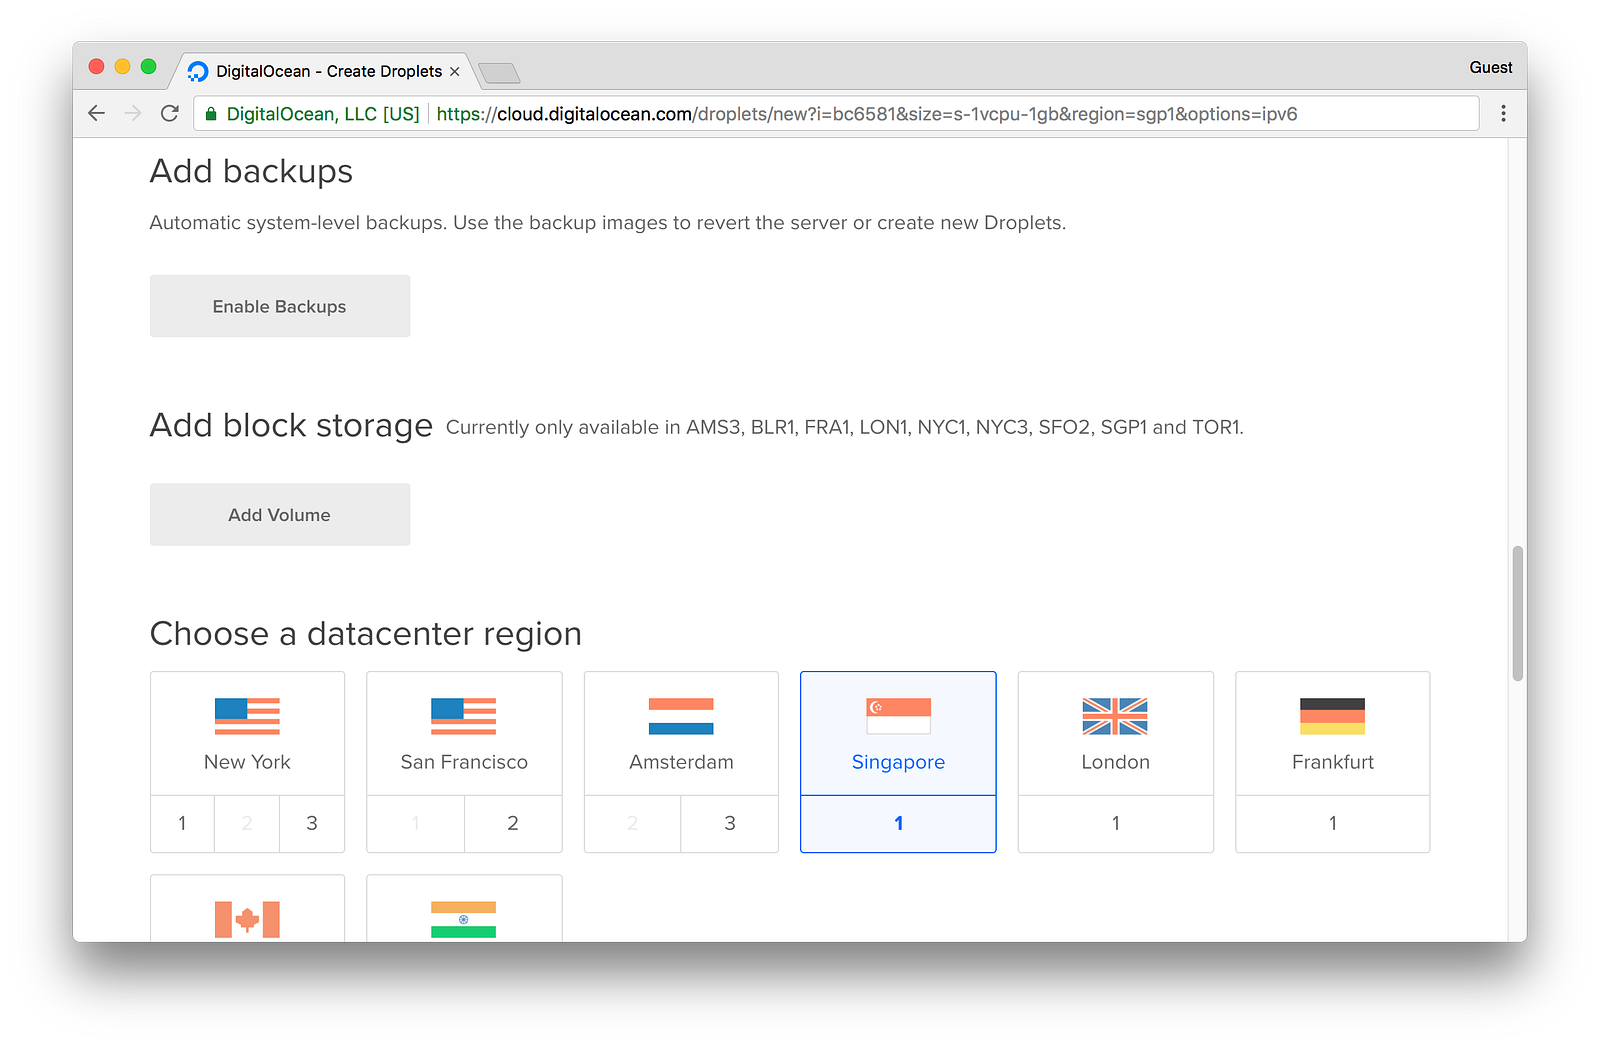
6. On “Additional Features” I always choose only “Enable IPv6” (don’t know why to be honest).
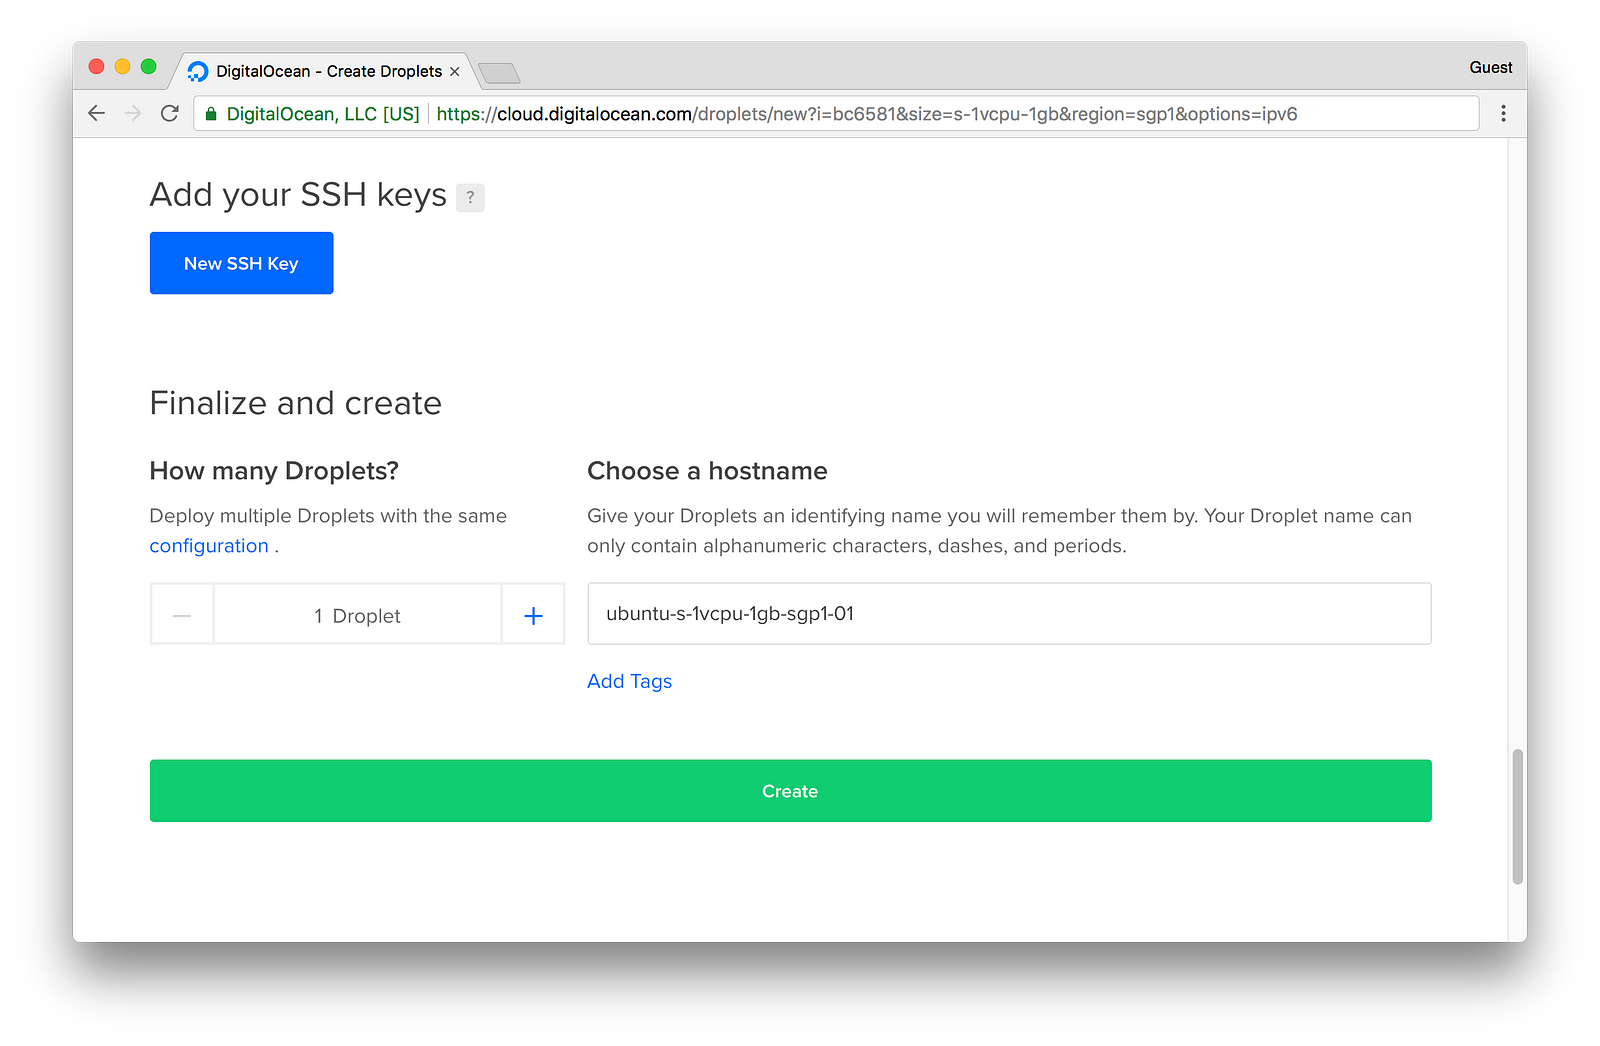
7.Choose number of Droplets, choose a hostname and finally click on “Create”
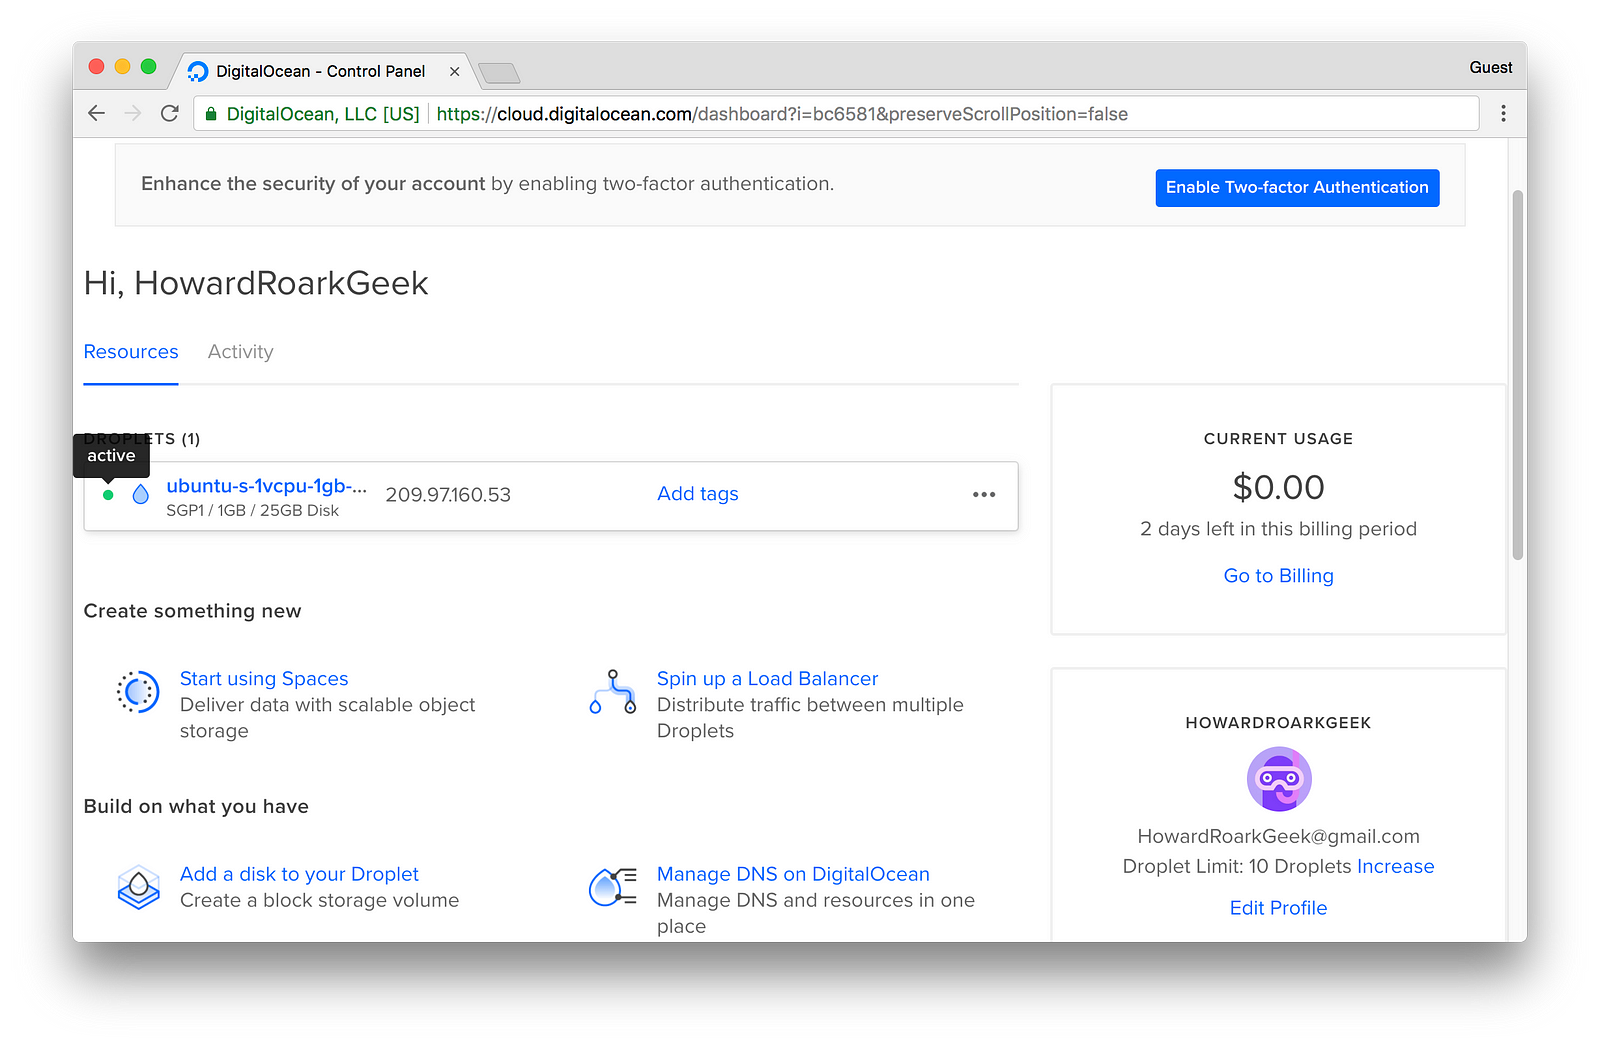
8. Wait until the “Status” of your VPS says “Active”, then double click to start
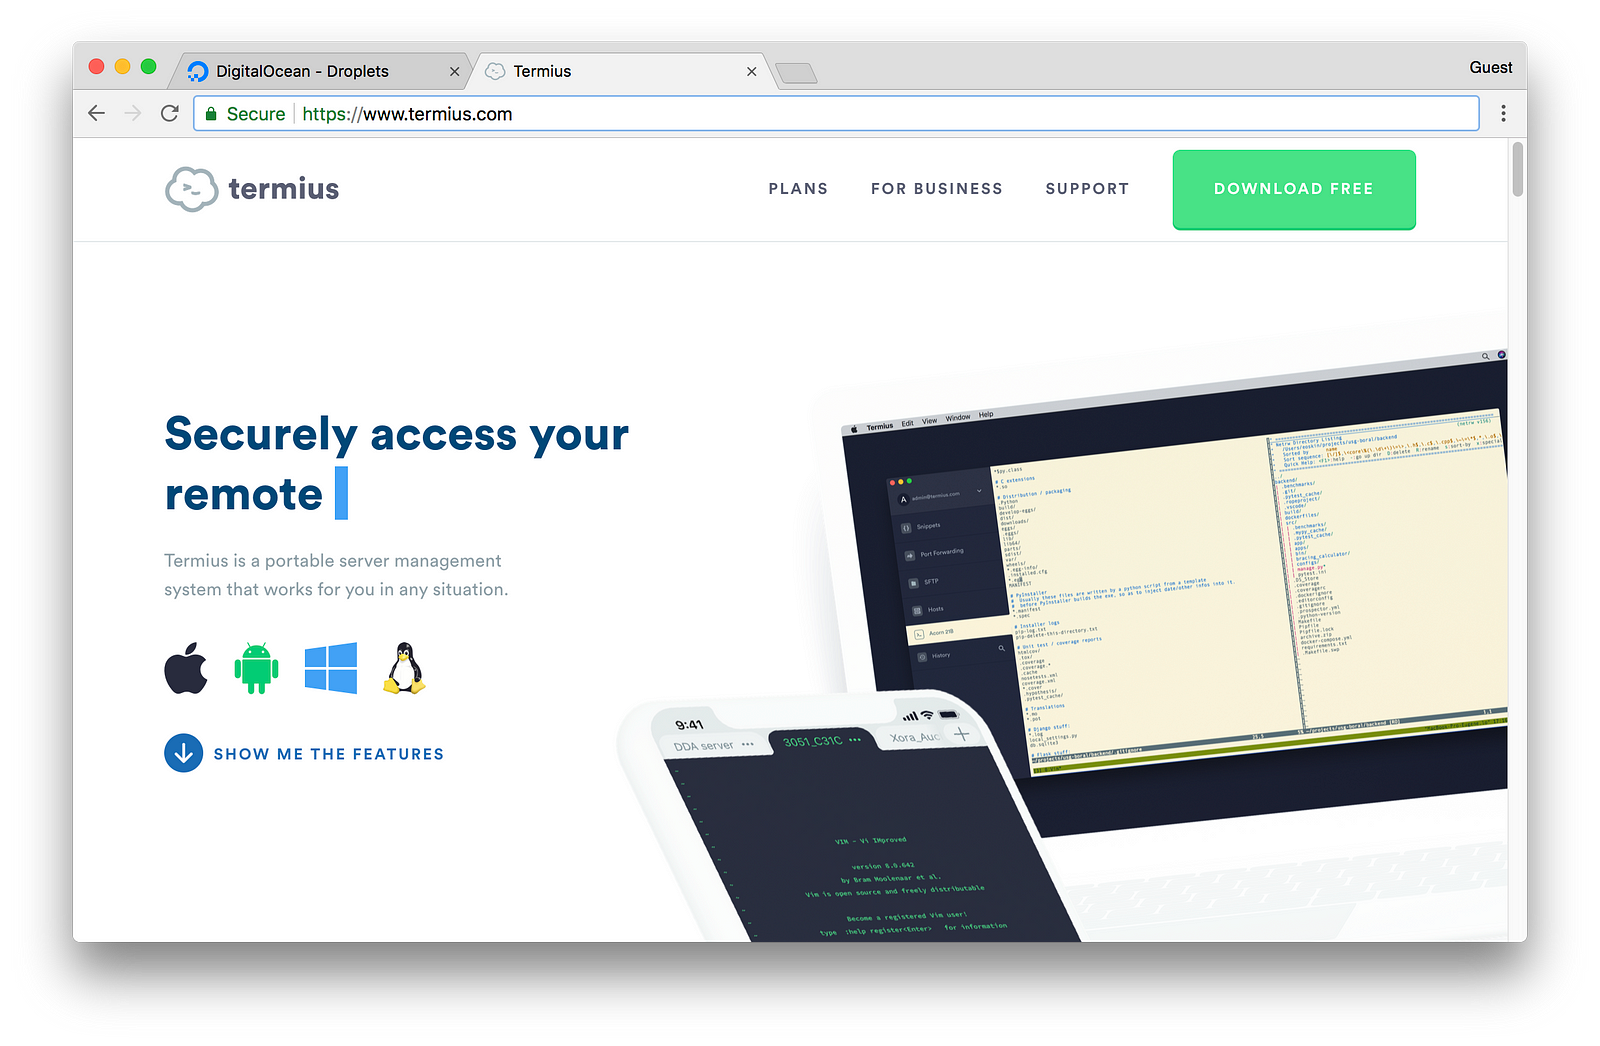
9. Install “Terminus” to sync hosts across every device https://www.termius.com/ (Download PuTTY for Windows)
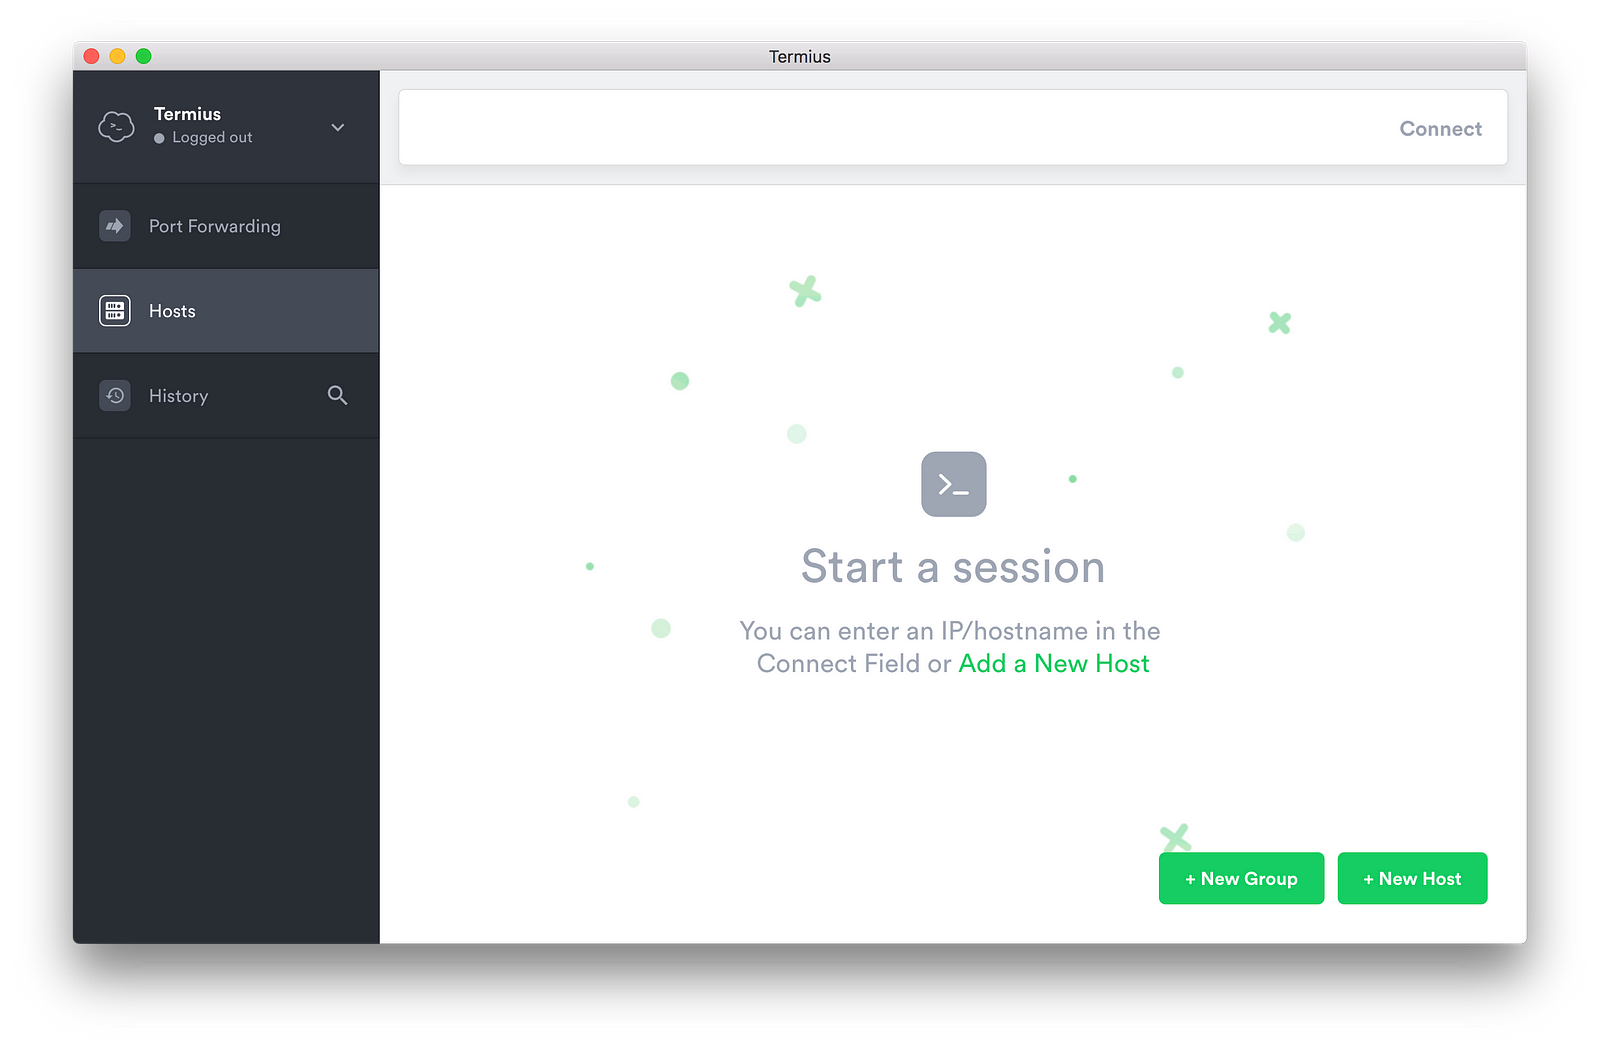
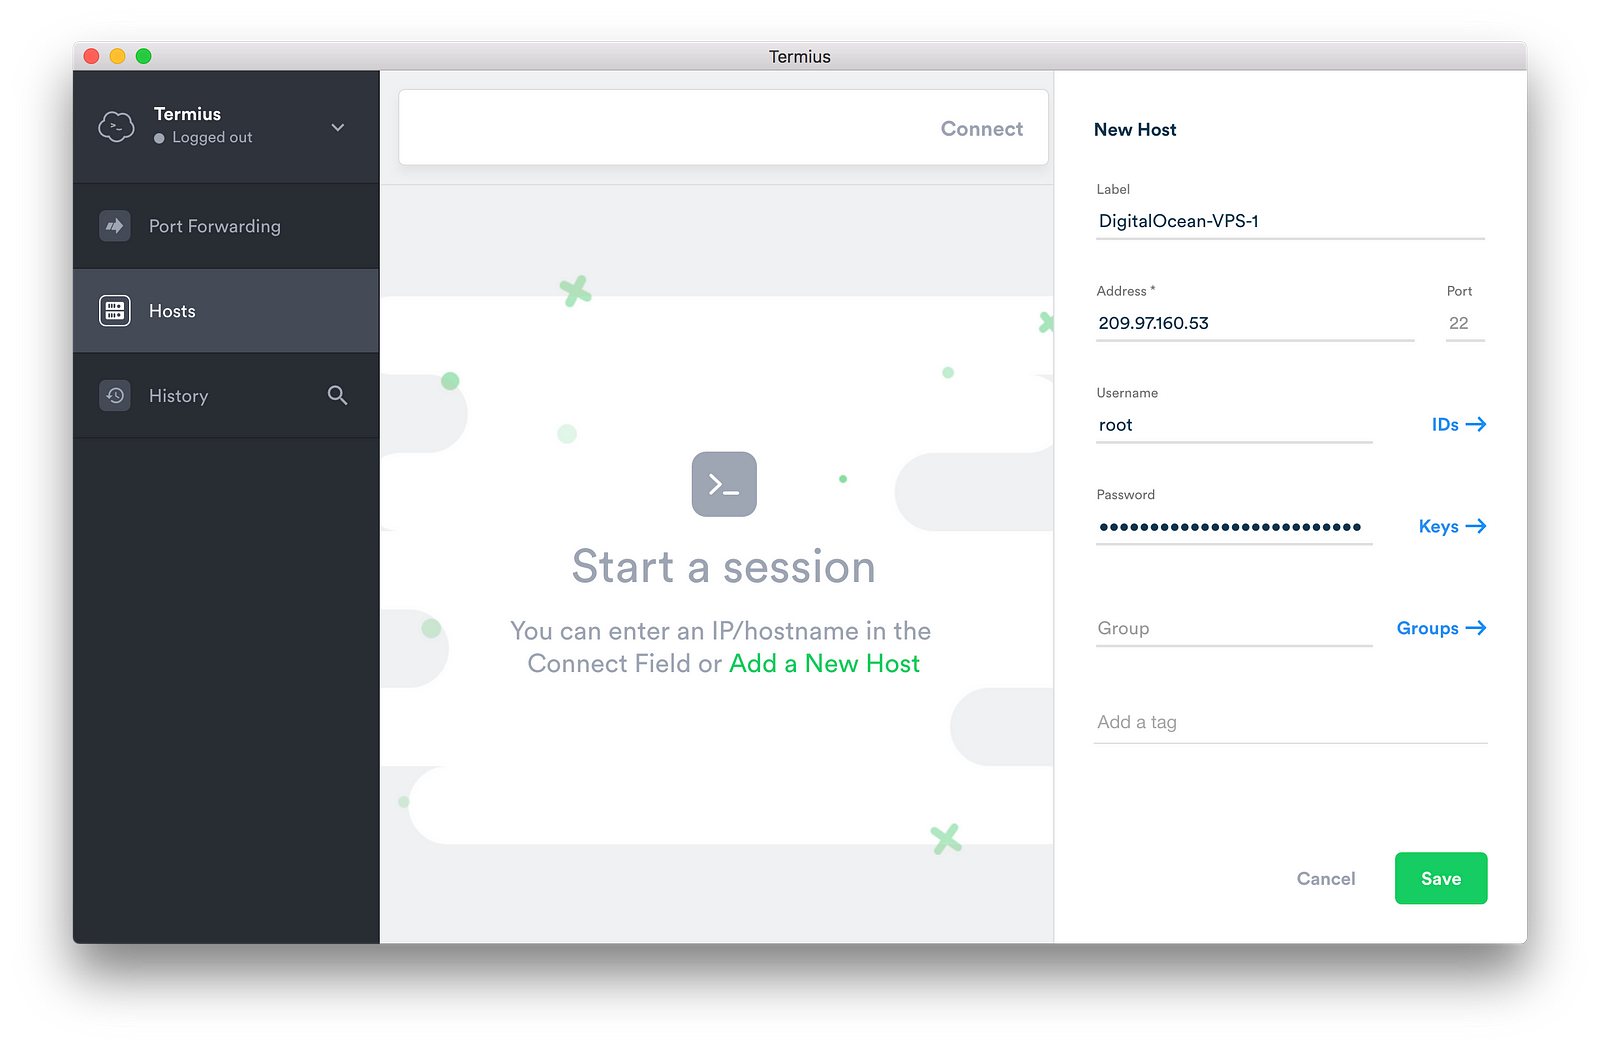
10. Create new host
11. Host info you can find on email which DigitalOcean send to you when you setup Droplet success
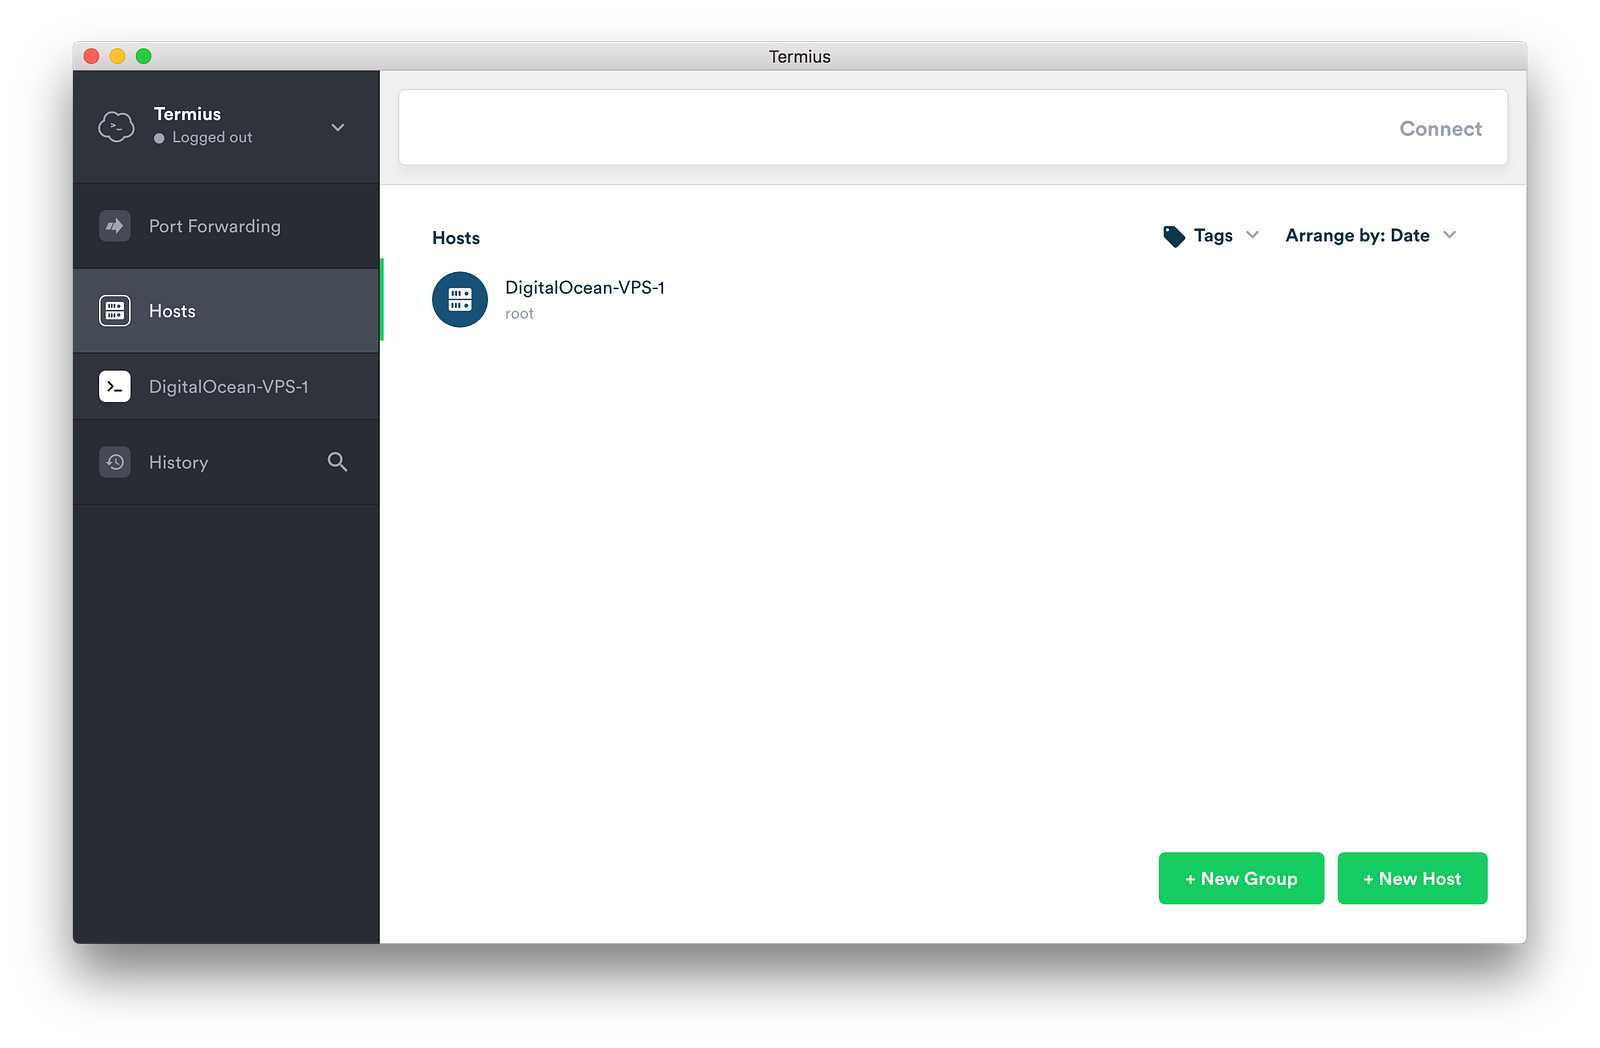
12. Start new Host by double click to hosts
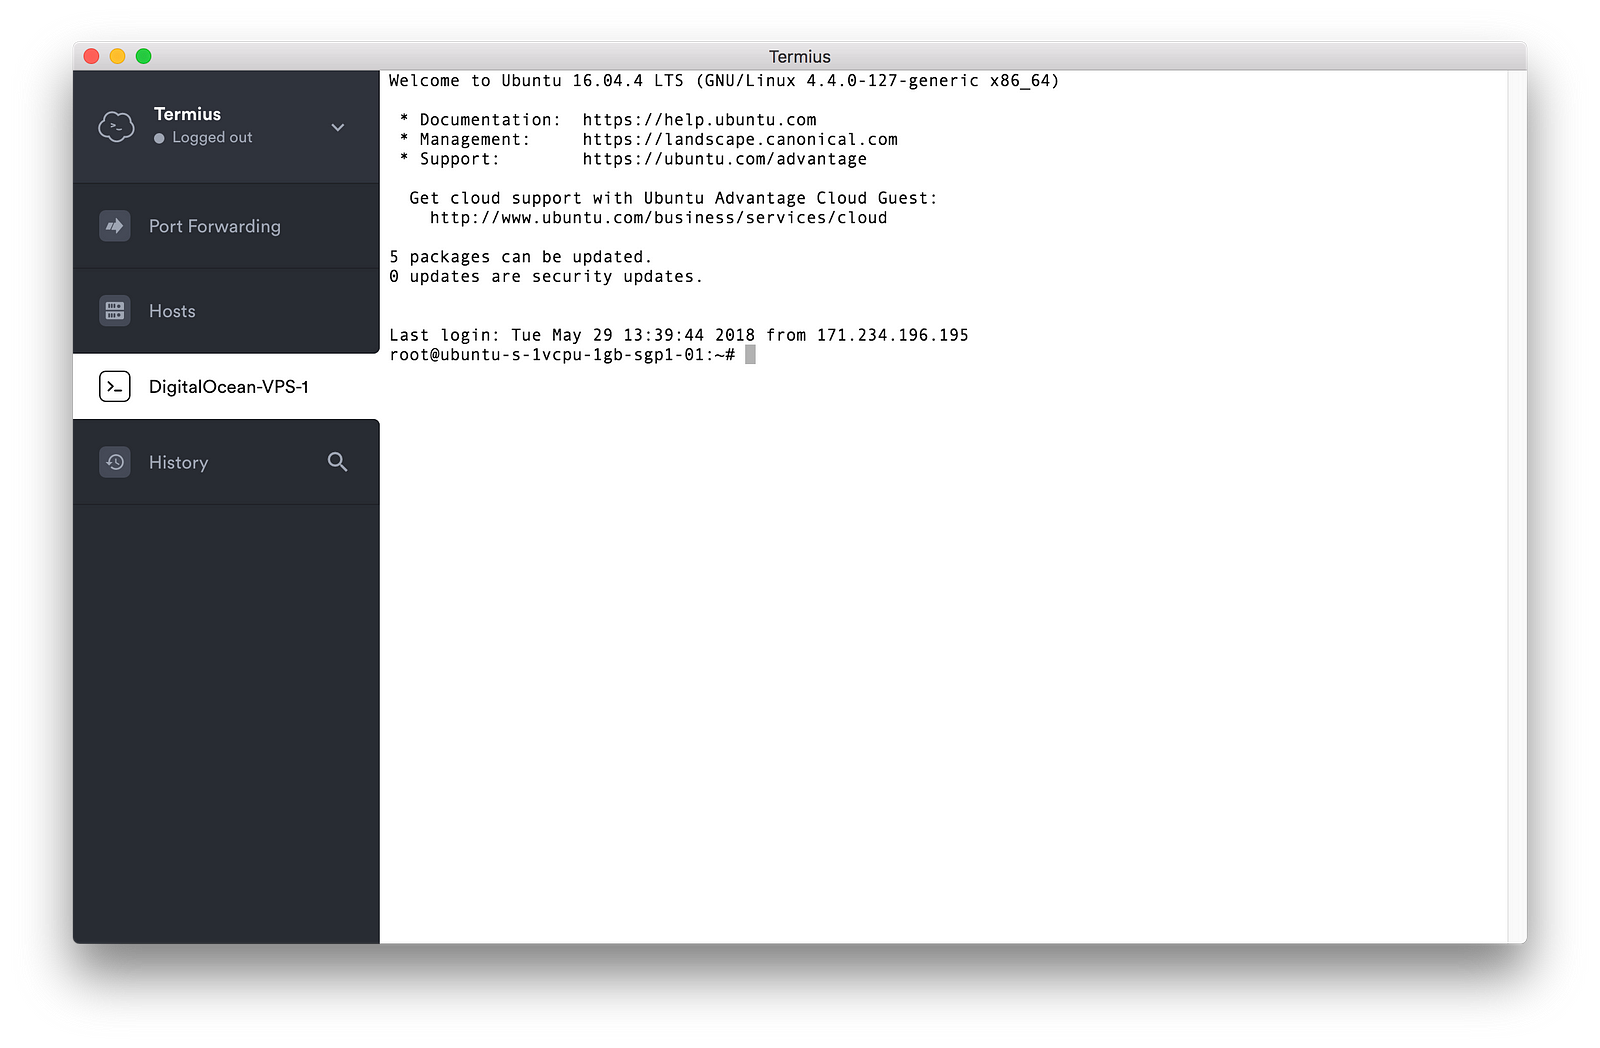
13. Now you can run host terminal on terminus
14. Return your client machine -> go to geekcash ->create new masternode wallet address
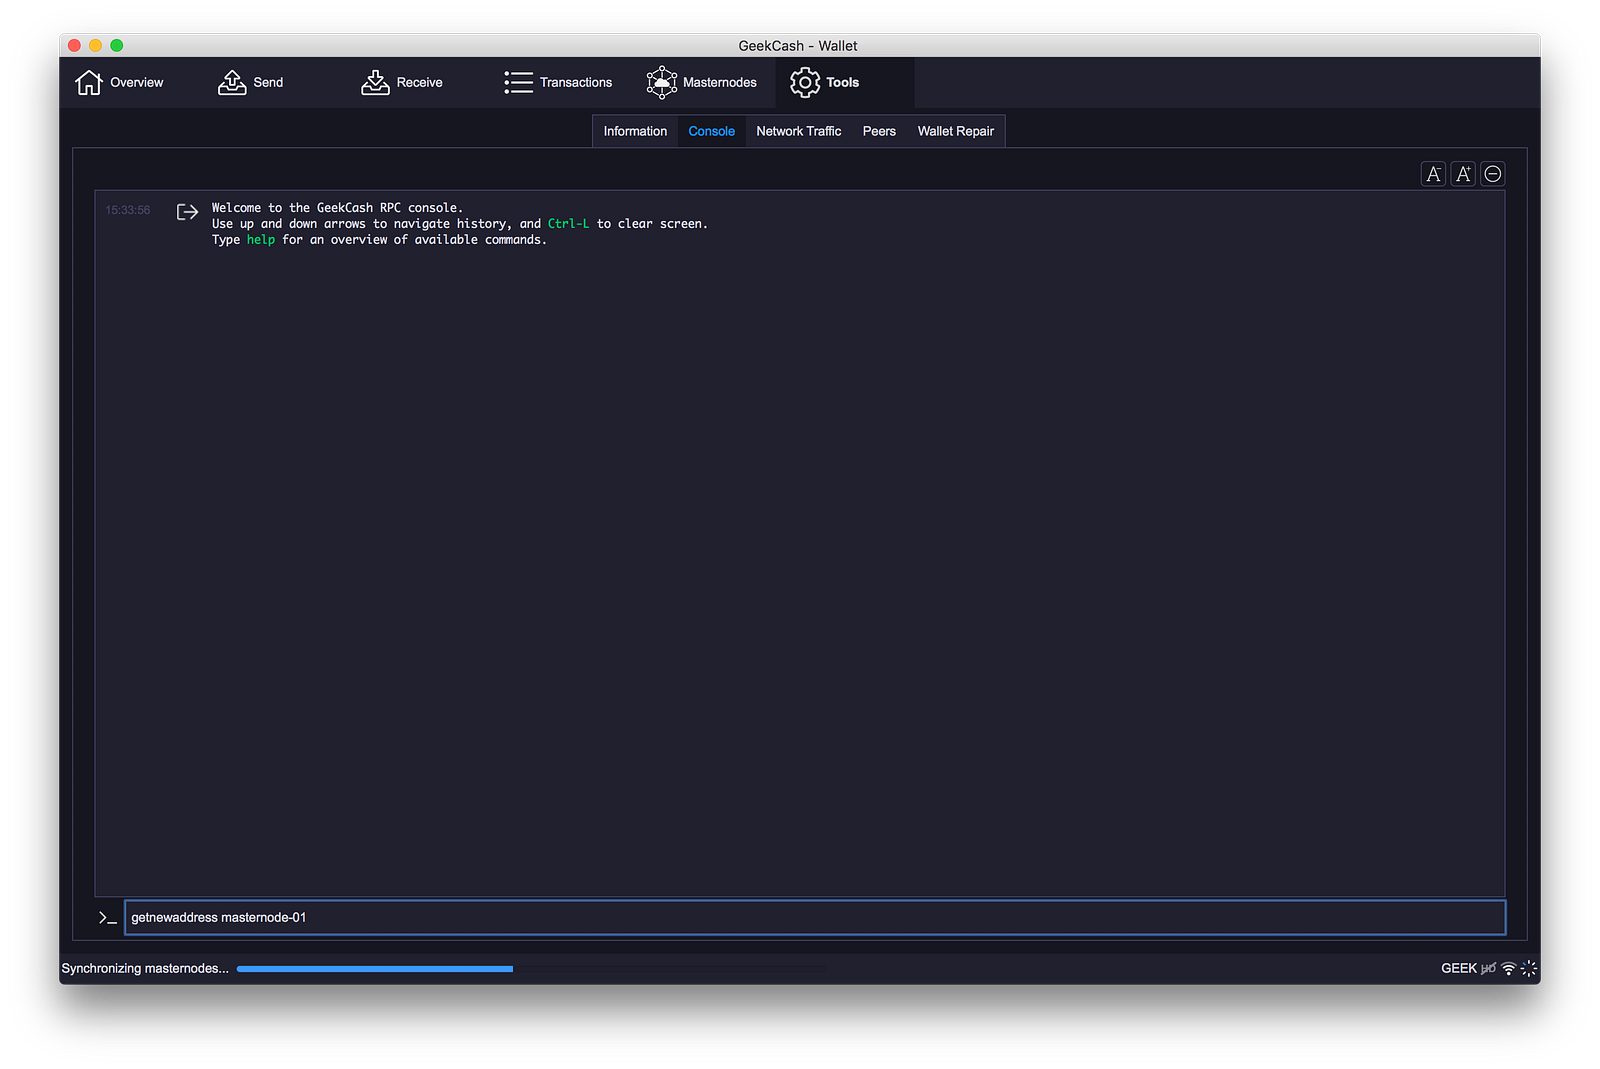
15. Make sure your wallet have enough GeekCash
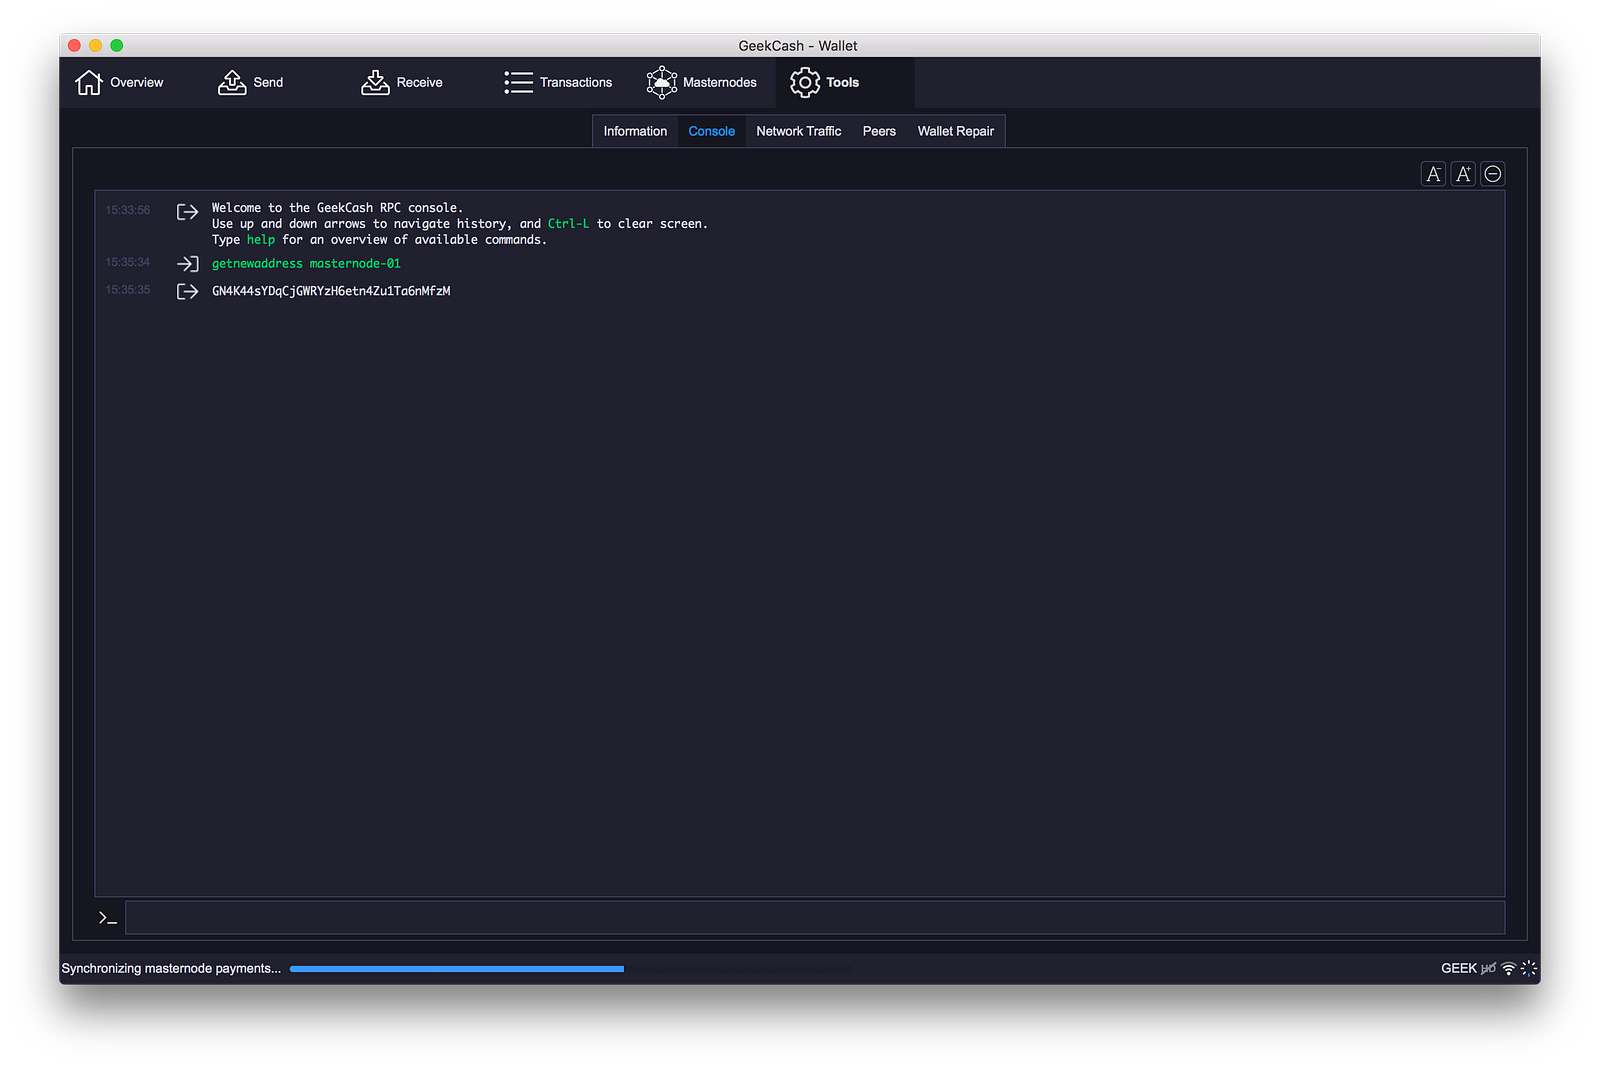
getnewaddress masternode-01
16. Create new masternode address
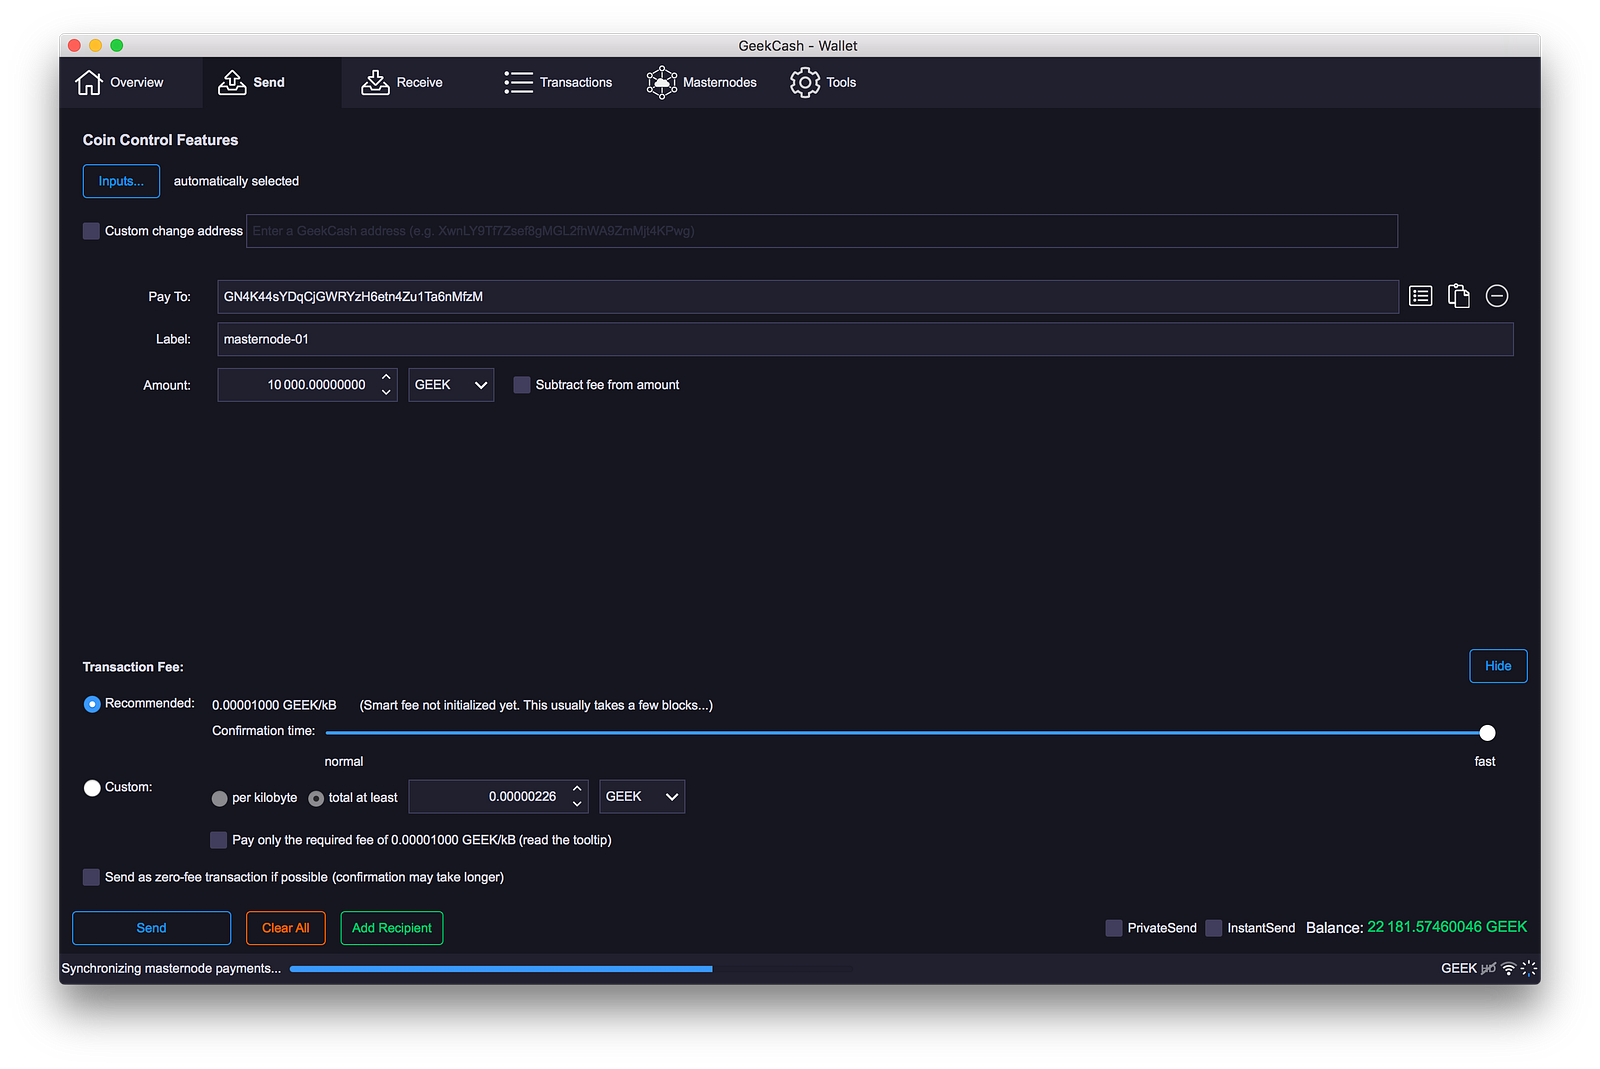
17. Send exactly 10000 Geek to masternode address
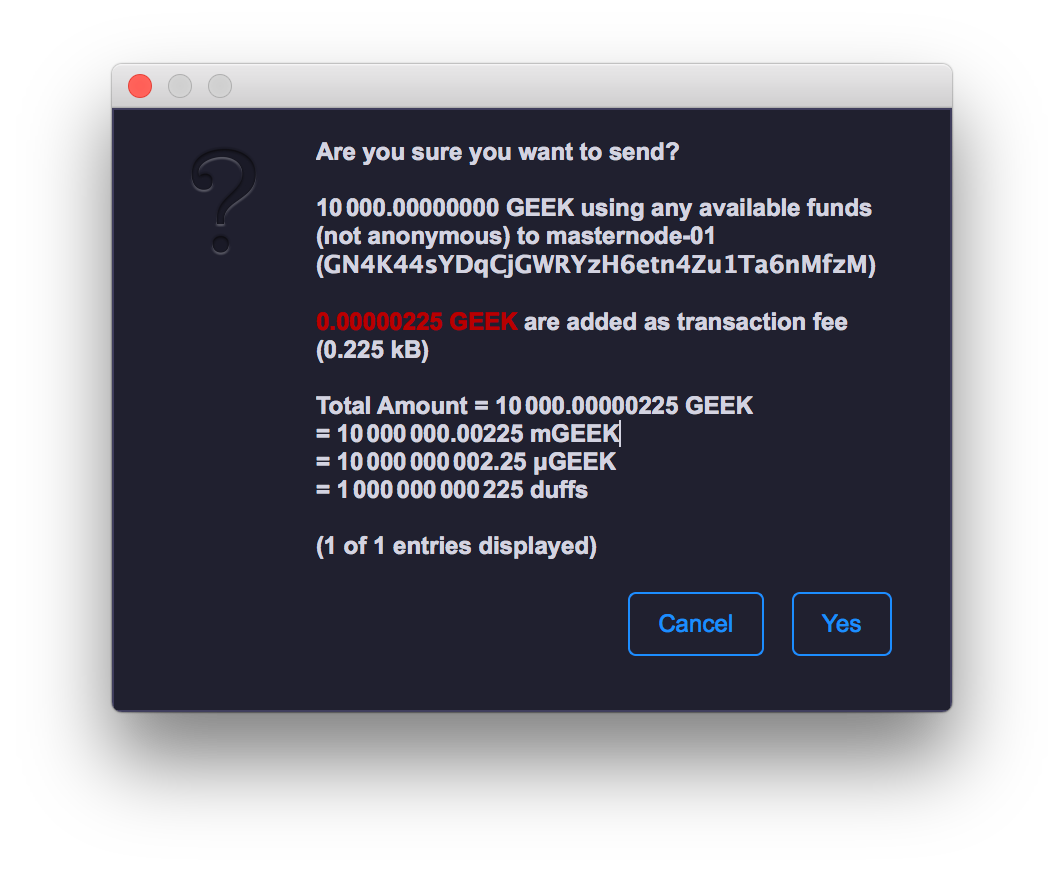
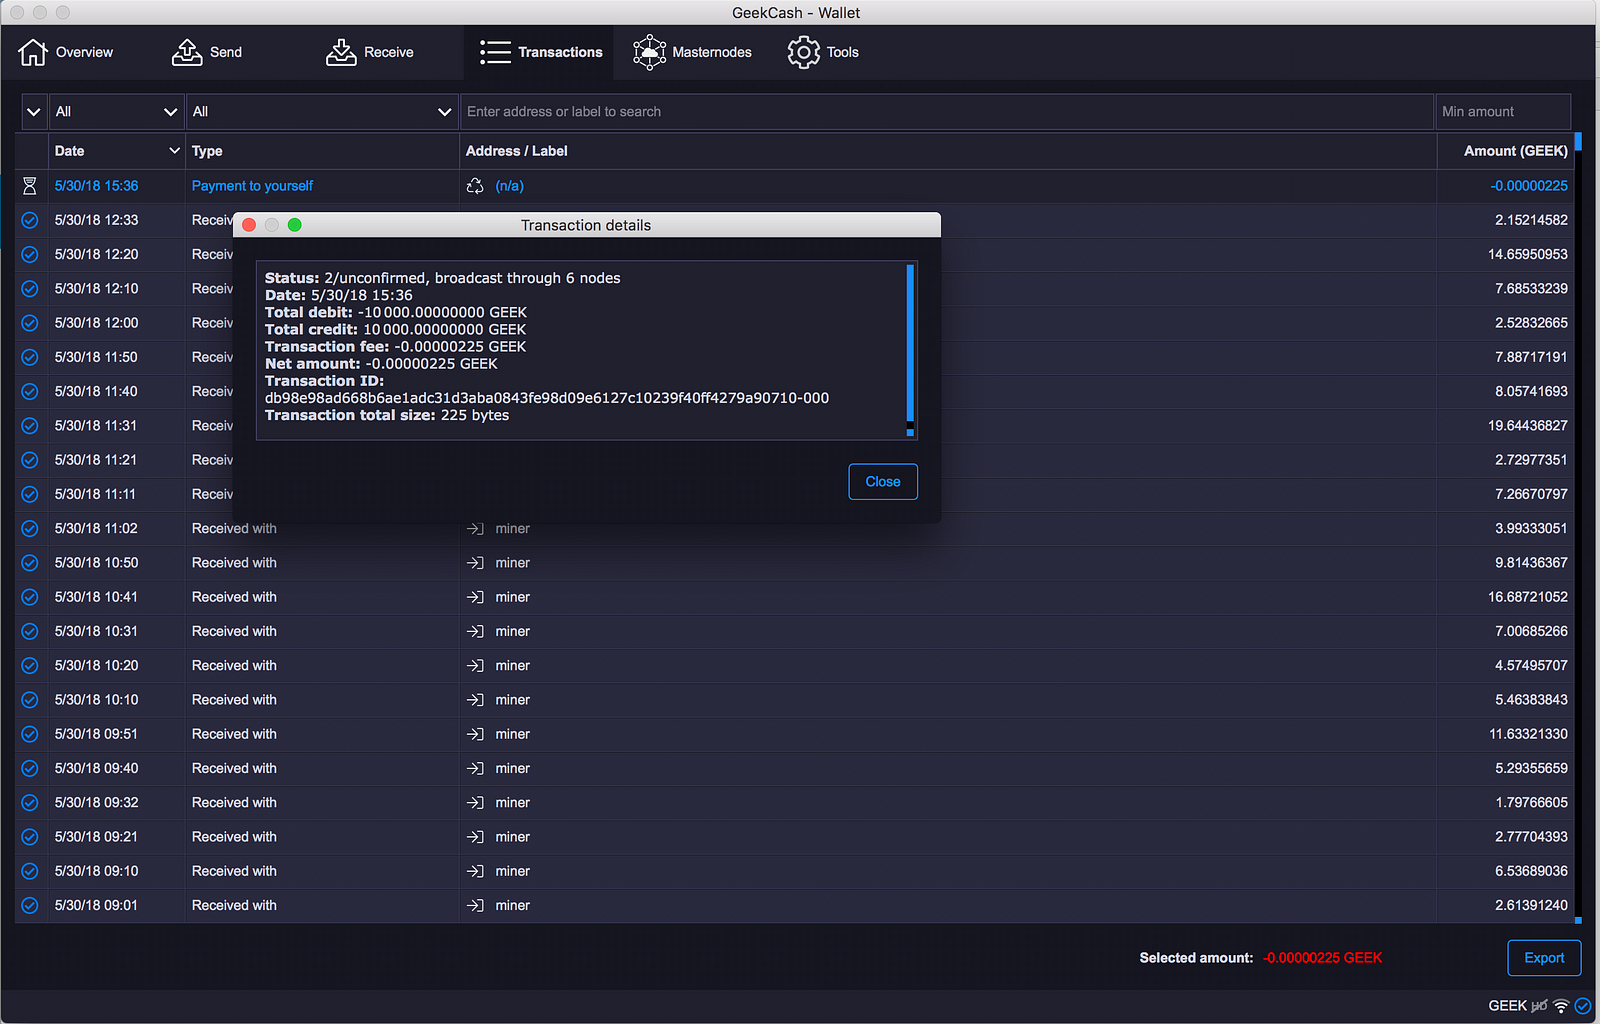
19. Confirm information of transaction
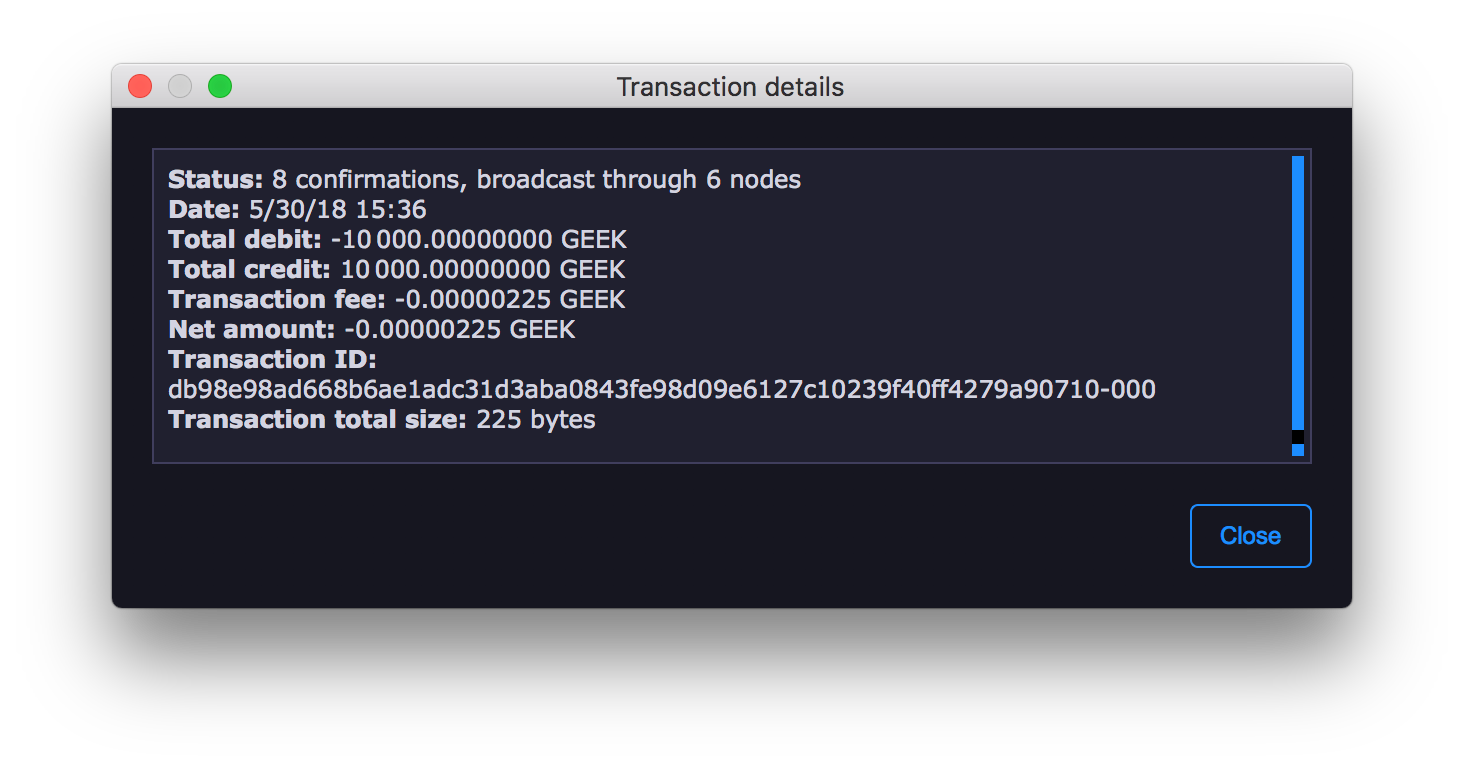
19. Check Transaction status and wait until transaction validated success
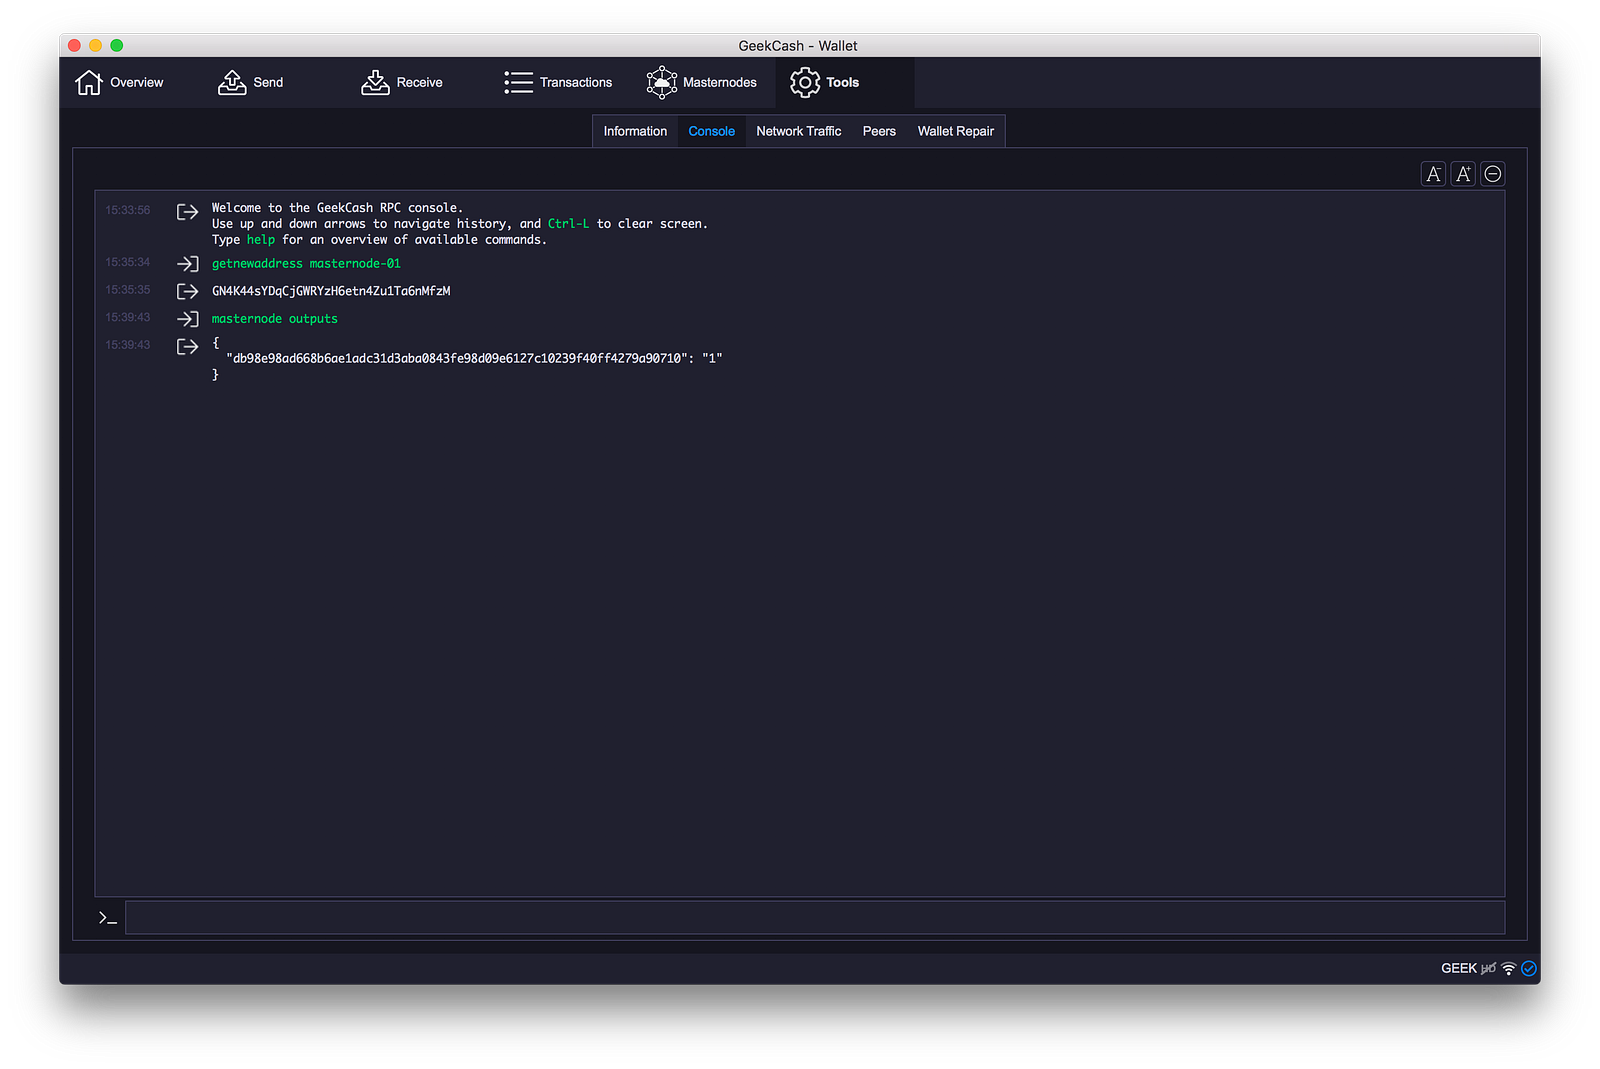
20. Get masternode outputs information
masternode outputs
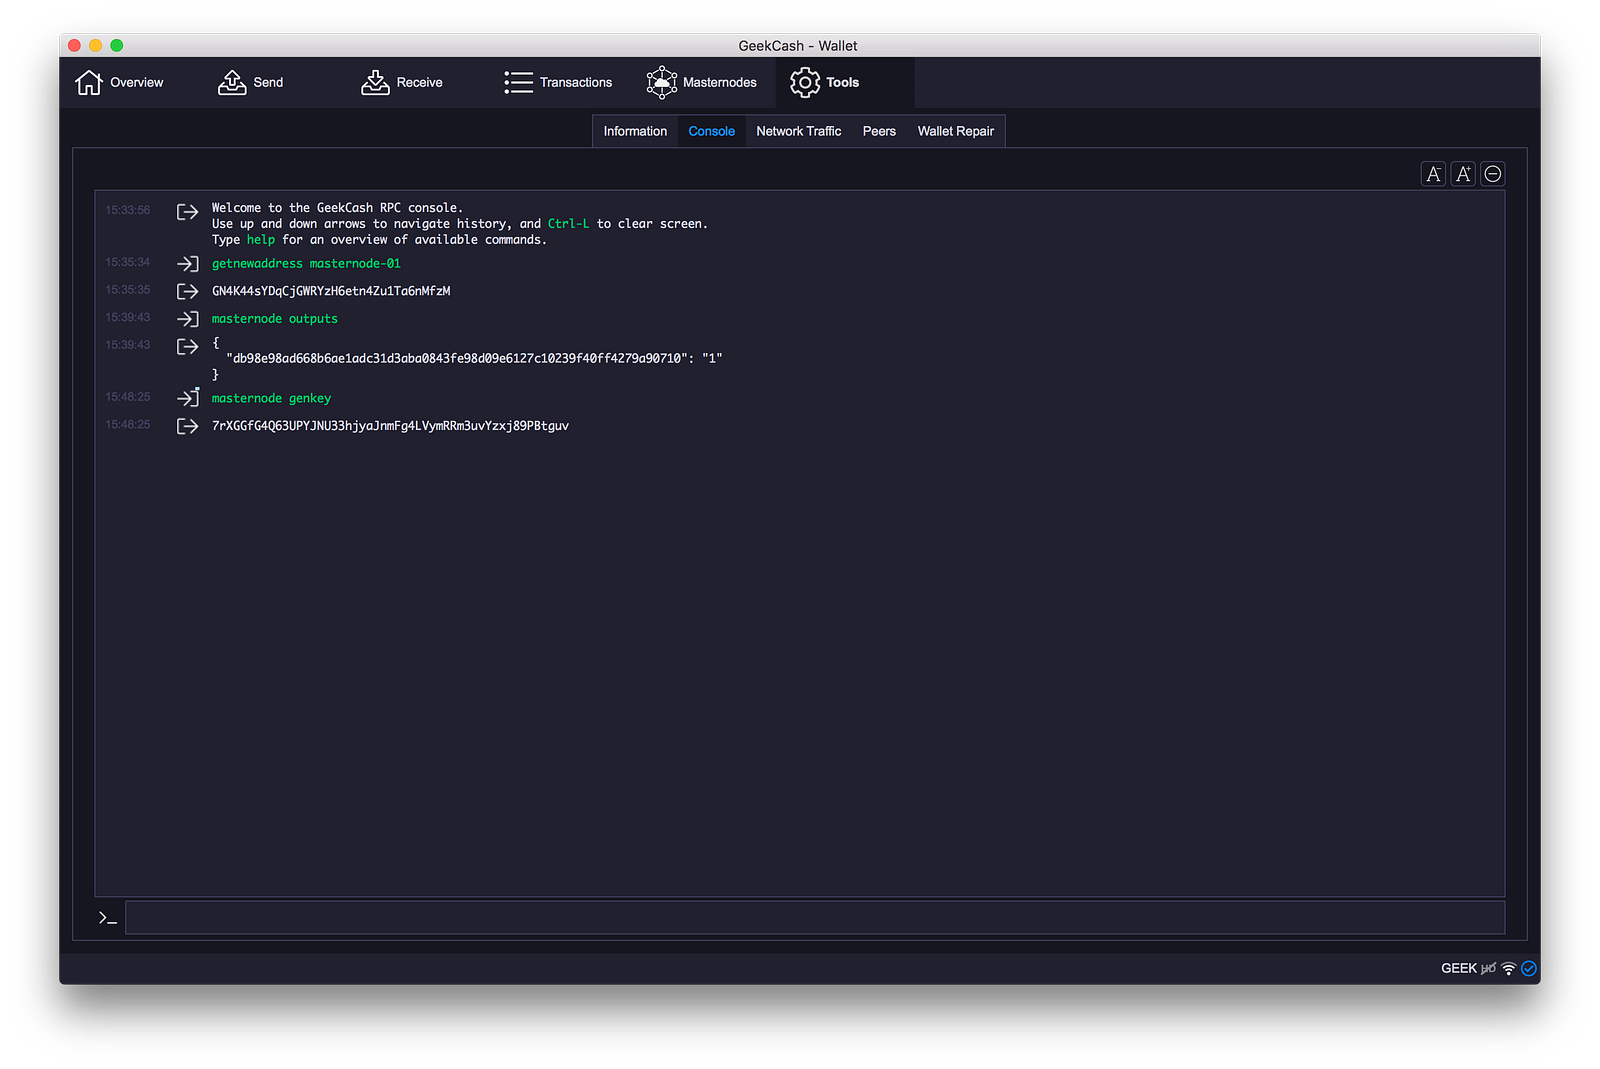
21. Create Masternode Private Key
masternode genkey
22.Return terminus and setup master node use guild https://github.com/GeekCash/masternode
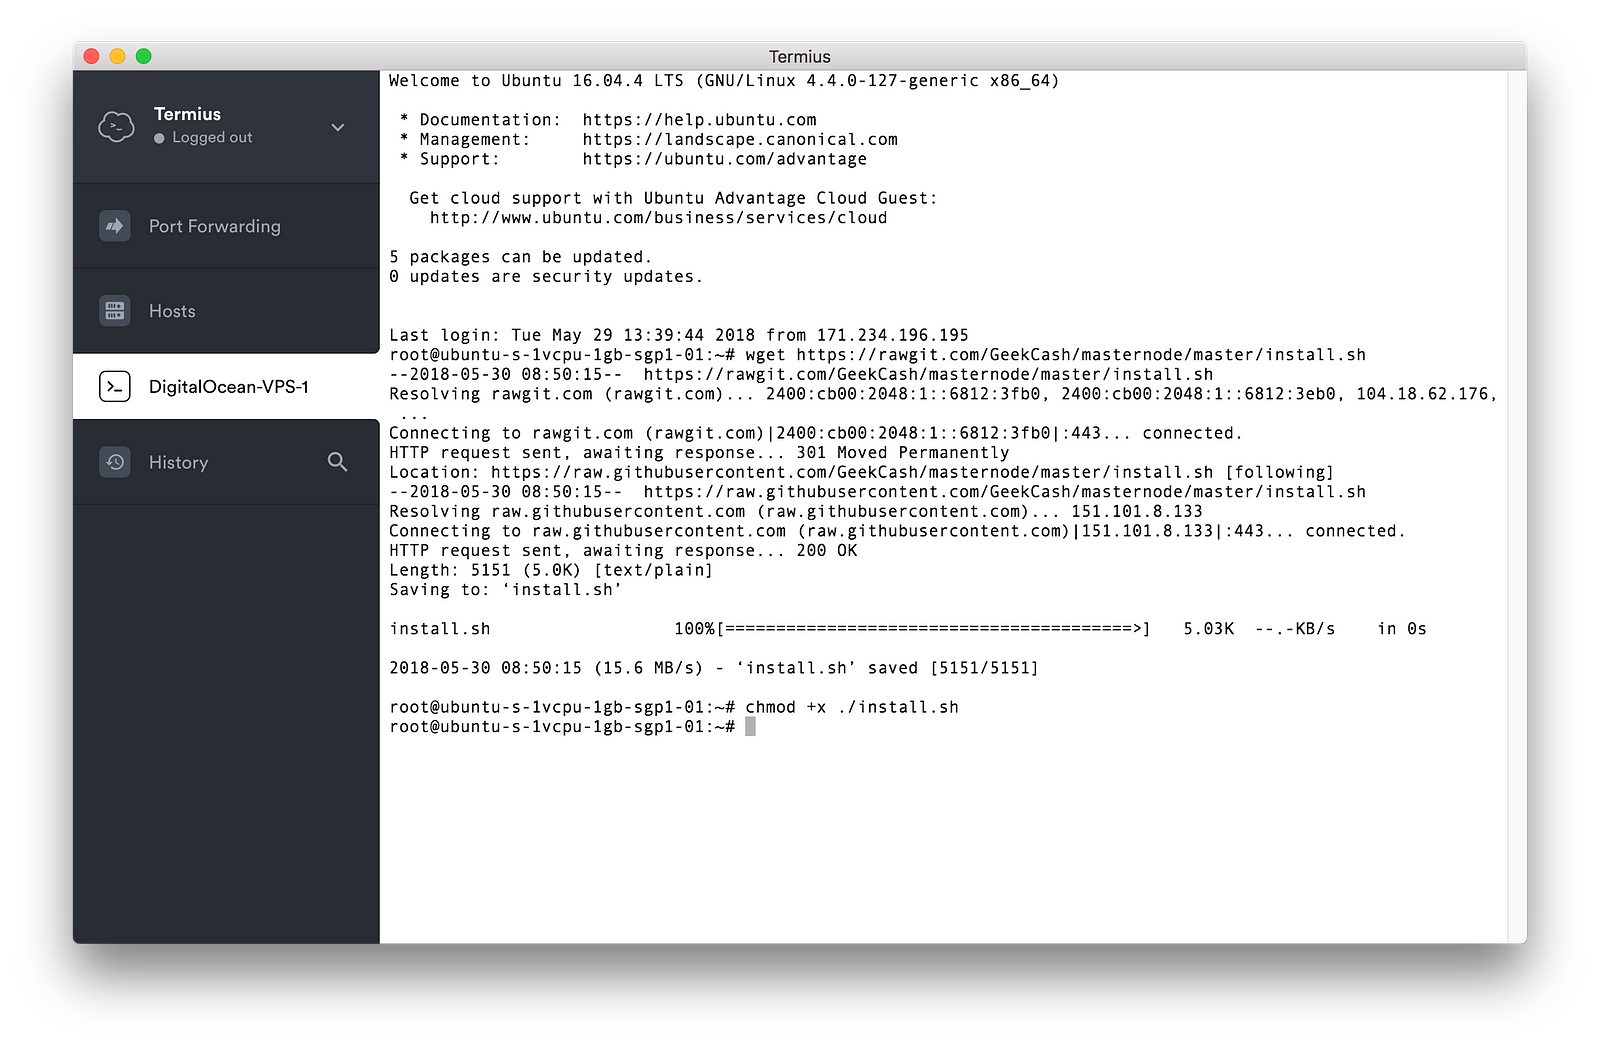
- Download install.sh
- Add permission to run file
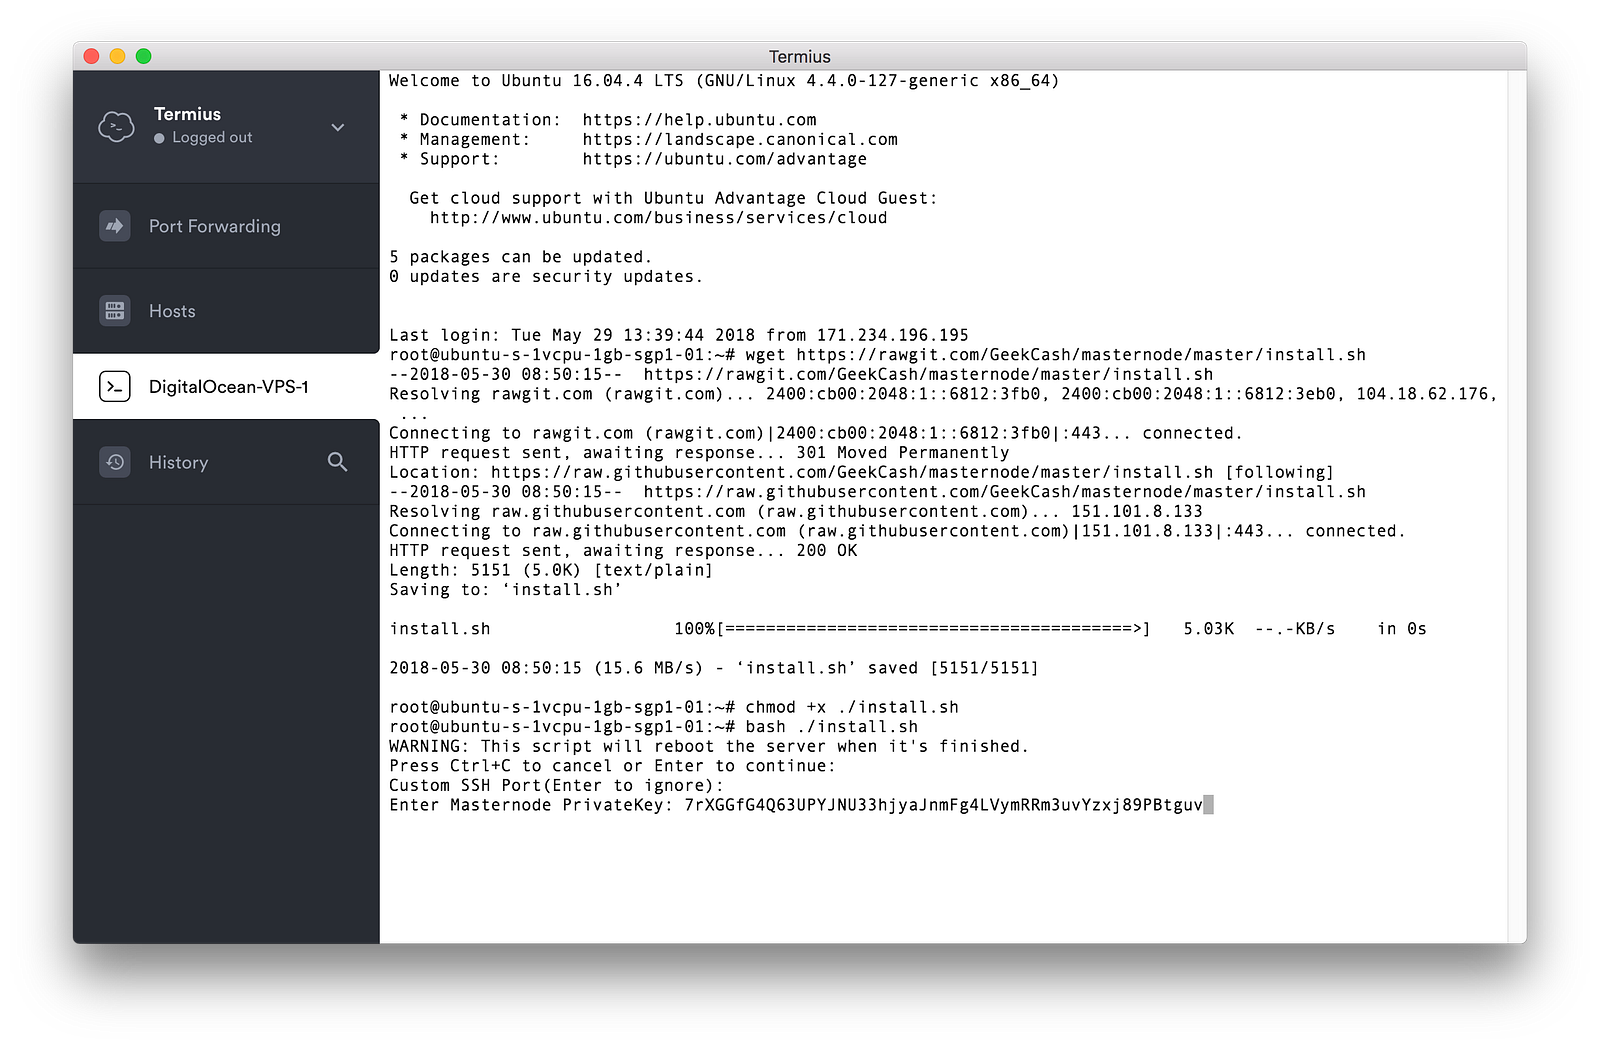
- Run bash /install.sh and enter your masternode privatekey
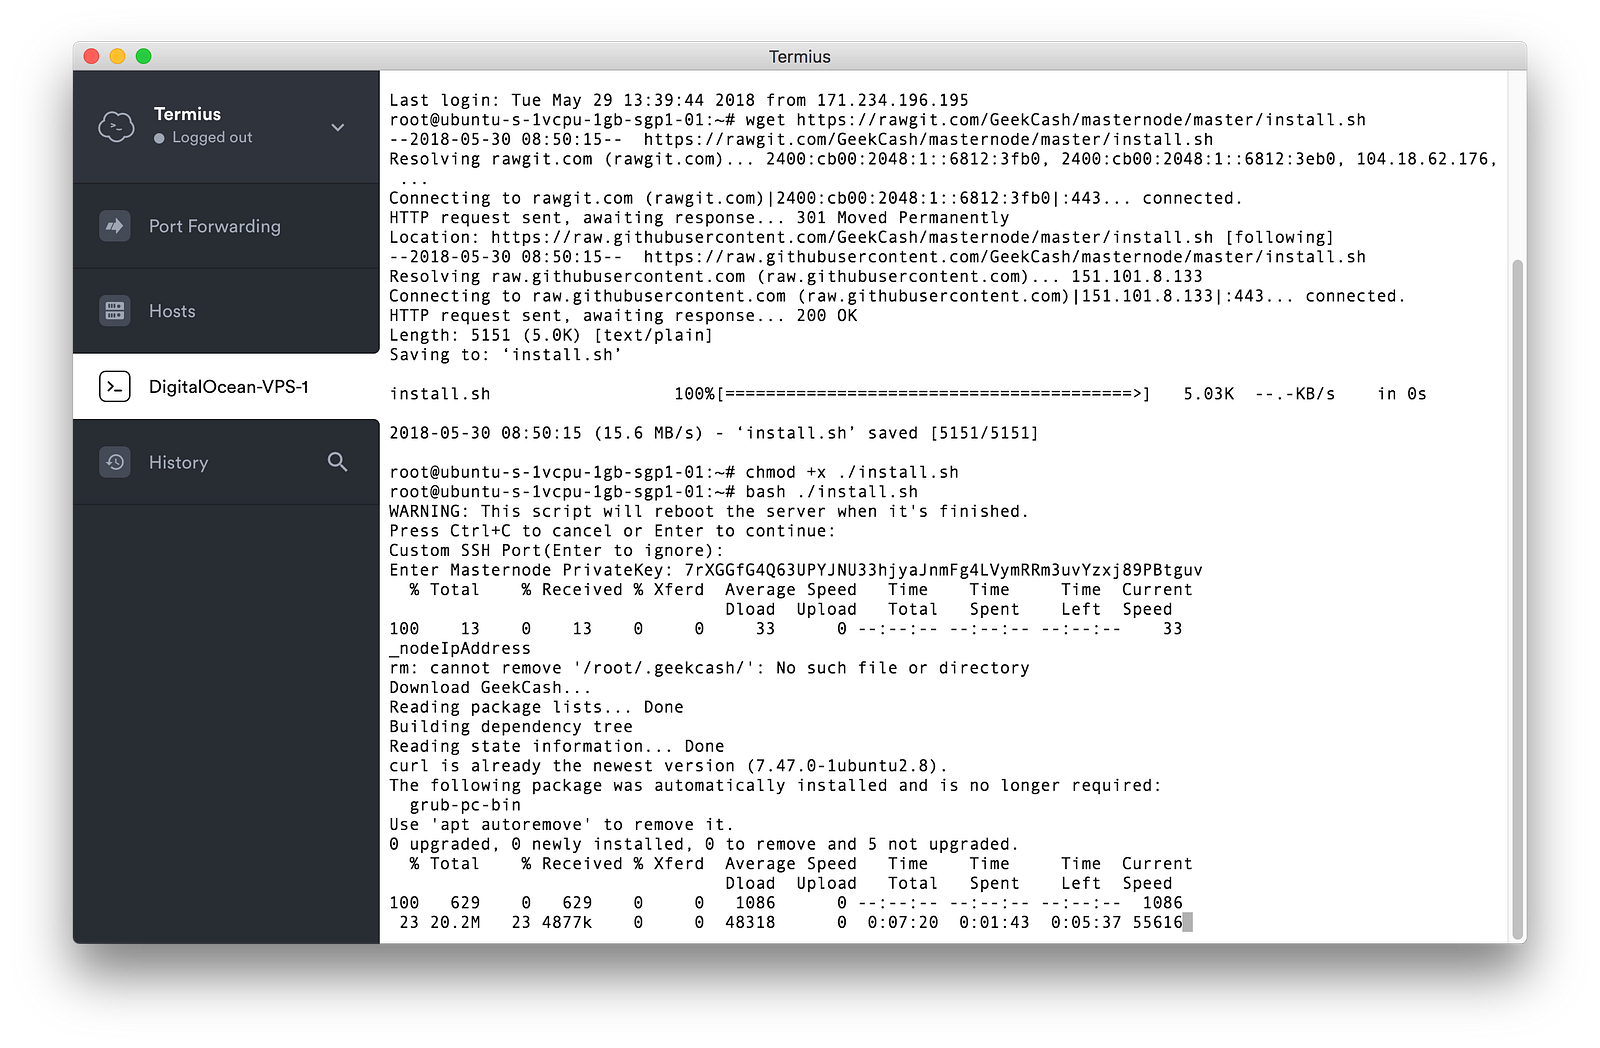
wget https://rawgit.com/GeekCash/masternode/master/install.shchmod +x ./install.shbash ./install.sh

23. Wait until wallet install success machine will restart after install success
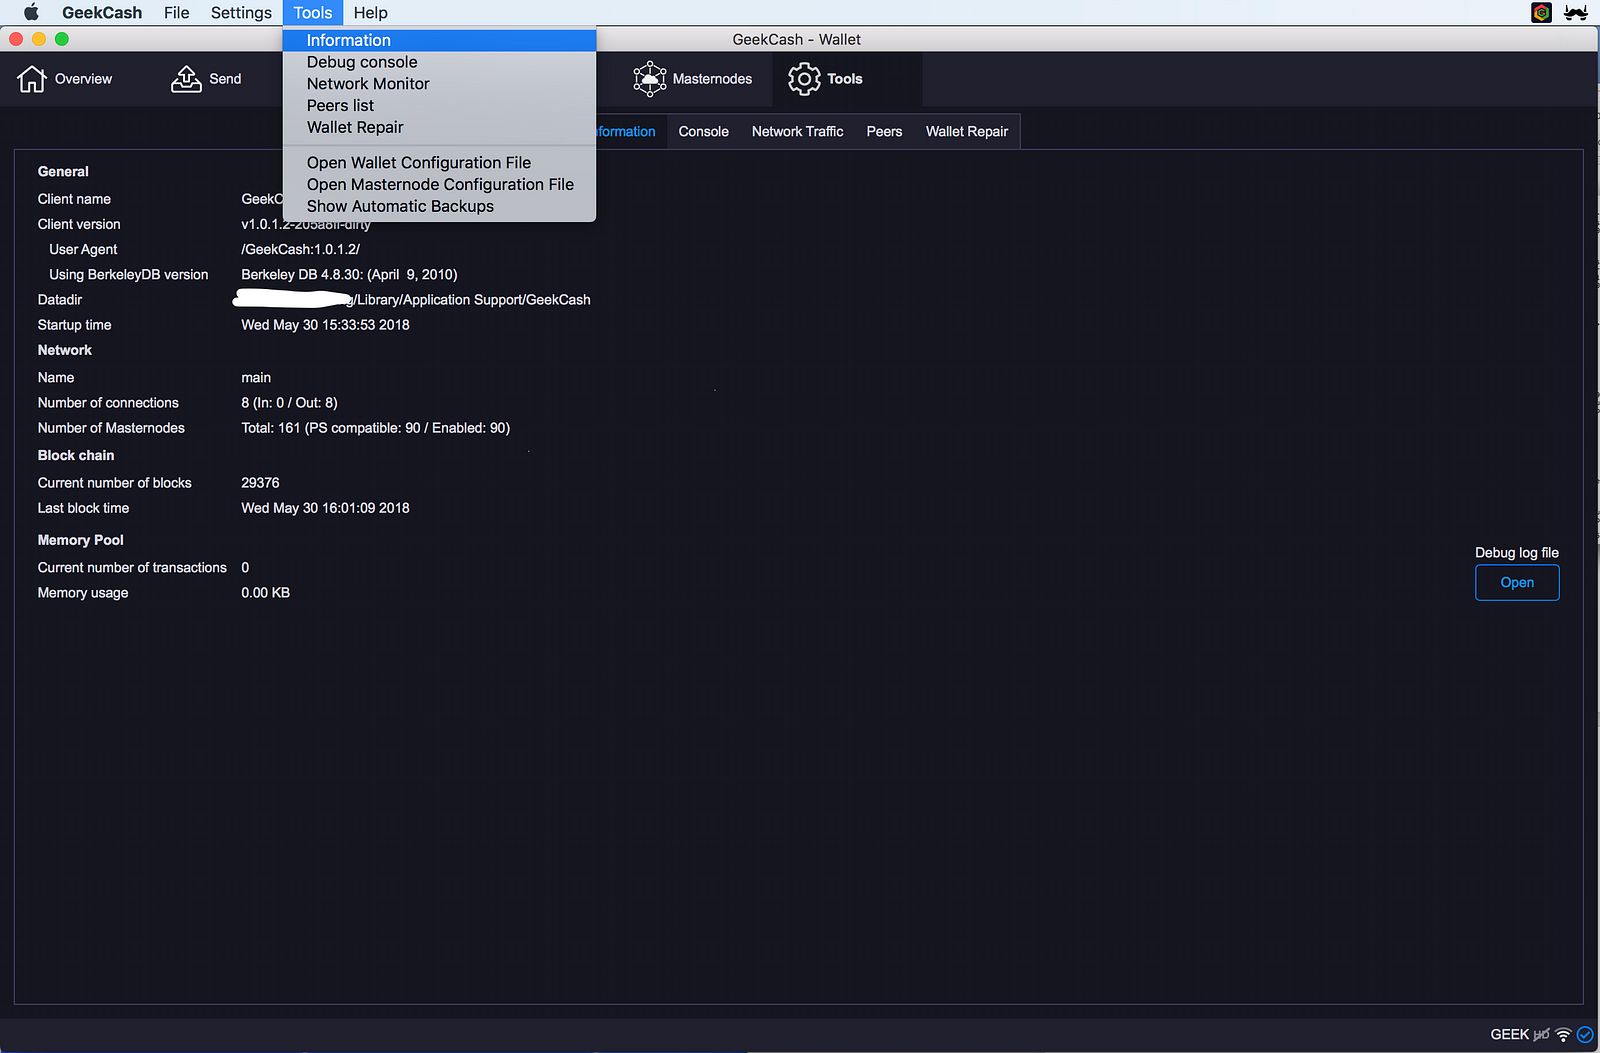
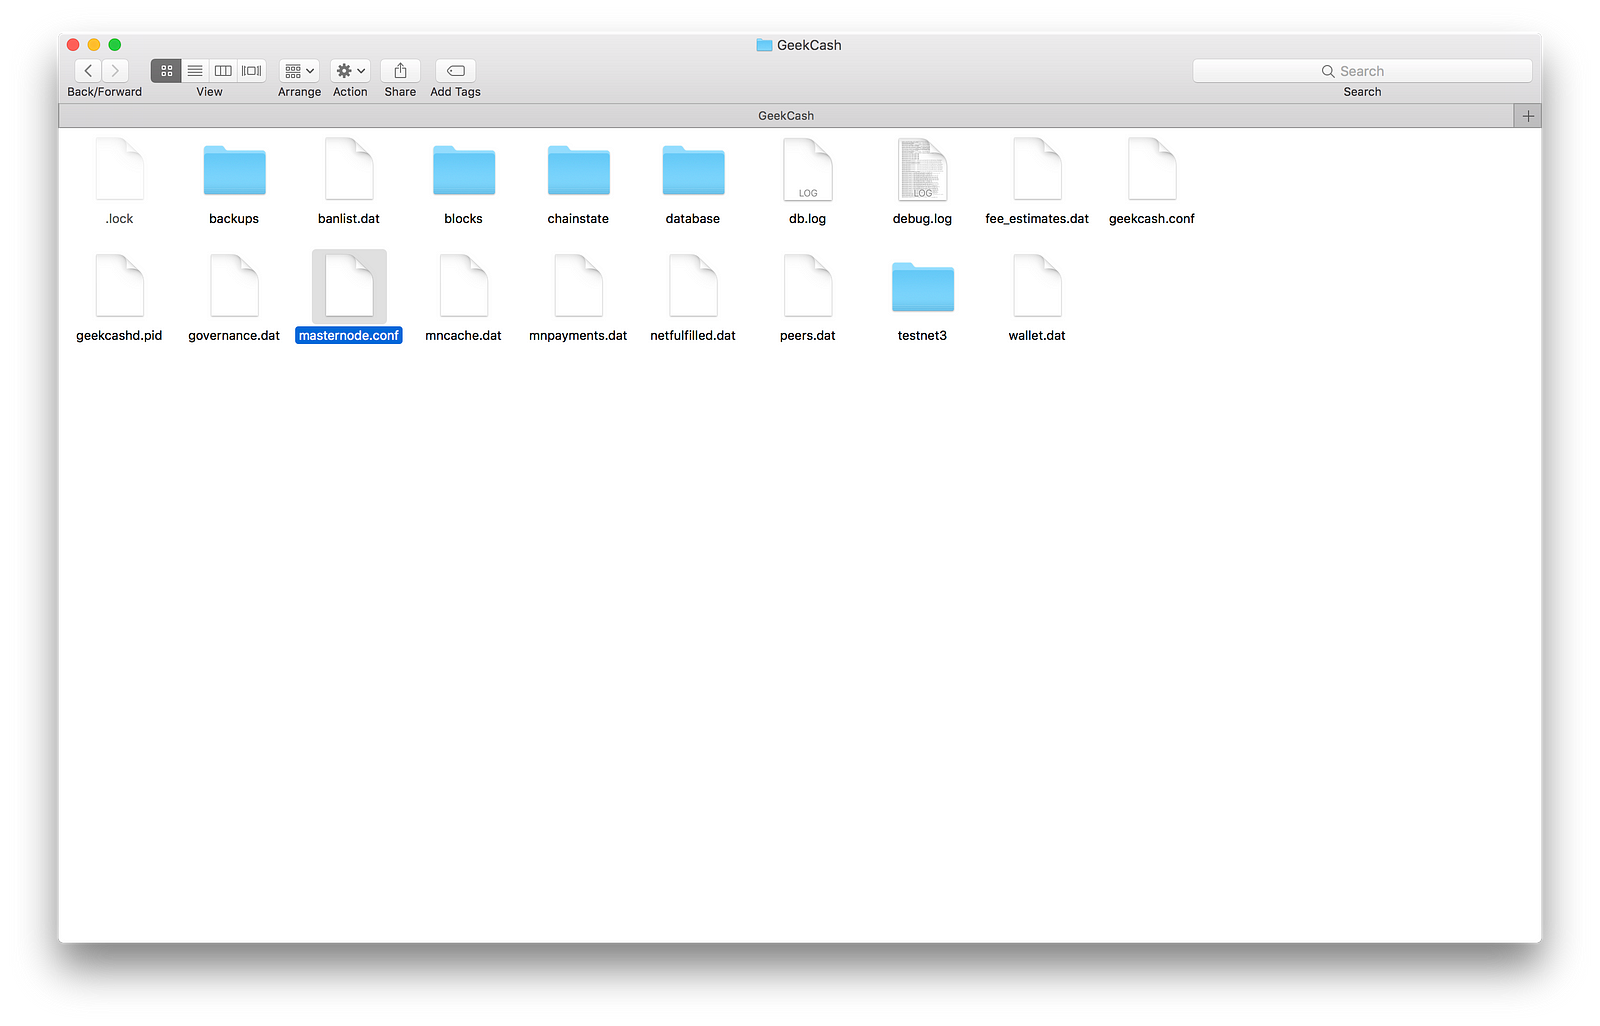
24. Return your GeekCash goto Tools -> Information -> Datadir and go to GeekCash location
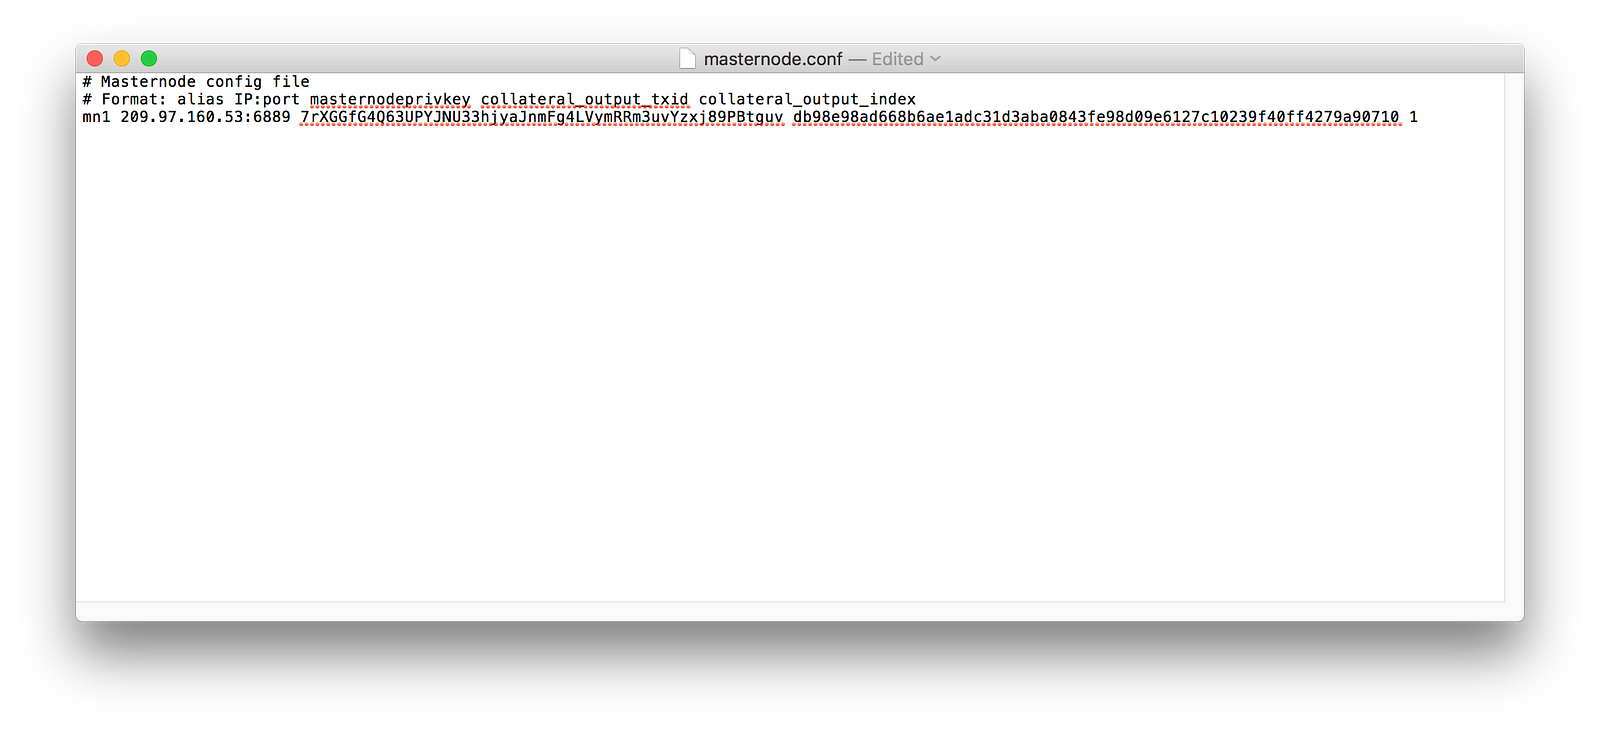
25. Edit file masternode.conf
add config with format: alias IP:port masternodeprivkey collateral_output_txid collateral_output_index
IP : VSP IPv4
Port : default 6889
Masternodeprivkey: 7rXGGfG4Q63UPYJNU33hjyaJnmFg4LVymRRm3uvYzxj89PBtguv (masternode genkey)
collateral_output_txid: db98e98ad668b6ae1adc31d3aba0843fe98d09e6127c10239f40ff4279a90710(masternode outputs)
collateral_output_index : 1 (masternode outputs)
26. Save file and restart GeekCash
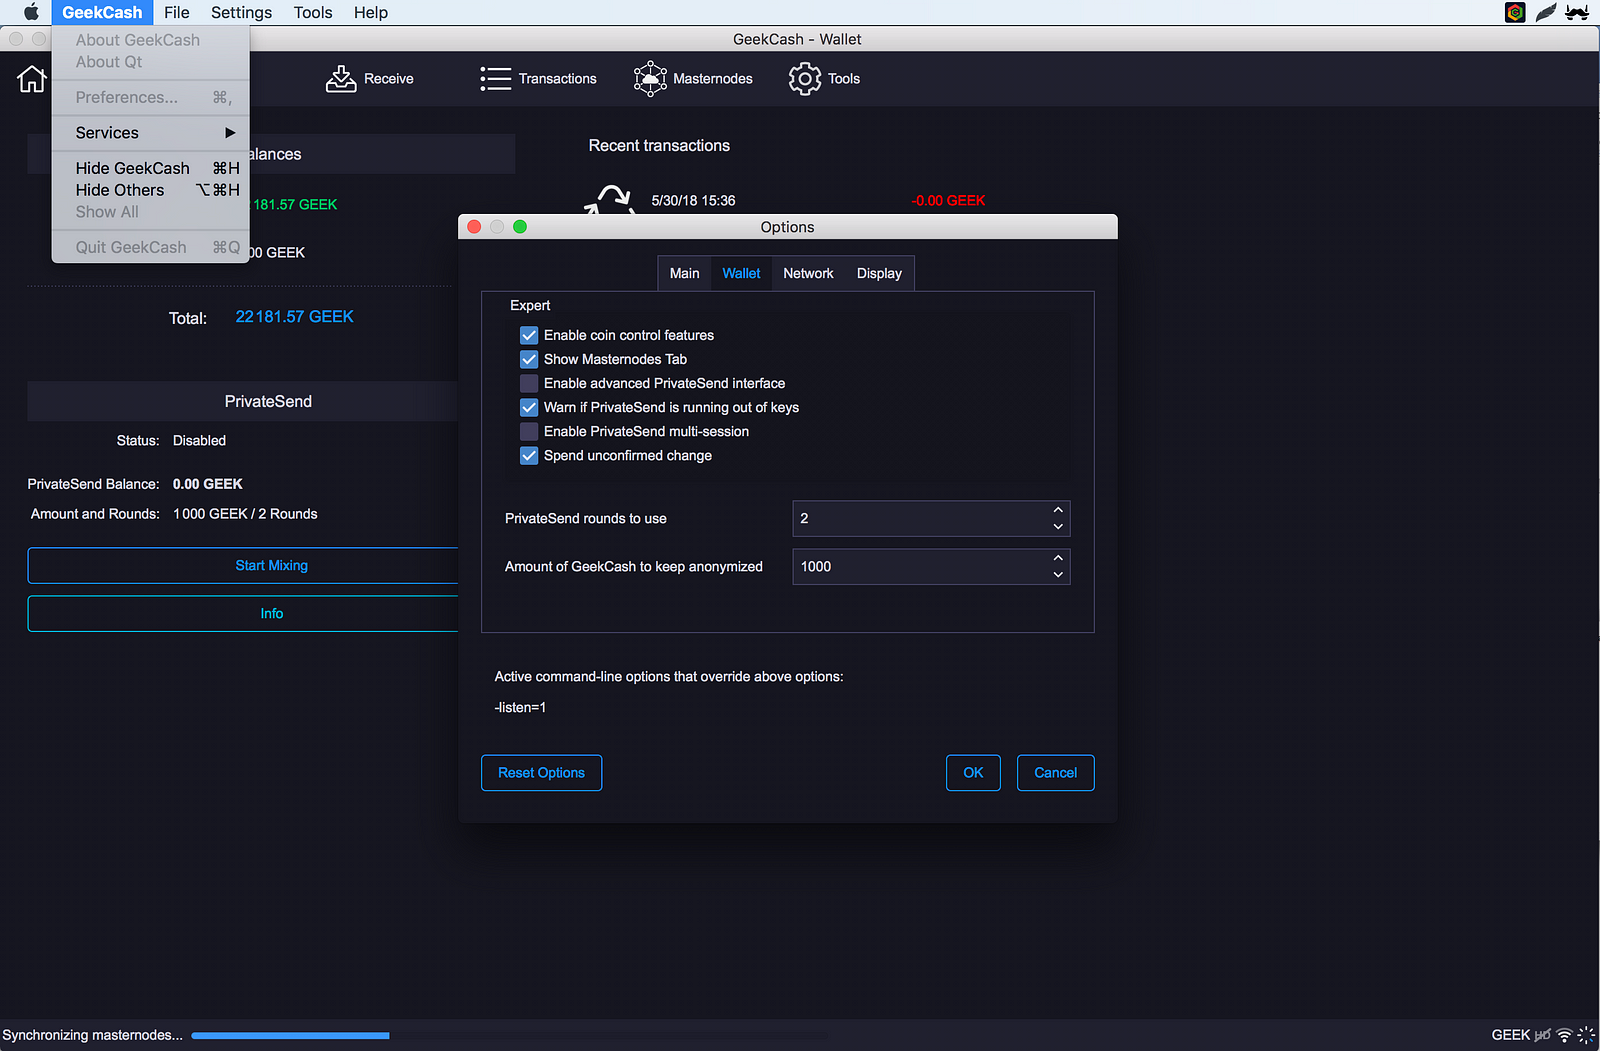
27. Go to Preferences -> Wallet tab -> click Show Masternode Tab
28. On tab Masternode wait until Synchronizing success => click Start all
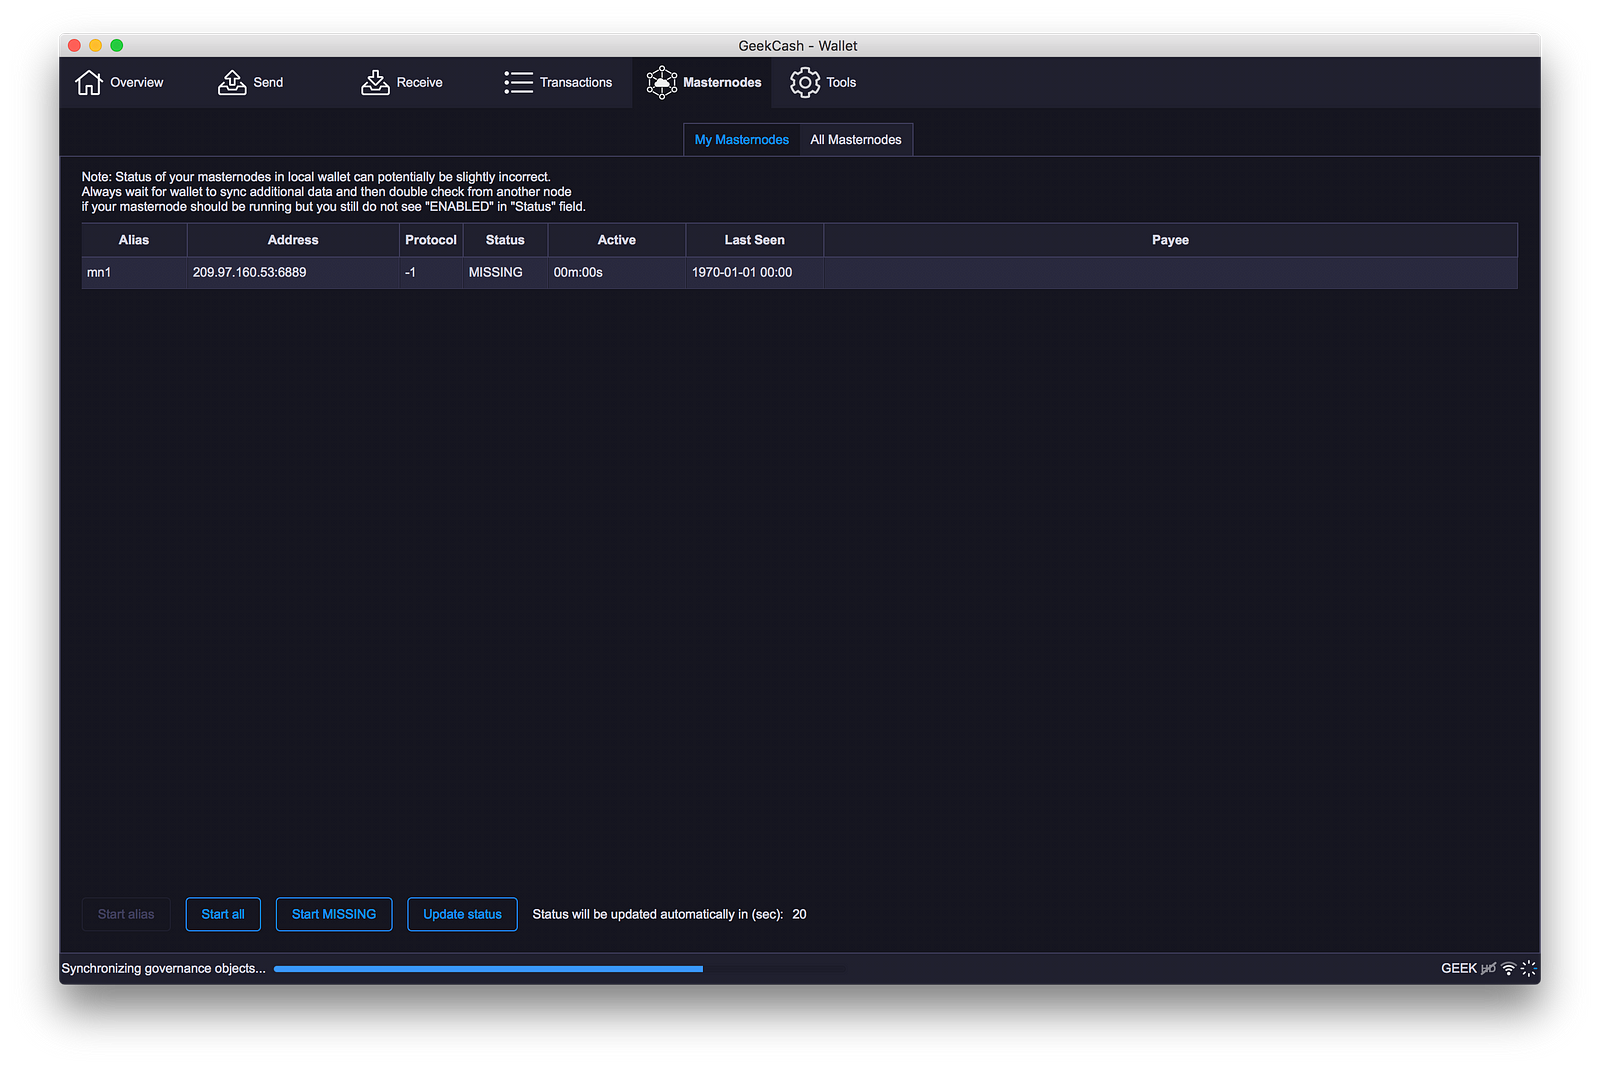
29. You will see successfully notice

30. On Tab All Masternodes -> paste your Address into Filter List
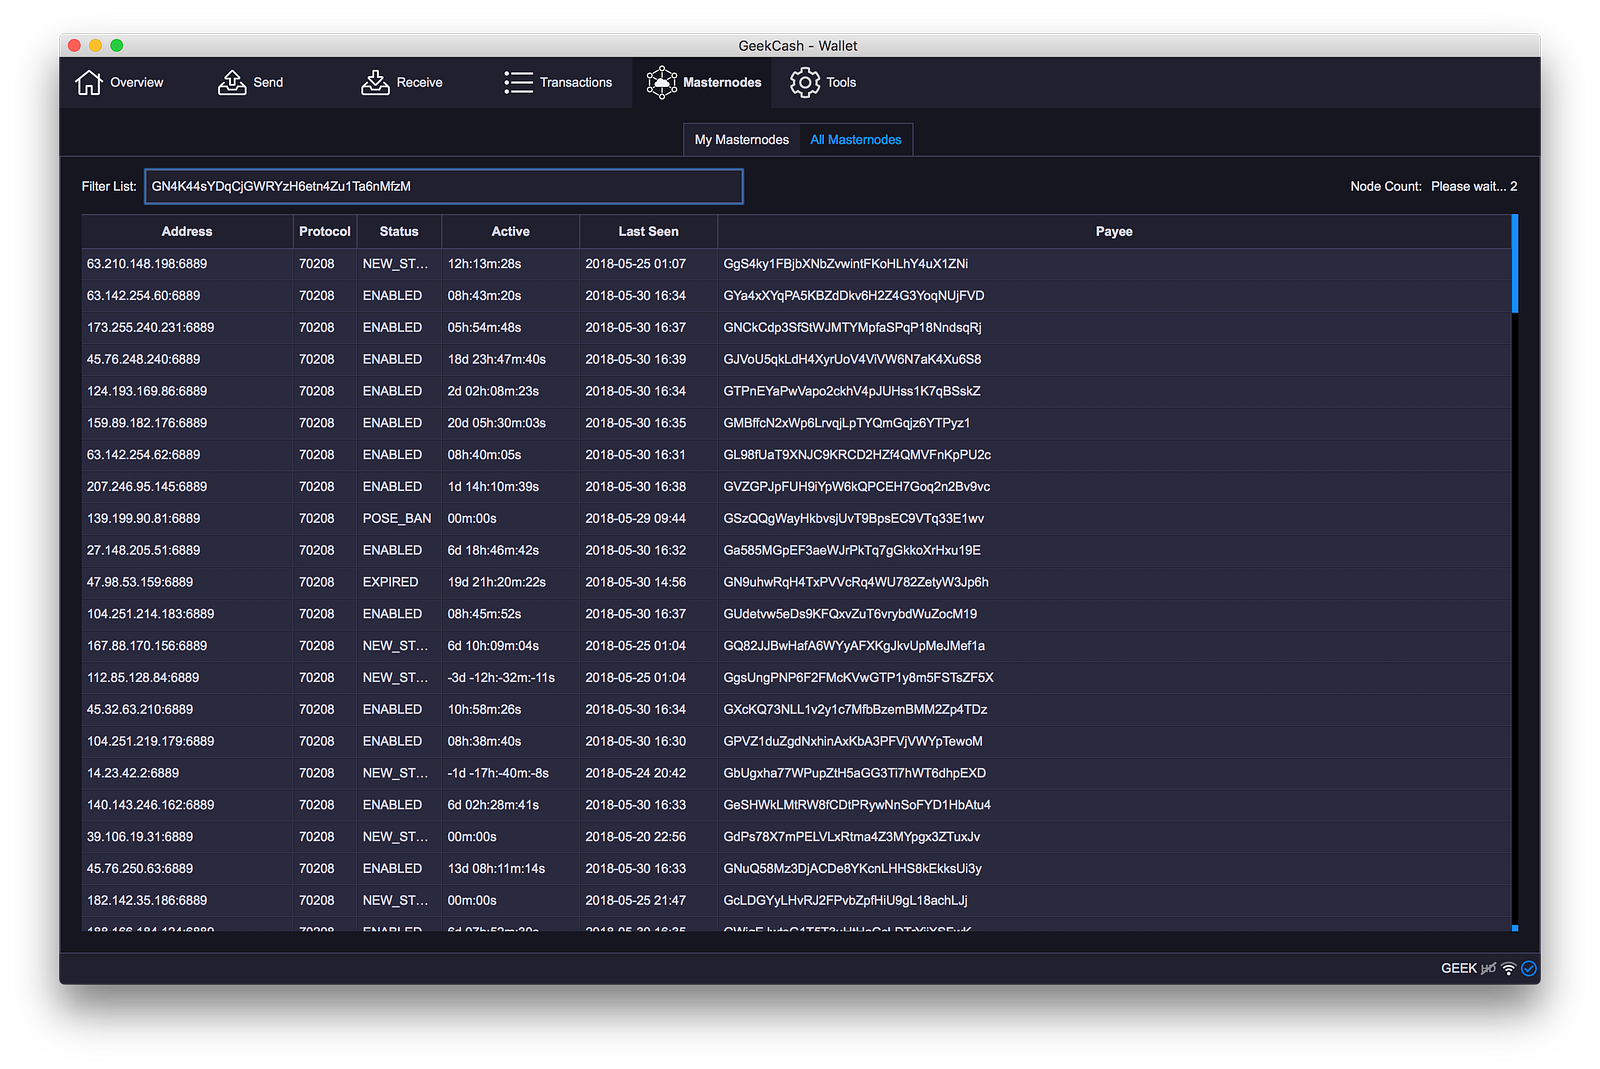
31.Your master status will be PRE_ENABLED

32. When you start masternode it will be queued in sync, can wait 30 min. However, when the network is larger, many masternodes take a long time to synchronize data, which may take up to several hours, or even longer to switch to the Enabled state. But do not worry, ignore the system for its work.

Did you have 10,000 Geek? Get it now: https://pool.geekcash.org
Suggest:
☞ GeekCash - Install Masternode Tutorial
☞ The BEST Blockchain/Web 3.0 Project Ideas - For Developers
☞ Best Masternode Cryptocurrencies for 2018
☞ Blockchain Applications and Its Future
☞ What are Masternodes? Complete Beginner’s Guide
☞ Earn $340 for Learning Blockchain | Nervos Blockchain Tutorial For Developers