Vue Test Utils Mocha Webpack Example

Basic setup
We’ll start off by running this command in the terminal:
$ mkdir vue-tdd && cd $_
$ npm init -y
This will create a new directory called vue-tdd and scaffold an basic package.json file inside it.
Next, we need to install Vue and configurate Webpack so it can compile .vue files.
$ npm install vue --save
$ npm install webpack webpack-cli --save-dev
Now we need to create some files to work with:
$ touch index.html app.js webpack.config.js
Our project looks like this now:
./index.html
./app.js
./package.json
./package-lock.json
./webpack.config.js
./node_modules/
Let’s add some basic boilerplate code to our files to get things up and running!
index.html
<!DOCTYPE html>
<html>
    <head>
        <meta charset="utf-8" />
        <meta http-equiv="X-UA-Compatible" content="IE=edge">
        <title>Vue TDD</title>
        <meta name="viewport" content="width=device-width, initial-scale=1">
    </head>
    <body>
        <div id="app"></div>

        <script src="/dist/bundle.js"></script>
    </body>
</html>
app.js
import Vue from 'vue';

const app = new Vue({
  el: '#app'
});
We don’t have a bundle.js file yet, but this basic webpack.config.js file will compile one for us:
webpack.config.js
const path = require('path');

module.exports = {
  mode: 'development',
  entry: 'app.js',
  output: {
    path: path.resolve(__dirname, 'dist'),
    filename: 'bundle.js'
  },
  resolve: {
    alias: {
      'vue$': 'vue/dist/vue.esm.js' // 'vue/dist/vue.common.js' for webpack 1
    }
  },
}
Run node_modules/.bin/webpack and let Webpack do its magic! Or even better, add the following script to package.json
"scripts": {
  "watch": "webpack -w -d"
}
From now on, we can just run npm run watch and Webpack will compile app.js automatically when it’s saved.
Compile Vue Components
Okey, let’s create a simple Vue component which lets you type your name in an input field and then prints it:
my-name.vue
<template>
  <div>
    <p>My name is {{ name }}</p>
    <input type="text" v-model="name">
  </div>
</template>

<script>
  export default {
    data() {
      return {
        name: 'My name'
      }
    }
  }
</script>
Add the component to index.html and import it into app.js
index.html
<!DOCTYPE html>
<html>
    <head>
        <meta charset="utf-8" />
        <meta http-equiv="X-UA-Compatible" content="IE=edge">
        <title>Vue TDD</title>
        <meta name="viewport" content="width=device-width, initial-scale=1">
    </head>
    <body>
        <div id="app">
          <my-name></my-name>
        </div>

        <script src="/dist/bundle.js"></script>
    </body>
</html>
app.js
import Vue from 'vue';
import MyName from './my-name.vue';

const app = new Vue({
  el: '#app',
  components: {
    MyName
  }
});
The webpack.config.js file needs to be modified in order to compile the Vue component. This can be done using Vue Loader, which is a loader for Webpack.
$ npm install vue-loader --save-dev
webpack.config.js
const path = require('path');
const { VueLoaderPlugin } = require('vue-loader');

module.exports = {
  mode: 'development',
  entry: 'app.js',
  output: {
    path: path.resolve(__dirname, 'dist'),
    filename: 'bundle.js'
  },
  resolve: {
    alias: {
      'vue$': 'vue/dist/vue.esm.js' // 'vue/dist/vue.common.js' for webpack 1
    }
  },
  module: {
    rules: [
      {
        test: /\.vue$/,
        loader: 'vue-loader'
      }
    ]
  },
  plugins: [
    new VueLoaderPlugin()
  ]
}
Install Vue Test Utils
With Webpack configured and Vue Components working, it’s finally time for some TDD! I’ve been following this guide on how to use Mocha and Vue Test Utils.
The first step is of course to run npm install a few more times:
$ npm install --save-dev @vue/test-utils mocha mocha-webpack
$ npm install --save-dev jsdom jsdom/global
$ npm install --save-dev expect
Then we should add a test script into our package.json file:
"scripts": {
  "test": "mocha-webpack -w --webpack-config webpack.config.js --require test/setup.js test/**/*.spec.js",
  "watch": "webpack -w -d"
}
In the script, you might notice that it’s expecting to find a test/ directory containing a setup.js file and something-something.spec.js files.
The *.spec.js files is, as you might guess, the files containing our tests. But what about the setup.js file?
It’s quite simple actually and only need to contain these two lines:
setup.js
require('jsdom-global')()
global.expect = require('expect')
Nothing is happening?
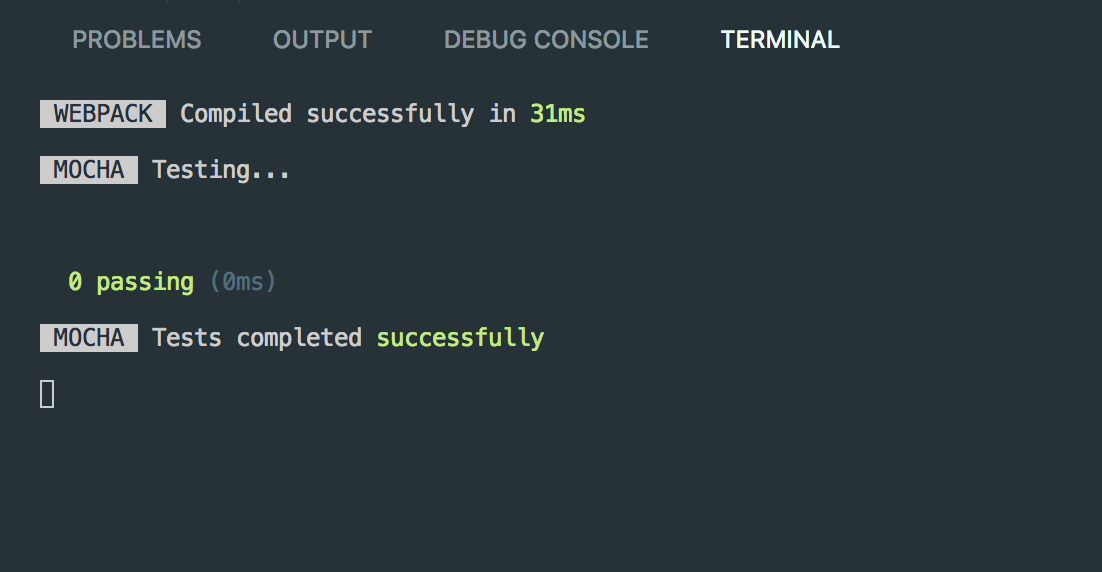
I ran into an issue when I tried this out myself. It seemed like when I ran npm run test nothing was happening. The output in the console only said something like:
Webpack: Compiled successfully in 31ms
It turned out that the Mocha-Webpack package doesn’t have support for Webpack 4 yet. (OMG this JS ecosystem! 😅)
But as we all know, everything can be solved with npm install !
$ npm install mocha-webpack@next
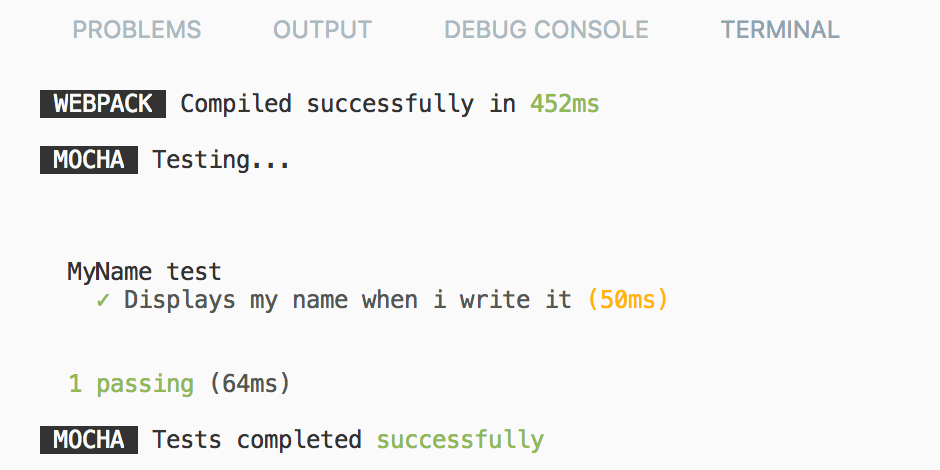
So, if we now run npm run test again, you should see something like this:
Create a test
Finally, it’s time to actually start writing tests. Let’s create a test for the my-name component. If you don’t remember, this is how it looks:
*my-name.vue *
<template>
  <div>
    <p>My name is {{ name }}</p>
    <input type="text" v-model="name">
  </div>
</template>

<script>
  export default {
    data() {
      return {
        name: 'My name'
      }
    }
  }
</script>
I want the test to confirm that these three things is working:
- The name value should be My name as default.
- I’m able to write my name in the input field
- The name value should have changed to whatever name I wrote
Here’s how the test looks like:
my-name.spec.js
import { mount } from '@vue/test-utils';
import MyName from '../my-name.vue';

const wrapper = mount(MyName);

describe('MyName test', () => {
  it('Displays my name when I write it', () => {

    expect(wrapper.vm.$data.name).toBe('My name');

    const input = wrapper.find('input');
    input.element.value = 'Stefan';
    input.trigger('input');

    expect(wrapper.vm.$data.name).toBe('Stefan');
  })
});
And when we run npm run test again, we should see the tests pass.
That’s it! After a bunch of npm install and configuration, our test environment is finally up and running!
Suggest:
☞ JavaScript Programming Tutorial Full Course for Beginners
☞ Learn JavaScript - Become a Zero to Hero
☞ Javascript Project Tutorial: Budget App
☞ E-Commerce JavaScript Tutorial - Shopping Cart from Scratch