Vue.js + GSAP = Animations

Vue.js is a Javascript framework that is both powerful and easy to pick up. With the help of Vue CLI we are able to quickly scaffold new apps with all the lastest Webpack features, without spending hours configuring your Webpack setup. Simply install Vue CLI, type vue create <project-name> and you’re away!
GSAP is a JavaScript animation library that enables the rapid development of performant web animations. GSAP makes it easy for us to quickly string together animations to create a cohesive and flowing sequence.
When building the new Daily Fire homepage I made heavy use of animations in an attempt to show how the product works. By using GSAP, rather than a GIF or video, I was able to add layers of interactivity to the animations to make them more engaging. Integrating GSAP with Vue.js, as you will see, is simple yet powerful.
Lets take a look at how to implement a simple Timeline with GSAP and Vue. We will be using .vue files in this article, these are enabled by the Webpack vue-loader, automatically available with projects created with the Vue CLI.
🔥 The basics
Lets first write some markup to get an idea for what we will be animating
red-box-markup.vue
<template>
  <div ref="box" class="box"></div>
</template>

<style>
.box {
  height: 60px;
  width: 60px;
  background: red;
}
</style>
Here we draw a simple red box to the DOM. Take note the ref tag on the div, this is how we will be referring to the element when introducing GSAP. Vue makes elements with ref tags available via this.$refs in your component.
Now lets introduce GSAP
red-box-gsap.vue
<template>
  <div ref="box" class="box"></div>
</template>

<script>
import { TimelineLite } from 'gsap'
export default {
  mounted() {
    const { box } = this.$refs
    const timeline = new TimelineLite()

    timeline.to(box, 1, { x: 200, rotation: 90 })
  }
}
</script>

<style>
/* styles emitted */
</style>
First we import TimelineLite from GSAP, then, when the component is mounted we acquire a reference to our box element via this.$refs. We then initialize a GSAP timeline and play the animation.
The timeline instance exposes a to method, with which we pass 3 arguments:
- Arg 1: The element to animate
- Arg 2: The seconds to animate for
- Arg 3: An object describing the animation to perform
Here we can see what this small bit of code results in:
Pretty simple! But lets make use of GSAP’s EasePack to give this small animation a bit more life. Using an ease is an ease’y way (😛) to make your animations feel less mechanical and more friendly. Also, you wouldn’t be making full use of GSAP’s Timeline if you didn’t queue up a few animations! Lets transition the red box to a green box, halfway through the first animation.
red-box-to-green.vue
<template>
  <div ref="box" class="box"></div>
</template>

<script>
import { TimelineLite, Back } from 'gsap'
export default {
  mounted() {
    const { box } = this.$refs
    const timeline = new TimelineLite()

    timeline.to(box, 1, {
      x: 200,
      rotation: 90,
      ease: Back.easeInOut, // Specify an ease
    })
    timeline.to(box, 0.5, {
      background: 'green'
    },
    '-=0.5' // Run the animation 0.5s early
    )
  }
}
</script>

<style>
/* styles emitted */
</style>
Take note of the additional argument on line 21, here we can tell GSAP to run an animation relative to the completion of the previous. Use a += to specify a time after completion and -= to specify a time before completion.
This results in:
With that simple addition we have already made our animation a lot more lively!
With a basic understanding of those principles we can start building more complex, engaging animations. As we will see in the next example its really just about playing with it until you get it right!
🔥 Building on the basics
Let’s re-create a piece of an animation used on the Daily Fire homepage, this friendly little slack bubble:

Lets start with the markup:
slack-bubble-markup.vue
<template>
<div class="bubble-wrapper">
  <div ref="bubble" class="bubble">
    <img class="bubble-image"
         src="./assets/img/slack-white.svg" />
  </div>
  <div ref="bubblePulse" class="bubble-pulse"></div>
</div>
</template>

<style>
.bubble-wrapper {
  position: relative;
}
.bubble {
  position: relative;
  z-index: 2;
  display: flex;
  align-items: center;
  justify-content: center;
  border: 1px solid white;
  background: #272727;
  border-radius: 50%;
  height: 100px;
  width: 100px;
}
.bubble-pulse {
  position: absolute;
  z-index: 1;
  height: 120px;
  width: 120px;
  top: 50%;
  left: 50%;
  margin-top: -60px;
  margin-left: -60px;
  background: #272727;
  border-radius: 50%;
  opacity: 0;
  transform: scale(0);
}
.bubble-image {
  height: 50%;
}
</style>
We now have:

Now lets give it some life!
slack-bubble-animation.vue
<template>
<!-- HTML emitted -->
</template>

<script>
import { TimelineLite, Back, Elastic, Expo } from "gsap"
export default {
  mounted() {
    const { bubble, bubblePulse } = this.$refs
    const timeline = new TimelineLite()

    timeline.to(bubble, 0.4, {
      scale: 0.8,
      rotation: 16,
      ease: Back.easeOut.config(1.7),
    })
    timeline.to(
      bubblePulse,
      0.5,
      {
        scale: 0.9,
        opacity: 1,
      },
     '-=0.6'
    )

    this.timeline.to(bubble, 1.2, {
      scale: 1,
      rotation: '-=16',
      ease: Elastic.easeOut.config(2.5, 0.5),
    })
    this.timeline.to(
      bubblePulse,
      1.1,
      {
        scale: 3,
        opacity: 0,
        ease: Expo.easeOut,
      },
      '-=1.2'
    )
  }
}
</script>

<style>
/* CSS Emitted */
</style>
While this may look scary at first, take a second to digest what is actually happening. All it is, is a few CSS transforms queued up sequentially. Notice there are a few custom ease’s in there. GSAP offers a fun little tool to configure an ease to your liking: GSAP Ease Visualizer.
Now we have:

🔥 Looping
The above GIF is deceptive, it’s looping, but the code isn’t. Lets take a look at how we can loop animations with GSAP and Vue.
GSAP’s TimelineLite offers an onComplete attribute which we can assign a function, we will use that to loop the animation. Additionally, we will make the timeline available to the rest of the component via data.
slack-bubble-loop.vue
<template>
<!-- HTML Emitted -->
</template>

<script>
// ...
export default {
  data() {
    return {
      timeline: null,
    }
  },

  mounted() {
    // ...

    this.timeline = new TimelineLite({
      onComplete: () => this.timeline.restart()
    })

    // ...

  }
}
</script>

<style>
/* CSS Emitted */
</style>
Now GSAP will restart the animation when it completes. See it in action here:
🔥 Adding Interactivity
We now have a solid foundation to start integrating some interactivity. As an example, lets add a button to randomly update the logo in the bubble.
To do this we will have to do a few things
- Move the image source to a Vue data attribute
- Create an array of images to sample from
- Create a method to get a random logo
- Add a button to change the logo
bubble-random-logo.vue
<template>
  <div class="bubble-wrapper">
    <div ref="bubble" class="bubble">
      <img class="bubble-image"
           :src="currentLogo" />
    </div>
    <div ref="bubblePulse" class="bubble-pulse"></div>
  </div>

  <button @click="randomiseLogo">Random Logo</button>
</template>

<script>
// ...
export default {
  data() {
    return {
      timeline: null,
      logos: ['path/to/logo-1.svg', 'path/to/logo-2.svg', 'path/to/logo-3.svg'],
      currentLogo: '',
    }
  },

  methods: {
    randomiseLogo() {
      const logosToSample = this.logos.filter(logo => logo !== this.currentLogo)
      this.currentLogo = logosToSample[Math.floor(Math.random() * logosToSample.length)]
    }
  },

  mounted() {
    this.randomiseLogo()

    // ...

  }
}
</script>

<style>
/* CSS Emitted */
</style>
With this code in place, we can now use the button to update the element we are animating, while its being animated!
We could even make use of our onComplete function to get a random logo when the animation resets:
bubble-random-loop.vue
<template>
<!-- HTML Emitted -->
</template>

<script>
// ...
export default {
  // ...

  methods: {
    randomiseLogo() {
      const logosToSample = this.logos.filter(logo => logo !== this.currentLogo)
      this.currentLogo = logosToSample[Math.floor(Math.random() * logosToSample.length)]
    }
  },

  mounted() {
    this.randomiseLogo()

    this.timeline = new TimelineLite({
      onComplete: () => {
        this.randomiseLogo()
        this.timeline.restart()
      }
    });

    // ...

  }
}
</script>

<style>
/* CSS Emitted */
</style>
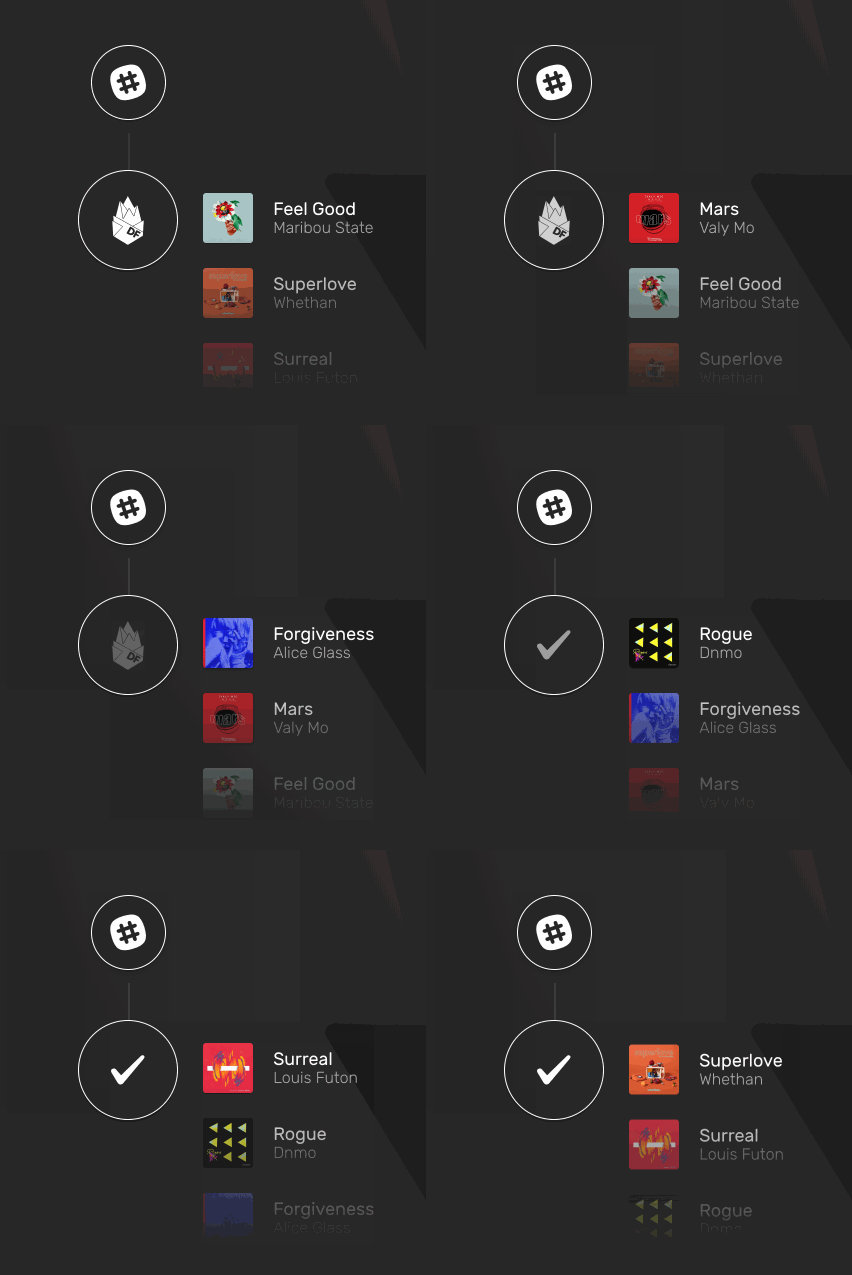
I use a very similar technique to the above to achieve this animation on the homepage, where the next track in the track list is selected from an array and then appended to the list.
🔥 Wrapping Up
I hope that was interesting! My hope is that you now have a few ideas for how to add a bit of animation and interactivity to you own sites. I’m really glad I got to learn GSAP and to discover how powerful and easy it is. I have been using Vue.js for a little while now and am equally happy, it is very approachable while still being very powerful and flexible.
If you have any questions or find anything wrong in my code please do let me know in the comments!
Learn more
☞ Learn Web Development Using VueJS
☞ Learn by Doing: Vue JS 2.0 the Right Way
☞ Vue.js 2 Essentials: Build Your First Vue App
☞ Getting started with Vuejs for development
☞ Horizontal Feed Component with Sass and VueJs 2
Suggest:
☞ JavaScript Programming Tutorial Full Course for Beginners
☞ Learn JavaScript - Become a Zero to Hero
☞ E-Commerce JavaScript Tutorial - Shopping Cart from Scratch